The Apple Pencil Pro has revolutionized the way iPad users interact with their devices, offering a seamless blend of precision, creativity, and functionality. Whether you’re a seasoned artist, a busy professional, or someone who simply enjoys doodling, the Apple Pencil Pro is packed with features that can elevate your iPad experience. In this comprehensive guide, we’ll explore 12 essential features and settings every iPad user should know to make the most of their Apple Pencil Pro.

1. Squeeze to Access the Palette
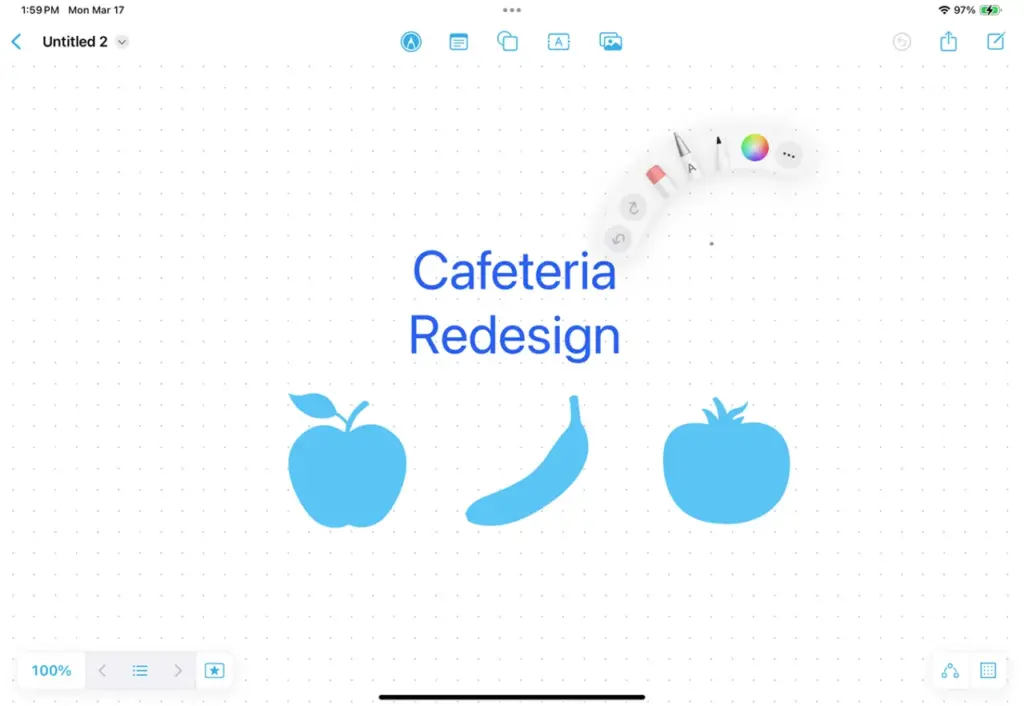
One of the standout features of the Apple Pencil Pro is its squeeze functionality. By gently squeezing the barrel of the pencil, you can quickly access the tool palette in supported apps. This feature is perfect for switching between tools like pens, brushes, and erasers without interrupting your workflow. The haptic feedback confirms your action, making it both intuitive and satisfying to use.
Pro Tip:
Squeeze near the tip of the pencil for quicker access if your hand is already positioned there.
2. Double Tap to Switch Between Tools
Switching between tools has never been easier. Simply double-tap the barrel of the Apple Pencil Pro with your forefinger to cycle between the last two tools you used. This feature is particularly handy when alternating between drawing and erasing or when you need to make quick adjustments.
3. Hover for Precision
For those who struggle with precision, the hover feature is a game-changer. As you move the tip of the Apple Pencil Pro closer to the screen, a small circular shadow appears, showing exactly where the tool will land. This allows you to start drawing or writing with pinpoint accuracy, making it ideal for detailed work.
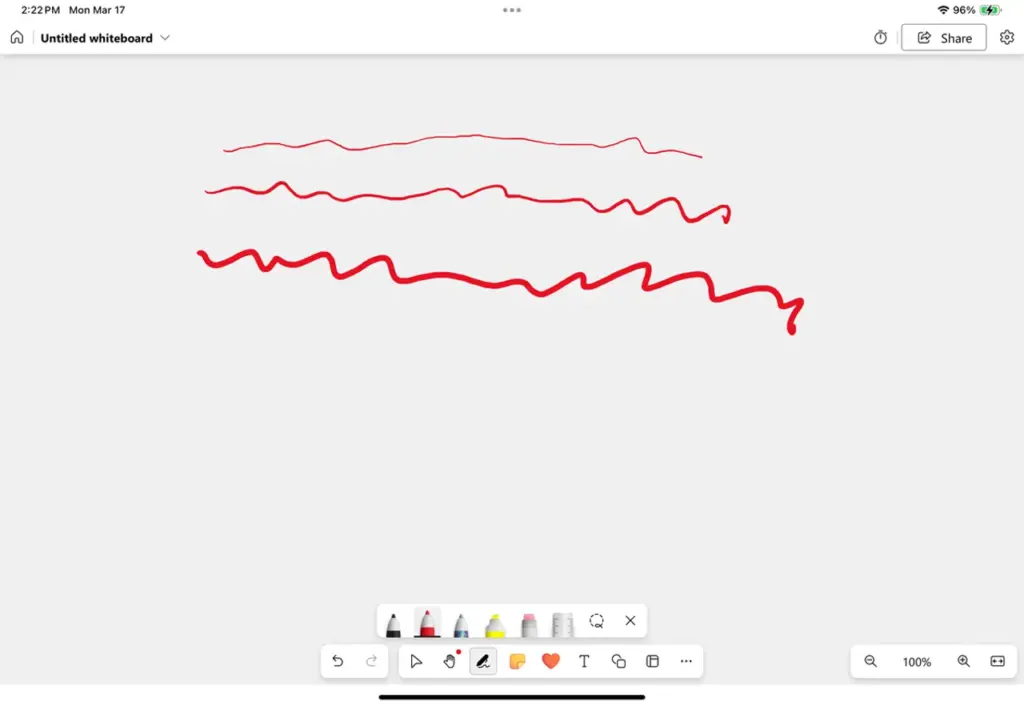
4. Adjust Thickness with Pressure Sensitivity
The Apple Pencil Pro’s pressure sensitivity lets you control the thickness of your lines or strokes. Press lightly for thin lines, and apply more pressure for thicker ones. This feature mimics the natural feel of traditional drawing tools, giving you greater control over your creations.
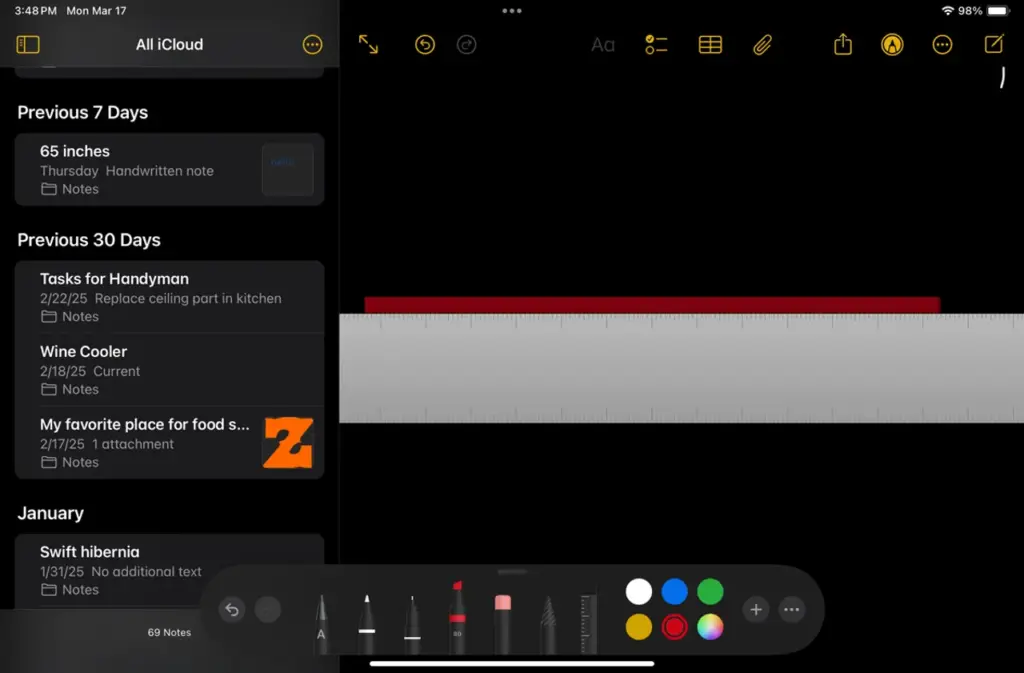
5. Use the Ruler Tool for Straight Lines
Drawing straight lines can be challenging, but the built-in ruler tool in apps like Notes makes it easy. Simply select the ruler from the palette, position it on the screen, and draw against its edge. It’s a simple yet effective way to achieve clean, straight lines every time.
6. Select Objects with the Lasso Tool
Need to move or resize something you’ve drawn? Use the lasso tool to select specific objects on the screen. Once selected, you can reposition, resize, or modify the objects as needed. This tool is particularly useful for editing sketches or annotations.

7. Convert Handwriting into Text
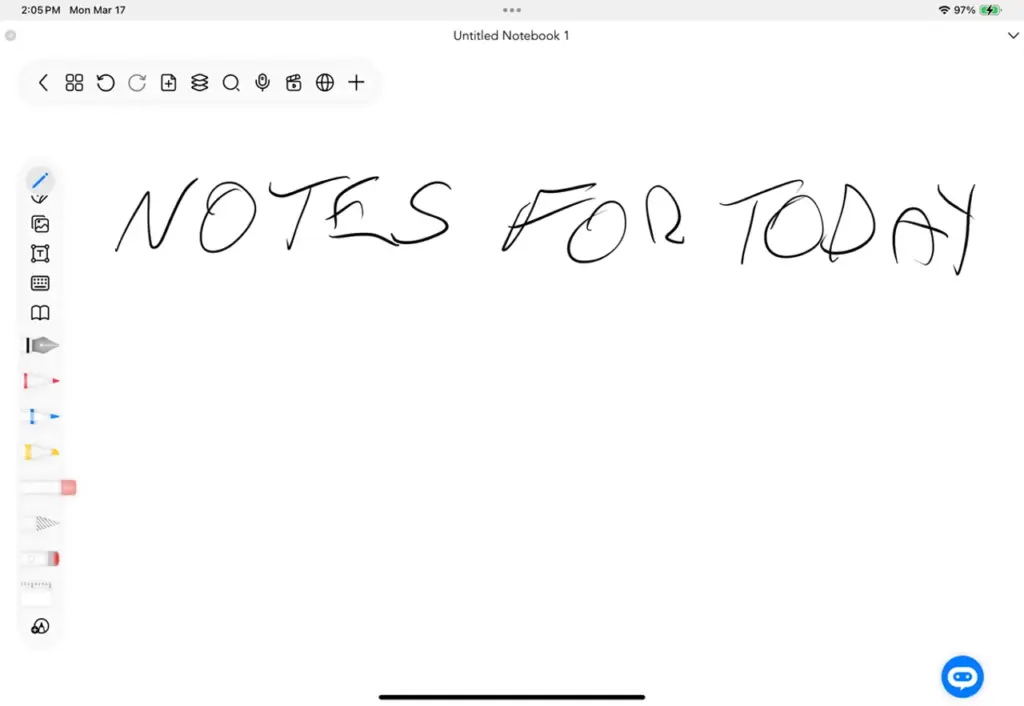
The Apple Pencil Pro makes it easy to turn your handwritten notes into editable text. Use the handwriting-to-text tool in supported apps, and watch your scribbles transform into clean, typed characters. This feature is perfect for taking meeting notes or jotting down ideas on the go.
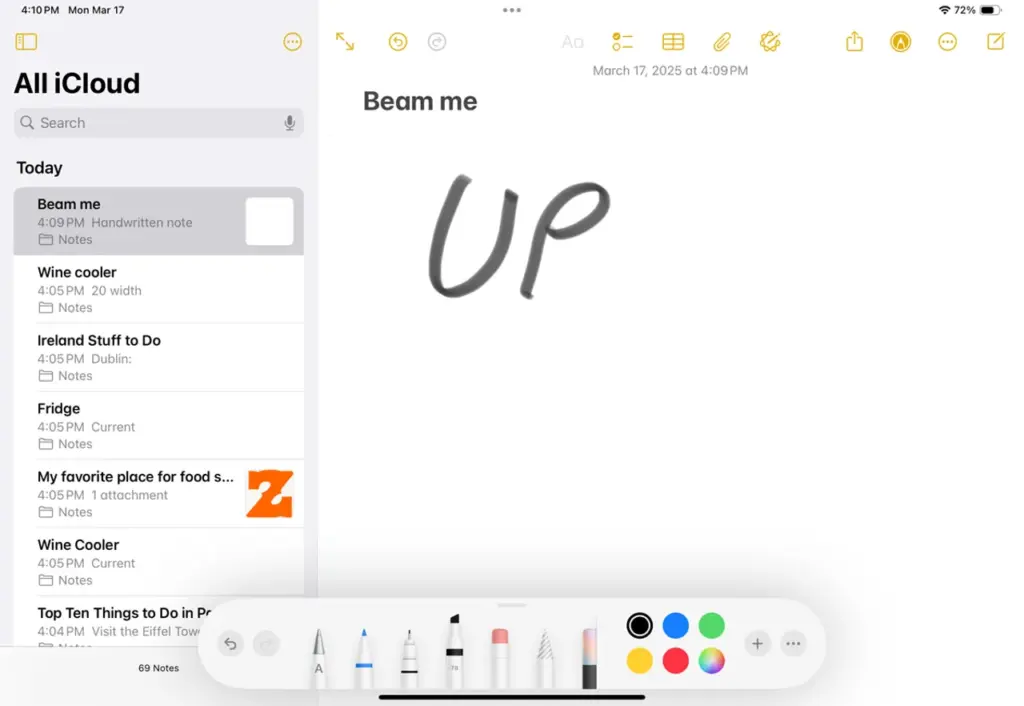
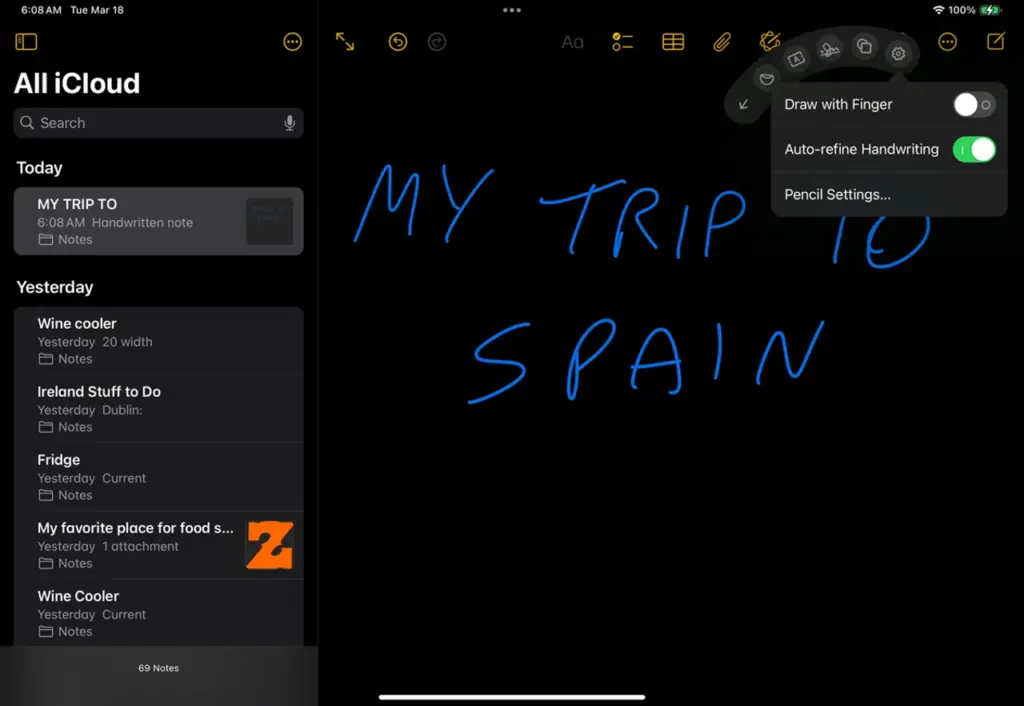
8. Auto-Refine Handwriting
If your handwriting is a little messy, the auto-refine feature can help. It smooths out and straightens your handwritten text while retaining its original style. The result is more legible and polished content without losing the personal touch of your handwriting.
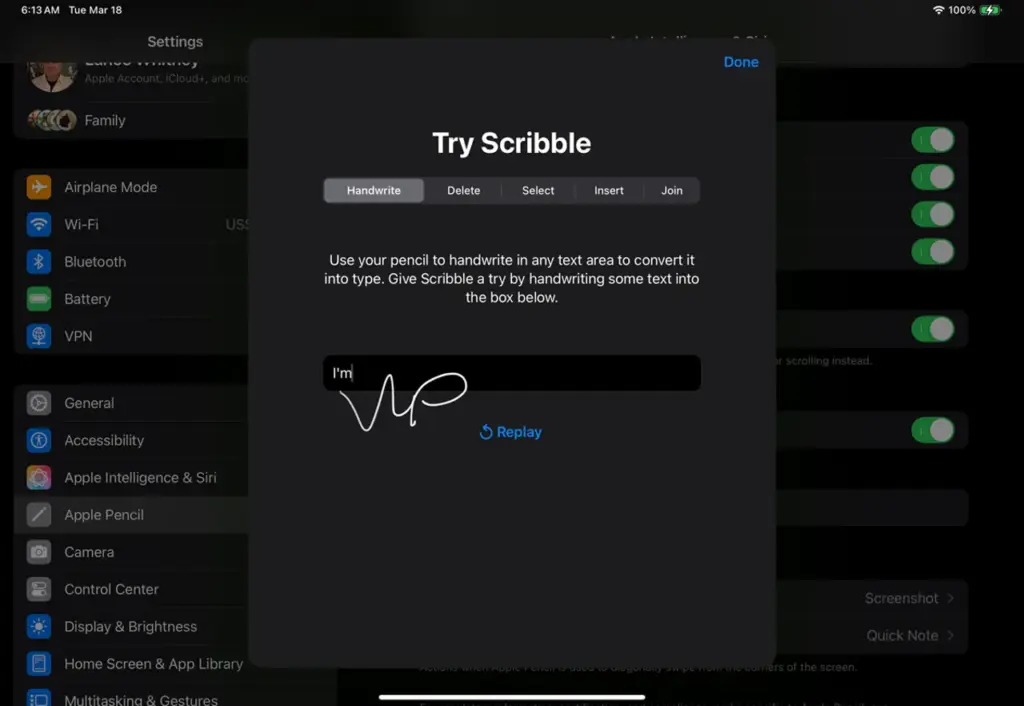
9. Practice with the Scribble Feature
New to the Apple Pencil Pro? The Scribble feature in Settings allows you to practice handwriting, deleting, selecting, inserting, and joining characters. It’s a great way to familiarize yourself with the pencil’s capabilities before diving into more complex tasks.
10. Check Battery Life
The Apple Pencil Pro charges quickly, but it’s important to keep an eye on the battery level. Attach the pencil to your iPad, go to Settings, and select Apple Pencil to check the current charge. A full charge typically takes just 15 to 20 minutes, so you’ll never be without it for long.
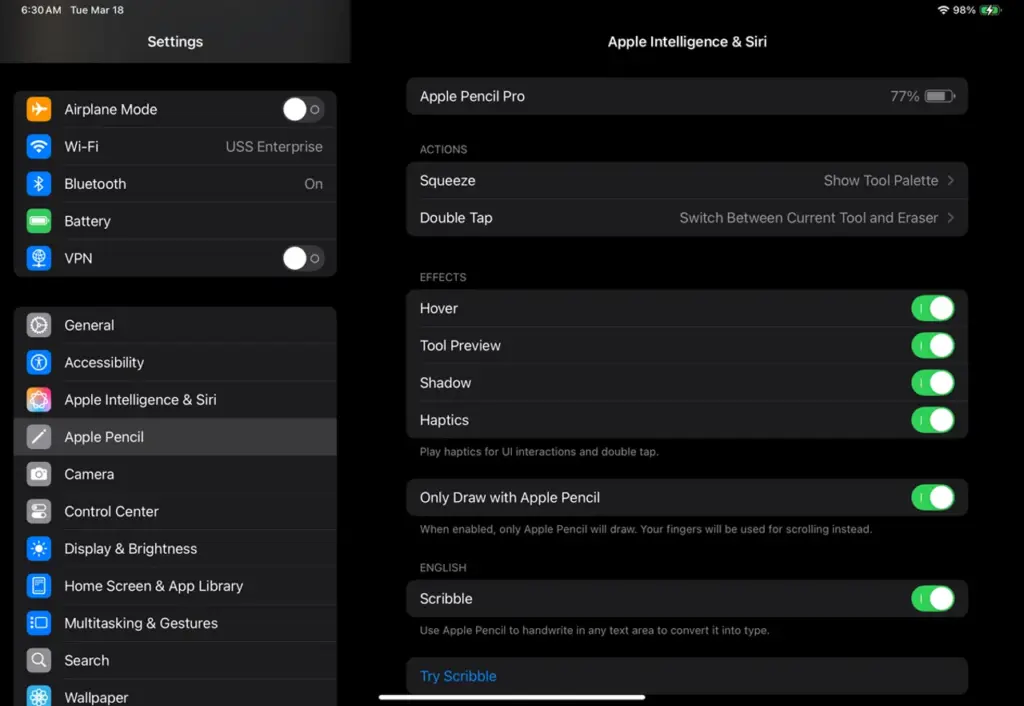
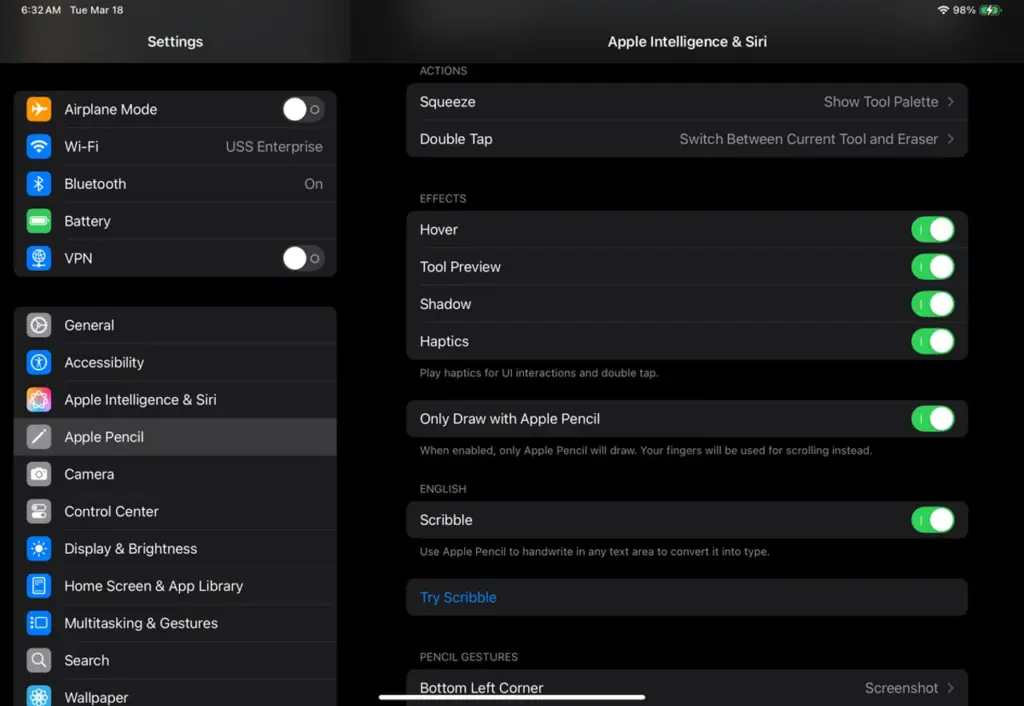
11. Customize Pencil Actions and Gestures
Not a fan of the default settings? You can customize the actions and gestures of the Apple Pencil Pro to better suit your workflow. Head to Settings, select Apple Pencil, and adjust what happens when you squeeze, double-tap, or swipe the pencil.
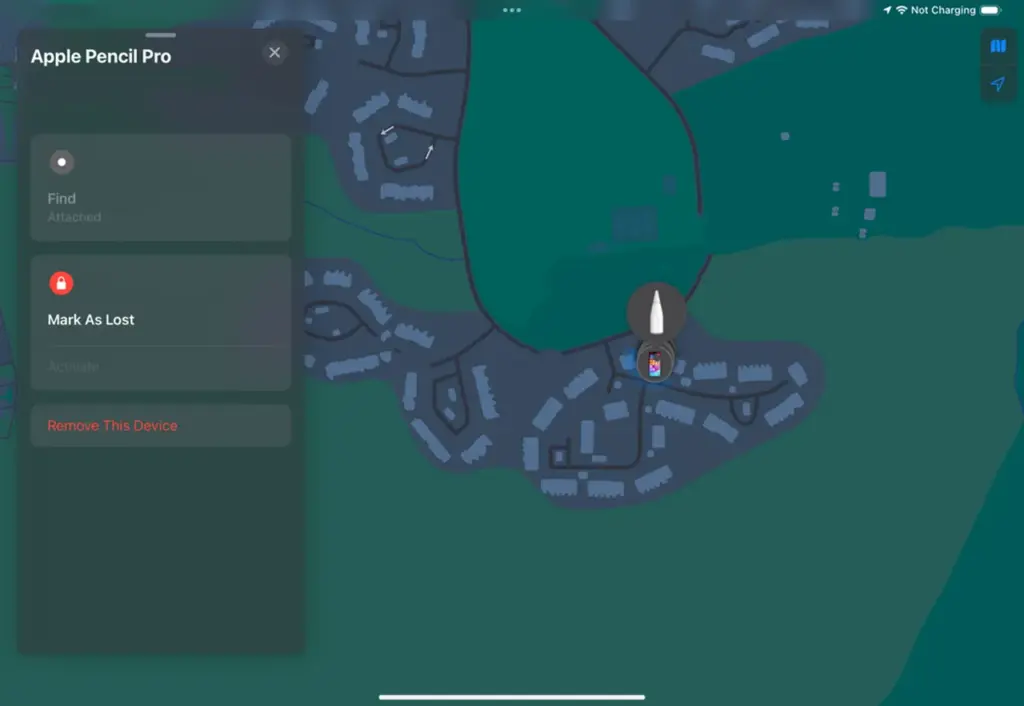
12. Locate Your Pencil with Find My App
Misplacing your Apple Pencil Pro is a thing of the past. With the Find My app, you can easily locate your pencil if it goes missing. Simply open the app, select Devices, and follow the on-screen instructions to find or mark your pencil as lost.
Bonus Tip: Invest in a Pencil-Friendly Case
While the Apple Pencil Pro attaches magnetically to your iPad, it can sometimes come loose. A case with a dedicated pencil holder ensures your stylus stays secure and protected. Popular options include the Fintie Hybrid Slim Case, which offers both style and functionality.
Conclusion
The Apple Pencil Pro is more than just a stylus; it’s a powerful tool that unlocks the full potential of your iPad. From squeezing and hovering to converting handwriting into text, these features and settings make it an indispensable accessory for any iPad user. Whether you’re creating masterpieces, taking notes, or simply exploring new possibilities, the Apple Pencil Pro is your ultimate partner in productivity and creativity.
Ready to get started? Grab your Apple Pencil Pro and discover a whole new way to interact with your iPad!