If you’re managing a Home Lab or any Docker-based environment, keeping your containers up-to-date can feel like a never-ending task. Thankfully, tools like Watchtower can automate this process effortlessly. In this guide, we’ll explore what Watchtower is, its standout features, and how to install and configure it using Portainer Stack. Let’s dive in!
What is Watchtower?
Watchtower is an open-source, lightweight tool designed to automate the updating of Docker containers. It continuously monitors your Docker environment for new image versions and automatically pulls and deploys updates without requiring manual intervention. This ensures your containers are always running the latest, most secure versions of their respective images.
Watchtower’s key features include:
- Automated Updates: Seamlessly updates containers to the latest image versions.
- Customization: Allows you to configure update intervals, notifications, and cleanup options.
- Email Notifications: Sends alerts when updates occur or when issues arise.
- Security: Ensures your containers are patched and secure with minimal effort.
- Ease of Use: Simple setup and integration with Docker environments.
Whether you’re managing a small Home Lab or a larger Docker deployment, Watchtower simplifies container maintenance and frees up your time for more critical tasks.
Step-by-Step Guide to Installing Watchtower with Portainer
For this guide, we’ll use Portainer, a popular Docker management tool, to deploy Watchtower. Follow these steps to get started:
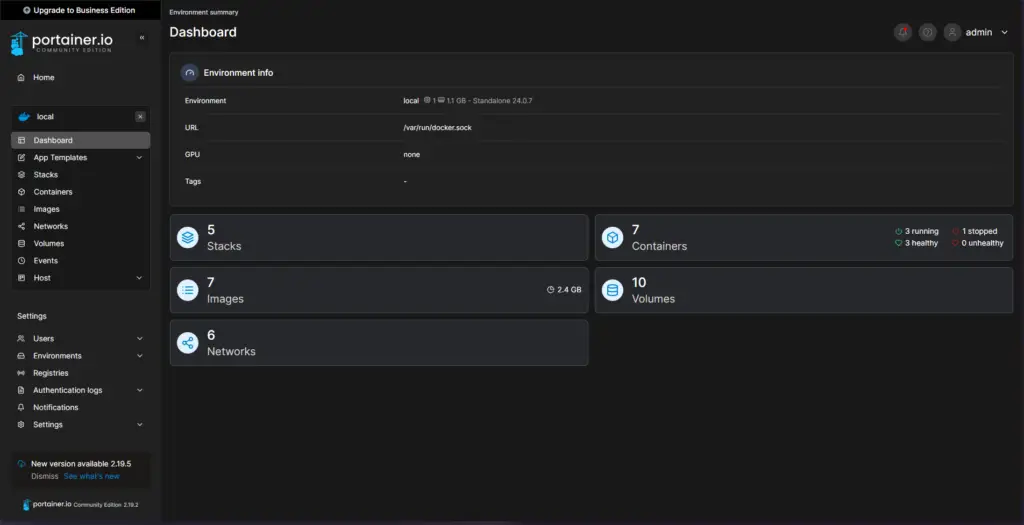
1. Log in to Your Portainer Instance
Begin by logging into your Portainer dashboard. Navigate to your local Docker environment by clicking on the “Local” option.
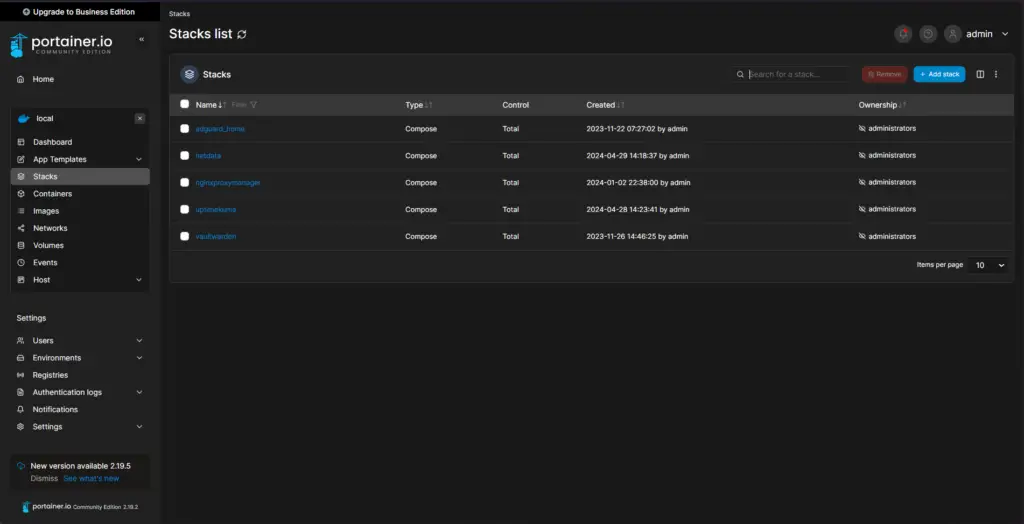
2. Create a New Stack
- Click on the “Stacks” option in the left-hand menu.
- Select the “Add Stack” button located in the top-right corner.
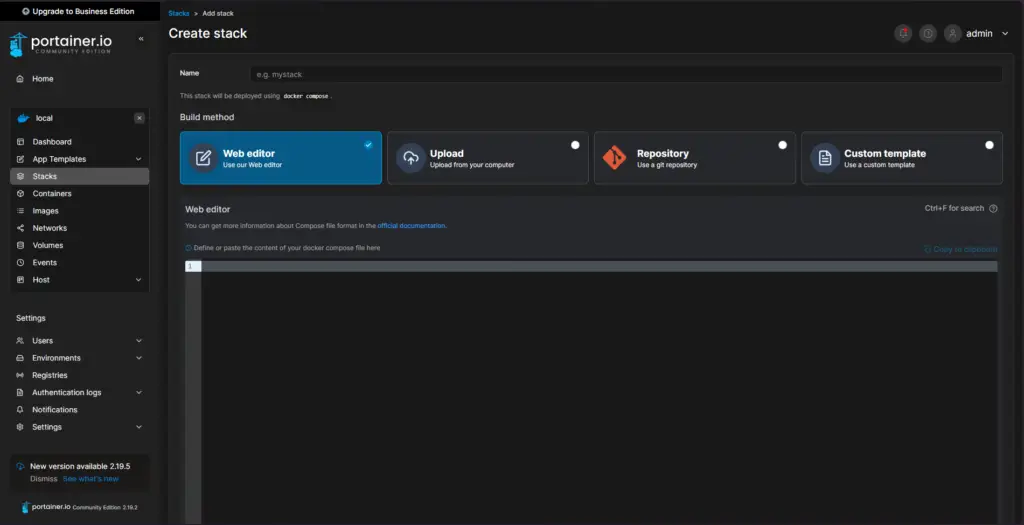
3. Configure the Stack
- Name the Stack: Provide a descriptive name for your Watchtower stack (e.g., “watchtower-auto-update”).
- Paste the Docker-Compose File: Use the following YAML configuration:
version: "3"
services:
  watchtower:
    image: containrrr/watchtower
    volumes:
      - /var/run/docker.sock:/var/run/docker.sock
    environment:
      - WATCHTOWER_NOTIFICATIONS=email
      - WATCHTOWER_NOTIFICATION_EMAIL_TO=
      - WATCHTOWER_NOTIFICATION_EMAIL_FROM=
      - WATCHTOWER_NOTIFICATION_EMAIL_SERVER=
      - WATCHTOWER_NOTIFICATION_EMAIL_PORT=
      - WATCHTOWER_NOTIFICATION_EMAIL_SERVER_USER=
      - WATCHTOWER_NOTIFICATION_EMAIL_SERVER_PASSWORD=
    hostname: watchtower
    command: --cleanup --interval 10800
    restart: always
4. Customize the Configuration
- Email Notifications: Replace the placeholders with your email server details to receive update notifications. If you don’t need notifications, remove this section entirely.
- Cleanup Command: The
--cleanupflag removes old images after updates, freeing up storage space. - Update Interval: The
--intervalflag sets the frequency (in seconds) for checking updates. The example uses 10800 seconds (3 hours), but feel free to adjust this based on your needs.
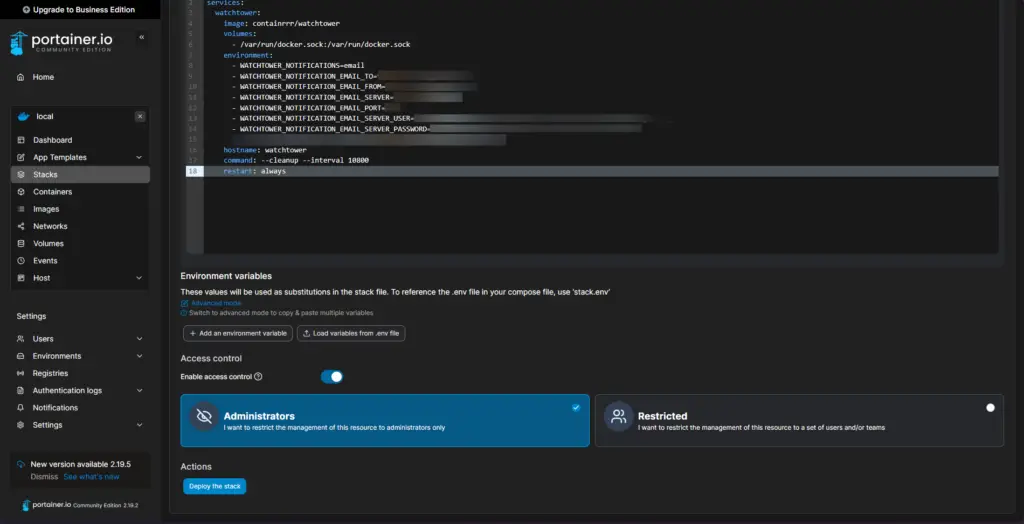
5. Deploy the Stack
Once you’ve configured the stack, click the “Deploy the Stack” button. Portainer will create the Watchtower instance and start the container.
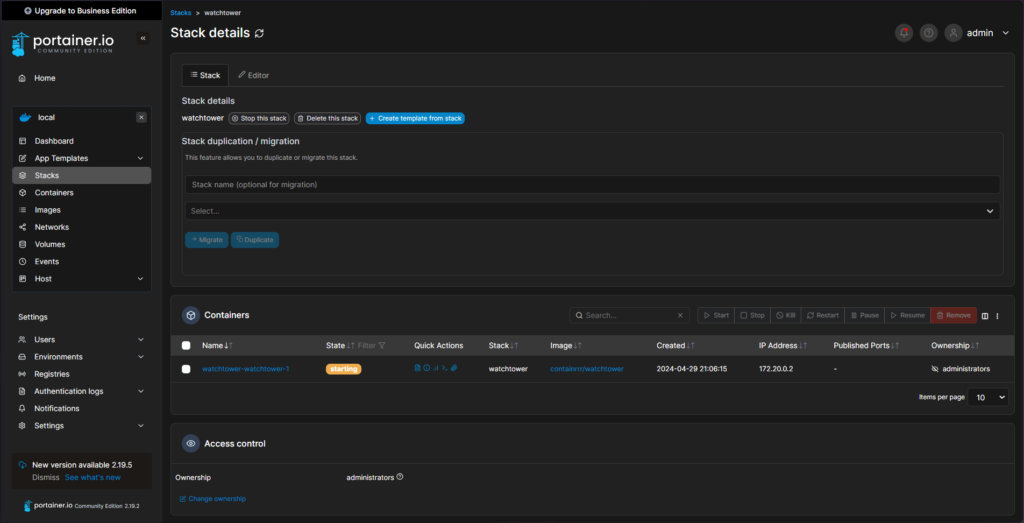
6. Verify the Installation
After deployment, navigate to the “Containers” section to ensure the Watchtower container is running. You’re all set! Watchtower will now monitor and update your containers automatically.
Best Practices for Using Watchtower
While Watchtower is incredibly useful, there are a few best practices to keep in mind:
- Avoid Auto-Updating Unstable Containers: If a container frequently introduces breaking changes, it’s better to update it manually to avoid potential data loss or downtime.
- Monitor Notifications: Enable email notifications to stay informed about updates or potential issues.
- Use Cleanup Sparingly: The
--cleanupflag is helpful for saving storage but can be risky if you need to roll back to an older version quickly.
Why Watchtower is a Must-Have for Docker Users
Managing updates manually can be time-consuming and error-prone, especially in environments with multiple containers. Watchtower eliminates this hassle by automating the entire process, ensuring your containers are always up-to-date and secure. Its flexibility and ease of use make it an essential tool for Home Lab enthusiasts and Docker professionals alike.
What’s Next?
With Watchtower successfully installed, your Home Lab is now more efficient and secure. In our next guide, we’ll explore another essential service to expand your Home Lab capabilities. Stay tuned for more tips and tricks to enhance your DevOps journey!