Are you tired of MacOS’s default apps opening files you’d rather handle with a different program? Whether it’s QuickTime for videos, Preview for PDFs, or Safari for web links, MacOS allows you to easily change your default apps to better suit your workflow. In this guide, I’ll walk you through two methods to set global default apps on MacOS—through the graphical user interface (GUI) and using the Terminal. Let’s dive in!
Why Change Default Apps on MacOS?
MacOS comes with a suite of built-in apps designed to handle common file types. While these apps are reliable, they may not always meet your specific needs. For instance, I recently switched from QuickTime to Elmedia, a third-party video player, because it offered better color accuracy—a must for my video editing tasks. However, every time I opened a video file, QuickTime would take over, forcing me to manually select Elmedia.
Changing your default app eliminates this hassle, ensuring that your preferred program opens files automatically. It’s a simple tweak that can save time and enhance your productivity.
How to Set a Global Default App Using the GUI
This method is perfect for users who prefer a visual, point-and-click approach. Here’s how to do it:
Step 1: Locate the File
Find a file of the type you want to reassign. For example, if you want to change your default video player, locate a .mov or .mp4 file.
Step 2: Open the “Get Info” Window
Right-click (or two-finger tap) the file and select Get Info from the context menu.
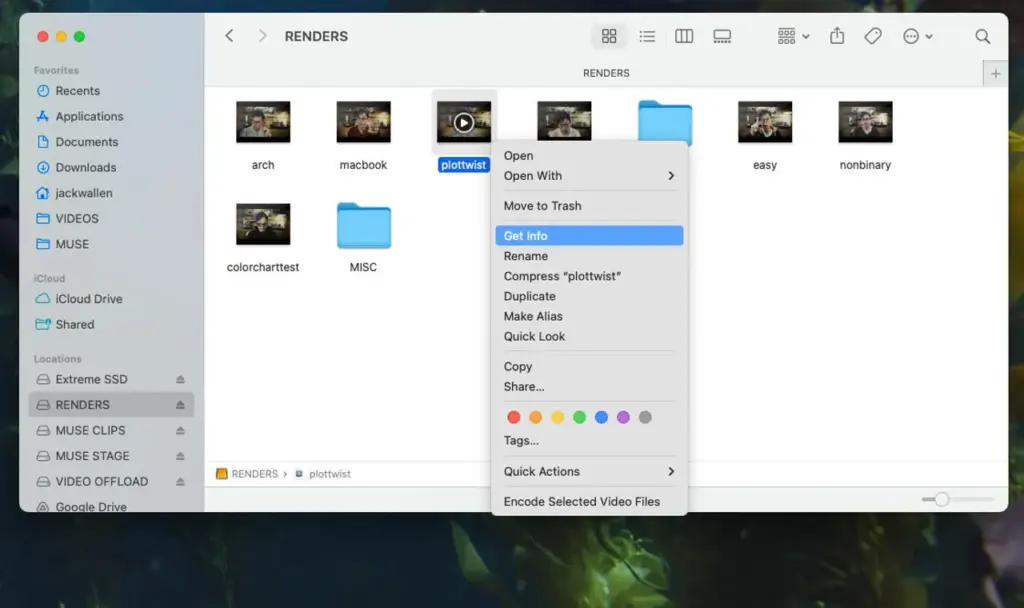
Step 3: Choose a New App
In the “Get Info” window, you’ll see a section labeled Open With. Click the dropdown menu and select the app you want to use.
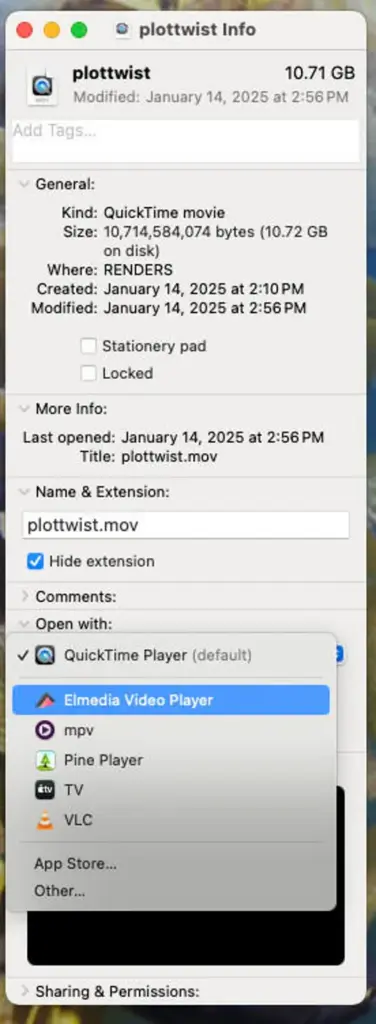
Step 4: Apply the Change Globally
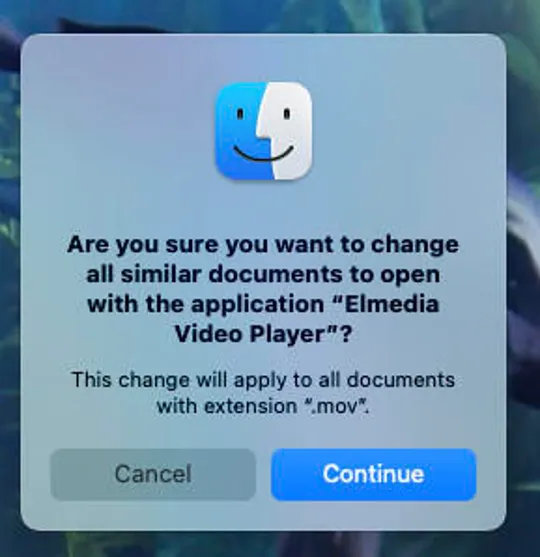
To apply this setting to all files of the same type, click Change All. A confirmation pop-up will appear—click Continue to finalize the change.
How to Set a Global Default App Using the Terminal
For advanced users, the Terminal offers a more efficient way to change default apps. This method requires installing a command-line utility called duti.
Step 1: Install Duti
If you haven’t already, install Homebrew, a package manager for MacOS. Open the Terminal and run:
brew install duti Step 2: Find the App’s Identifier
To use duti, you’ll need the App ID of the program you want to set as the default. Here’s how to find it:
- Open Finder and navigate to the Applications folder.
- Right-click the app and select Show Package Contents.
- Go to the Contents folder and open Info.plist (you can use TextEdit or a similar app).
- Look for the CFBundleIdentifier key—the value next to it is the App ID.
Step 3: Set the Default App
Use the following command to assign the default app:
duti -s [App ID] [File Extension] [Role] For example, to set Elmedia as the default for .mov files, you’d run:
duti -s com.eltima.elmedia6.mas mov viewer Tips for Managing Default Apps
- Test the New App: After changing defaults, open a few files to ensure everything works as expected.
- Revert Changes: If you change your mind, simply repeat the process to switch back to the original app.
- Regular Maintenance: Periodically review your default apps to ensure they align with your current needs.
Why This Matters
Customizing your default apps on MacOS isn’t just about convenience—it’s about tailoring your system to work the way you do. Whether you’re a video editor, developer, or casual user, this small adjustment can make a big difference.
So, what are you waiting for? Take control of your MacOS experience today and enjoy the freedom of using apps that truly meet your needs.
Pro Tip: Looking to declutter your Mac? Check out our guide on [how to remove software from a Mac] to keep your system running smoothly.
By following these steps, you’ll be able to change your default apps in MacOS with ease—whether you’re a GUI enthusiast or a Terminal pro. Happy customizing!