
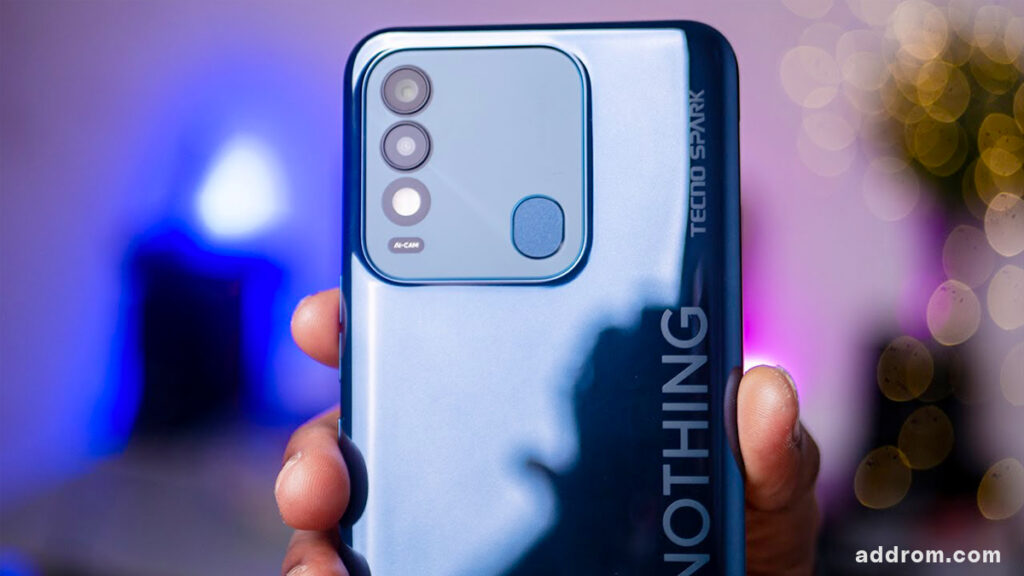
Hello everyone! Many Android users, especially owners of the Tecno Spark 8, have likely faced that frustrating moment after a factory reset (hard reset): being asked to verify the previously synced Google account. This is the Factory Reset Protection (FRP) feature – useful for security, but a real hassle if you’ve forgotten your password or bought a used phone.
In this guide, I’ll show you an extremely effective method to remove the Google account lock on your Tecno Spark 8 that doesn’t require using Talkback, doesn’t involve installing any applications (No App Install), and is surprisingly simple to perform.
If you’re currently stuck on the Google verification screen on your Tecno Spark 8, don’t worry! Follow the steps below carefully, and I guarantee you’ll regain access to your phone quickly.
Necessary Preparations
Before you begin, you only need these two things:
- The Tecno Spark 8 phone stuck with FRP lock: Ensure it has enough battery power to last through the process.
- A stable Wi-Fi connection: This is mandatory for the online steps involved.
Connect your phone to a Wi-Fi network before proceeding. You should see a small padlock icon in the status bar, confirming the device is FRP locked.
Common Methods That DON’T Work (On This Model/Firmware)
Many online tutorials might suggest using Talkback, the microphone icon on Gboard, QR Code sharing, or even emergency calls to access a browser. However, based on testing with this Tecno Spark 8 firmware version, these methods no longer work:
- The Gboard microphone doesn’t open Google Assistant or search options.
- Talkback cannot be activated, or lacks options to delve deeper into accessibility settings.
- Sharing via QR Code (QR Share) is also disabled.
- The emergency call menu offers no useful options for bypassing FRP.
Don’t be discouraged if you’ve tried these unsuccessfully. The method below is proven to work!
Detailed Step-by-Step Guide to Bypass FRP on Tecno Spark 8
This is the most critical part. Follow each step precisely:
Step 1: Access Keyboard Settings and Privacy Policy
- Navigate back to the Wi-Fi connection screen (or any screen where the keyboard appears).
- Tap on the Wi-Fi password field to bring up the keyboard.
- Press and hold the Emoji icon key or the key with a smiley face/globe icon on the keyboard (NOT the spacebar).
- A small menu will pop up; tap the Settings icon (gear symbol) or the option related to keyboard settings.
- In the keyboard settings, scroll down to the bottom and find the About section or similar.
- Tap on Privacy Policy. This will open a text page within a built-in viewer.
Step 2: Open the Web Browser (Phoenix Browser)
- Within the Privacy Policy page, press and hold any word to select it.
- A context menu will appear with options like Copy, Share, etc.
- Select Share.
- A list of shareable apps will appear. Find and select Phoenix (This is the default browser pre-installed on Tecno devices).
- The Phoenix browser will now open.
Step 3: Access Phone Settings via the Browser
- Once the Phoenix browser is open, navigate to a website that provides shortcuts to system apps. A popular and effective site for this is
- Type
addrom.com/bypassinto the Phoenix browser’s address bar and press Enter.
- Type
- On the addROM Bypass website, find and tap the link named Open Settings or the Settings icon.
- This action will take you directly into the main Settings menu of your Tecno Spark 8. Halfway there!
Step 4: Disable Key Google Applications
This is the crucial step to create an “error” in the initial setup process, allowing us to skip the Google verification.
- In the Settings menu, navigate to App Management or Apps & Notifications.
- Select App settings or See all apps.
- Locate the app named Google Play Services.
- Tap on it.
- Choose Force Stop and confirm.
- Choose Disable and confirm disabling the app. The “Enable” button should now appear.
- Go back to the app list.
- Find the app named Android Setup (there might be two; choose the one without a settings gear icon if present).
- Tap on it.
- Choose Force Stop and confirm.
- Go into its Storage & cache section.
- Select Clear Storage or Clear Data and confirm.
- Return to the app list one more time. Ensure that Google Play Services is disabled and Android Setup has been force-stopped/had its data cleared.
Step 5: Enable the Accessibility Menu Shortcut
This menu will help us quickly re-enable Google Play Services later.
- Go back to the main Settings menu.
- Find Accessibility or Special Function -> Accessibility.
- Locate and select Accessibility Menu.
- Toggle ON the Accessibility Menu shortcut.
- Confirm any permission requests.
- You should now see a small human icon or three dots appear in the bottom right corner of your screen. This is the Accessibility Menu shortcut.
Step 6: Return to the Welcome Screen and Encounter the “Error”
- Now, repeatedly press the Back button until you return to the very first “Hi there” Welcome screen (language selection).
- Tap Start and proceed through the initial setup steps as usual (select region, agree to terms…).
- The phone will try to connect to check for updates (“Checking for updates…”).
- Because Google Play Services was disabled in Step 4, the phone will get stuck on this screen (often saying “Just a sec…” or “Checking for updates…”) and cannot proceed. This is exactly where we need to perform the final trick.
Step 7: The “Quick Tap” Trick to Re-enable Google Play Services
This step requires speed and precision.
- On the screen where it’s stuck (“Checking for updates…”), tap the Accessibility Menu icon (the little person in the bottom right) that you enabled in Step 5.
- A small menu will appear. Quickly tap on Google Assistant.
- Immediately after tapping Google Assistant, a small “Settings” text link or a gear icon will briefly appear for a split second, usually near the Assistant prompt or notification area. You must tap this “Settings” link/icon the instant it appears. IMPORTANT NOTE:This step requires very quick reflexes. If you miss it, tap the Accessibility Menu icon -> Google Assistant again and keep trying until you successfully tap the “Settings” link/icon as soon as it flashes.
- If tapped successfully, you’ll be taken to the App Info screen for Google Play Services (the app we disabled).
- Tap the Enable button to reactivate Google Play Services.
Step 8: Complete the FRP Bypass Process
- After enabling Google Play Services, press the Back button once. You should return to the “Checking for updates…” screen.
- Wait a moment. The Google Services screen should now appear (asking you to accept terms, etc.). This confirms you have successfully bypassed the account verification!
- Continue by tapping More -> Accept and complete the remaining setup steps (setting a screen lock – can be skipped, choosing navigation style, etc.).
- Finally, you will reach the home screen of your Tecno Spark 8!
Congratulations! You have successfully removed the Google account lock (FRP bypass) on your Tecno Spark 8 without needing complex methods or installing external apps.
Notes After Successful Bypass
- Once you access the home screen, it’s recommended to go to Settings -> Accounts and add your new Google account.
- If you plan to sell or give away the phone, consider performing another factory reset via Settings -> System -> Reset options -> Erase all data (factory reset). Since FRP is now bypassed, this reset will not trigger the lock again, ensuring the device is completely clean.
Being stuck with FRP lock on a Tecno Spark 8 can be a major inconvenience. However, as demonstrated in this guide, you can resolve it yourself using this specific method. The main advantage is that it bypasses the need for Talkback or downloading/installing any APK files, minimizing risks and saving time.
This process requires some patience and quick tapping during Step 7, but it’s entirely achievable.
I hope this detailed guide was helpful. If you found it useful, please share it with friends or anyone else facing the same issue on their Tecno Spark 8. If you have questions or encounter difficulties at any step, feel free to leave a comment below, and I’ll do my best to assist. Thanks for reading, and good luck!


Successfully bypass Blackview Tab 11 using this method.
Thank you Brother.
On behalf of the community thank you 😀
You’re welcome.
Good luck for your website & community 👍🏻
Thanks bro