Of all the ways you can customize an Android phone, installing a custom ROM is by far the biggest. It can bring an old device up to date, allow you to focus on privacy and security, or just give your phone a whole new look.
It’s quite a hands-on process but is also pretty easy as long as you follow the instructions. So let’s take a look at how to install a custom ROM.
Why Install a Custom ROM?
The ability to use custom ROMs is one of the great joys of Android. A custom ROM contains a whole new build of the Android operating system. To be able to install—or flash, as it’s known—a ROM offers huge benefits.
- If your phone no longer gets updates from the manufacturer, you can use a ROM to get the latest version of Android.
- For phones with heavily customized software, you can install a ROM that gives you something closer to the “stock” Android experience.
- If you like features on the devices from other manufacturers you can often find ROMs that port them over to yours.
- If your phone is slow or has poor battery life, you can find ROMs that are optimized for speed or power consumption.
- You can also get de-Googled ROMs that put a greater emphasis on protecting your privacy.
Before You Begin
You need to do a little bit of prep work before you can get started. For the purposes of this guide, we’re going to assume you’ve got all these things in place already.
- You need a custom recovery. This is a small piece of software that is used to create a backup and to flash a ROM. In this guide, we’re going to use TWRP. A custom recovery will often be installed when you root.
- You need an unlocked bootloader. Most phones ship with a locked bootloader, and you need to unlock it before you’re able to overwrite the system files. We’ve got a guide on how to unlock the bootloader if you haven’t already done it.
- Turn on USB Debugging. You can find the option to turn on USB debugging in the Developer options panel on your phone.
- Disable security. It’s a good idea to disable your security settings before you flash a ROM, especially if you use a fingerprint scanner.
- Back up your data. We’ll create a full backup during the flashing process, but it’s also convenient to back up just your data using the app Titanium Backup. This requires root.
- Charge your phone, or plug it in. You really don’t want your phone to run out of power halfway through flashing a ROM.


Download a Custom ROM
You also need a custom ROM. Here, it’s important to make sure you get one that’s compatible with your phone’s exact model.
Obviously, you aren’t going to do anything as silly as attempting to flash a Motorola ROM on a Samsung phone, but if you’ve got the US version of a Samsung phone, it could be quite easy to download a ROM designed for the international version of the same device by mistake. These might actually be classified as different phones. Make sure you get the right one!
The ROM will download as a .zip file. Save it somewhere on your phone’s internal storage. With most ROMs, you may also need to download the Google apps (GApps) in a separate zip—you’ll normally get links to these from wherever you download your ROM.
How to Flash a Custom ROM
The preferred way to flash a ROM is to do it manually through your custom recovery. While there are some apps in the Play Store that will automate the process, the best ones have long since been abandoned, while others are of varying quality.
The manual approach gives you full control over the process, and if something goes wrong you’ll find it a lot easier to unbrick your phone if you understand what you’re doing.
Boot Into Recovery
So let’s get started. Make sure you’ve got TWRP installed, then turn off the phone and boot it into recovery. The way you do this differs on each handset, but normally involves holding down a combination of the power button and the volume buttons, then following any on-screen instructions.
Flash the ROM
Once TWRP has launched, you’re ready to start flashing the ROM. Here are the steps:
(1). Create a Nandroid backup. This is what you’ll use to restore your phone to its previous state or to recover from any problems. Go to Backup and select which partitions you want to save. You can include them all, as it’s possible to select which parts to restore when the time comes.


(2). Swipe the bar to get started, then wait several minutes for the backup process to complete.
(3). Go back to the home screen and select Wipe. Swipe the bar to reset your phone (it won’t wipe your internal storage). This step is optional, but not wiping your phone may cause errors with your ROM (this is called a dirty flash). You should only not wipe if you’re upgrading to a newer version of the same ROM.
(4). Return to the TWRP home screen and select Install. Navigate your way to where you saved the ROM (the zip file).
(5). Tap the zip file to select it, then swipe the bar to begin installing. The process may take a few minutes.


(6). After it completes, repeat step five with the GApps zip if you need to.
(7). Now reboot your phone.
Don’t panic if it appears to get stuck on the boot screen because the first boot after flashing a ROM usually takes a bit longer than normal.
If it eventually becomes apparent that Android isn’t going to boot, take a look at our problem-solving guide for possible solutions. Having taken a Nandroid backup, you should always be able to restore that to get your phone up and running quickly.
Once your phone has restarted, you’ll need to restore your data and apps (assuming you did wipe the data as outlined above), and log in to all your services once more. Most ROMs are pre-rooted, so if you used Titanium Backup, it will work without any extra steps. Now you’re ready to enjoy your new software.
Pick a ROM to Get Started
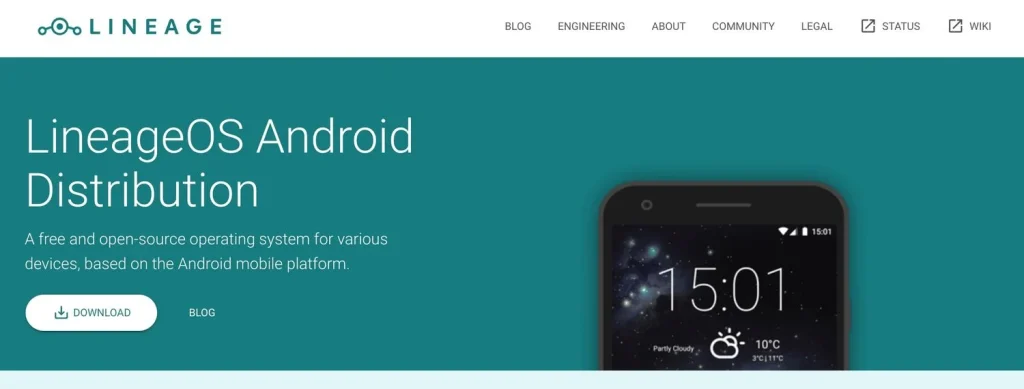
All you need now is to find a decent ROM to test. LineageOS is the most popular, and has official and unofficial builds for the widest number of devices. With its stock Android look, it’s the best place to start for most people.

Otherwise, we recommend browsing the XDA forums for your specific device to find a good custom ROM. As long as you keep a recent Nandroid backup on hand, there’s no harm in testing multiple ROMs until you find the one that’s right for you.
Flash a Custom ROM
Installing a custom ROM can seem daunting at first, but once you understand the steps involved, it becomes second nature. Custom ROMs open up your phone to a whole new world of customization, and they’re fun to play around with too.
They could even save you money in the long run, as you can get OS and security updates long after your phone has stopped being officially supported. Looking for more reasons to install a custom ROM on your Android device? Check out this list.


