How to install Android apps on macOS
Apple’s latest Macs, including the MacBook Air (2024), are some of the most powerful consumer computers on the market. The most recent operating system, macOS Sonoma, lets users take advantage of useful features such as better widgets, video conferencing tools, and a gaming mode. However, what many aren’t aware of is the ability to run Android apps on a Mac. While you can’t install an Android application on macOS by default, there are some steps you can follow to unlock this capability.
Running Android apps on the Mac will not require a degree in rocket science. However, keep in mind that these apps don’t offer a native experience and do have some limitations. They are mostly useful for app development, testing Android apps, or playing games for some casual fun. You can either use Google Android Studio or use third-party emulators such as Genymotion to get the job done.
Installing Android applications on a Mac
Before we start, let’s clear up some confusion about running Android apps on Mac. You can’t simply head to the Mac App Store and download Android apps on Mac. We will use virtualized versions like Android Studio and BlueStack to run your favorite Android apps on Mac.
Apple’s macOS is based on UNIX OS, while Google’s Android is based on the Linux operating system. Since they share common roots, running Android apps on Mac with some tweaks is technically possible.
Android Studio
Let’s start with Android Studio, which is an official app from the search giant (Google). It’s free, offers a wide variety of device types and OS versions, and has no ads.
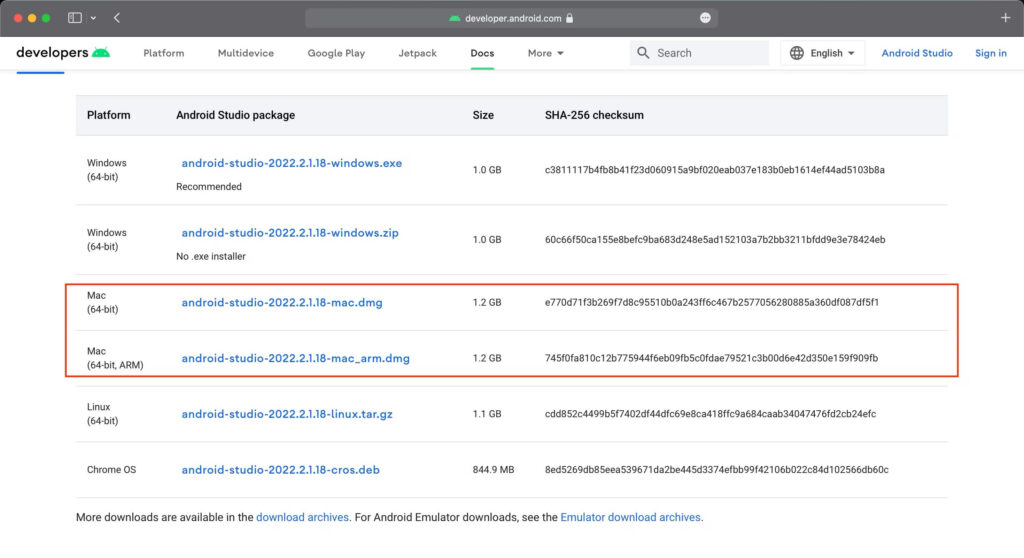
- Start by installing Google’s Android Studio. Pick the ARM version if you have a Mac that runs on Apple silicon (M series).
- Once the download process concludes, go ahead and install Android Studio by following the on-screen instructions.
- Launch the Android Studio app from the Applications folder when it’s ready.
- Click Open when the security alert pops up.

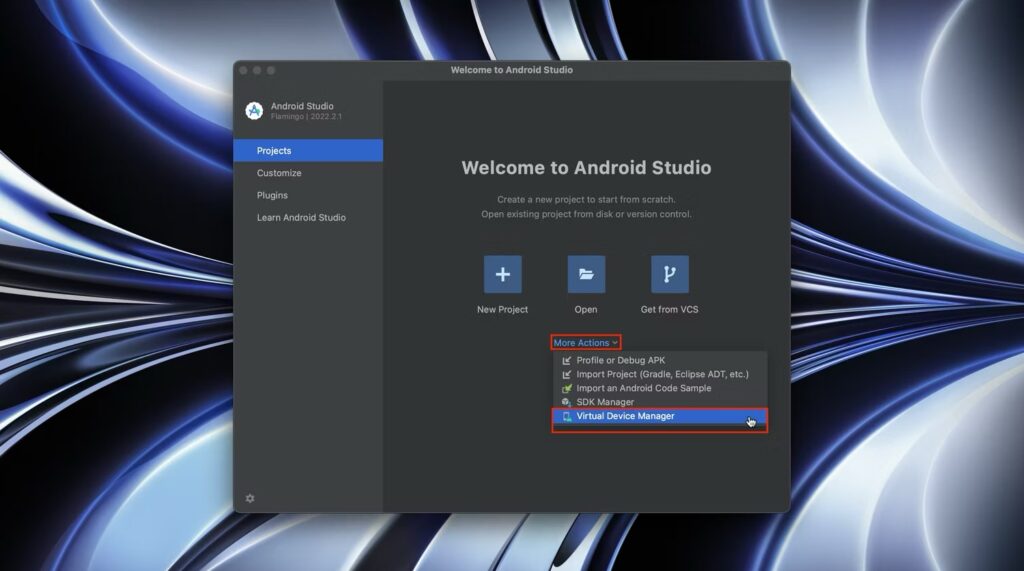
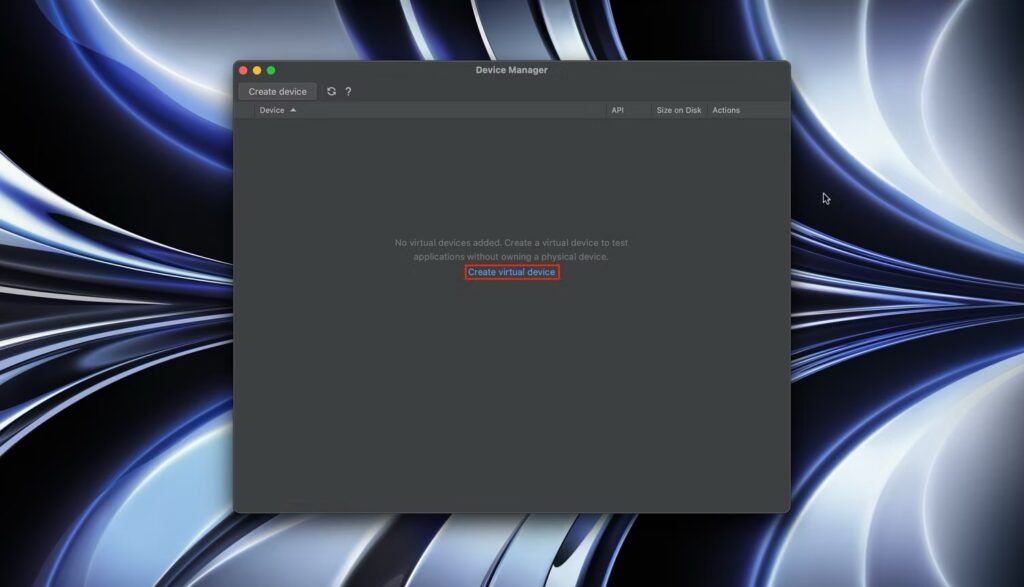
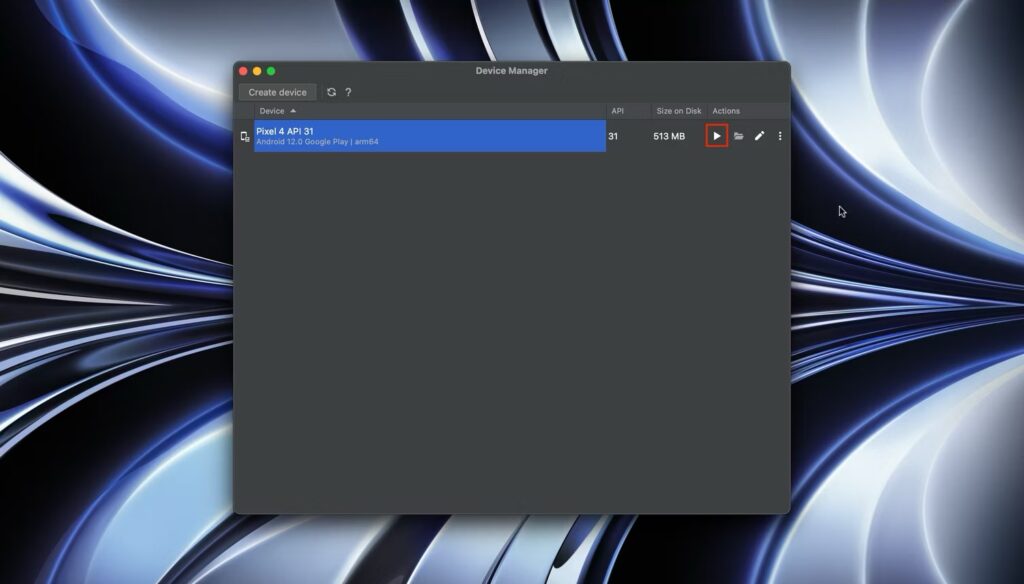
- Tap on More Actions to reveal additional app options, then select Virtual Device Manager.
- Click on the Create virtual device button.
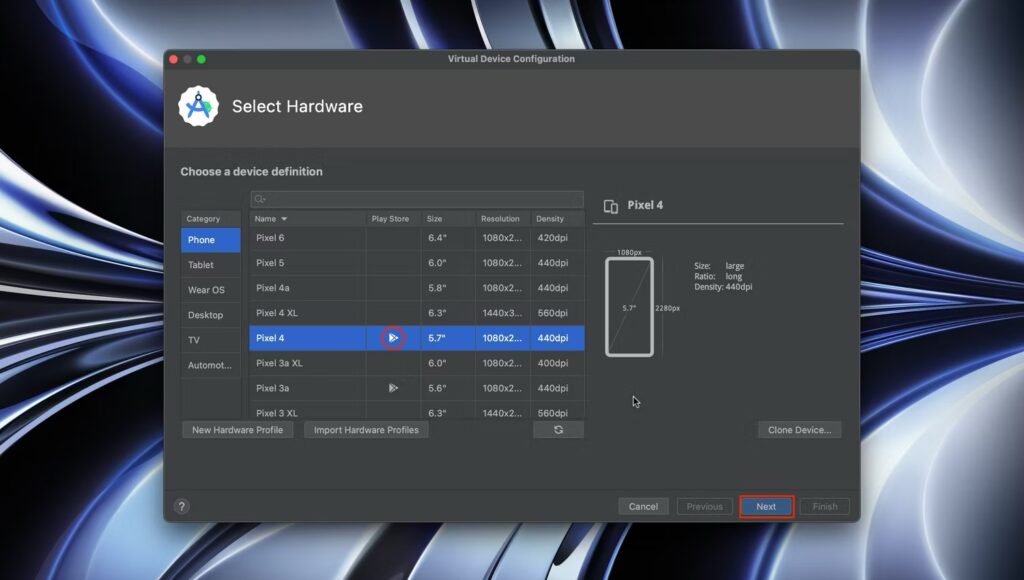
- Choose one of the phone and tablet options available, then tap on Next. Note that not all emulator device options support the Google Play Store. If you plan on downloading apps from the Play Store, pick a device with the Play Store icon next to it. You can install APK files from external sources regardless of this selection.
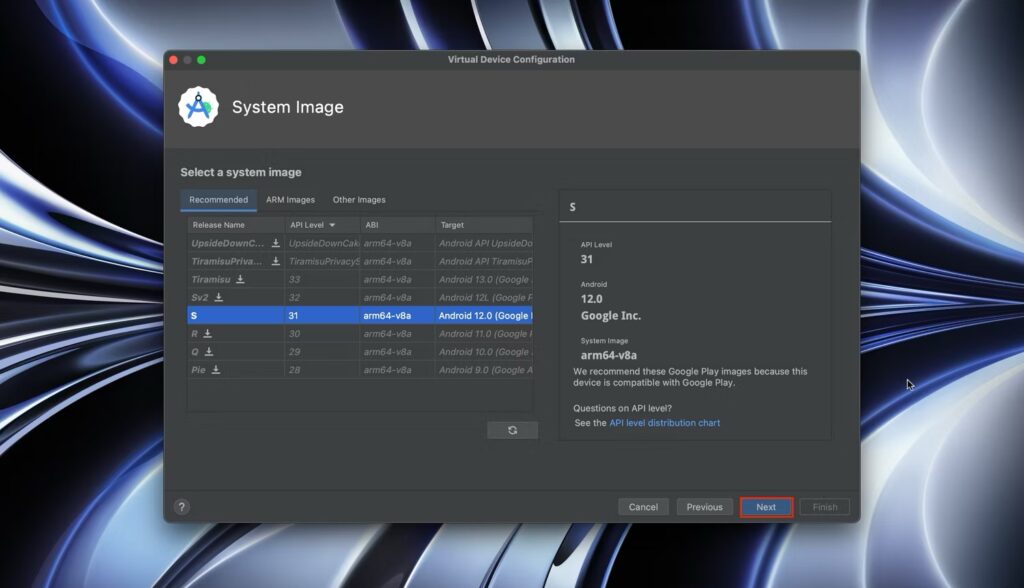
- Pick an Android OS version, then tap Next.
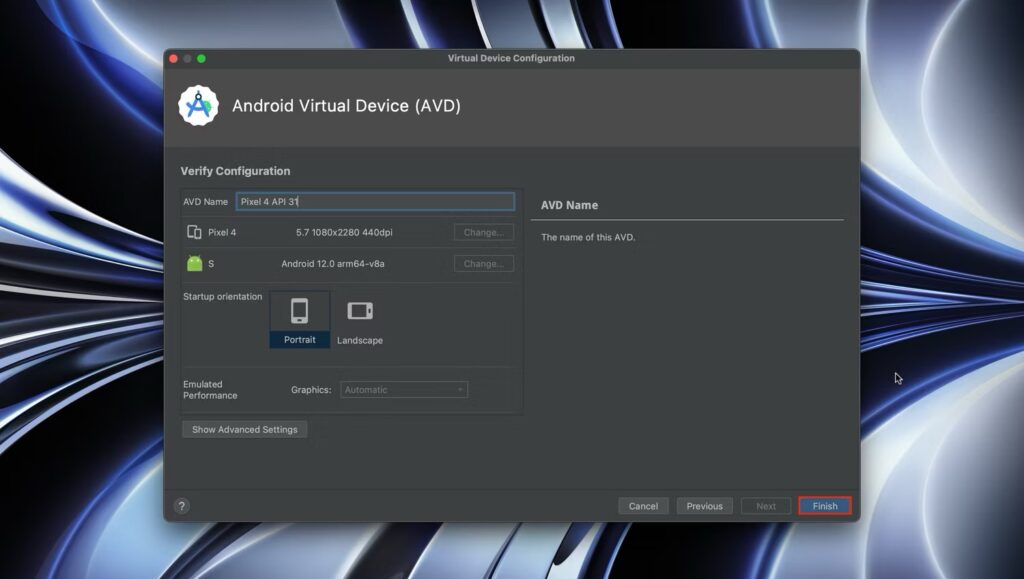
- Optionally give your virtual device a name, then tap on Finish.
- Tap the Play button to launch the virtual device.
- Give the emulator a few seconds to boot. You can then download and install Android apps through the Google Play Store after signing in to your Google account.
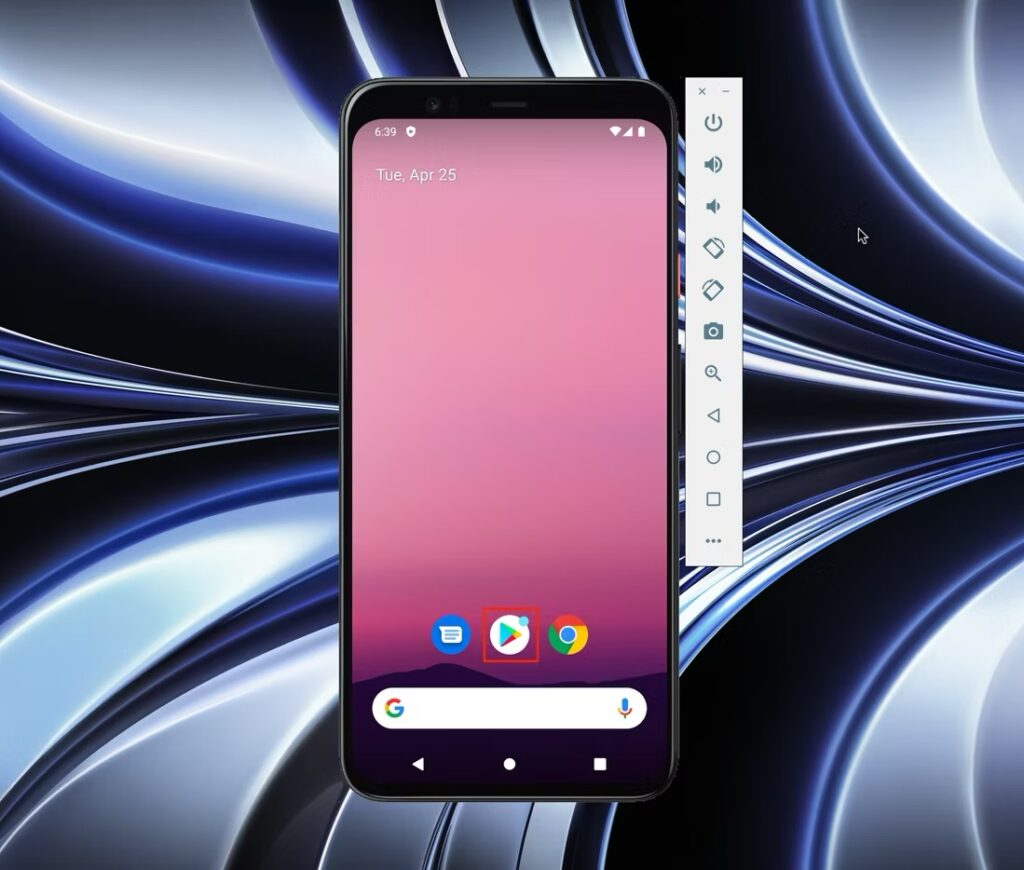
- Alternatively, you could install APK files from web sources you trust, as you would normally do on an Android phone.

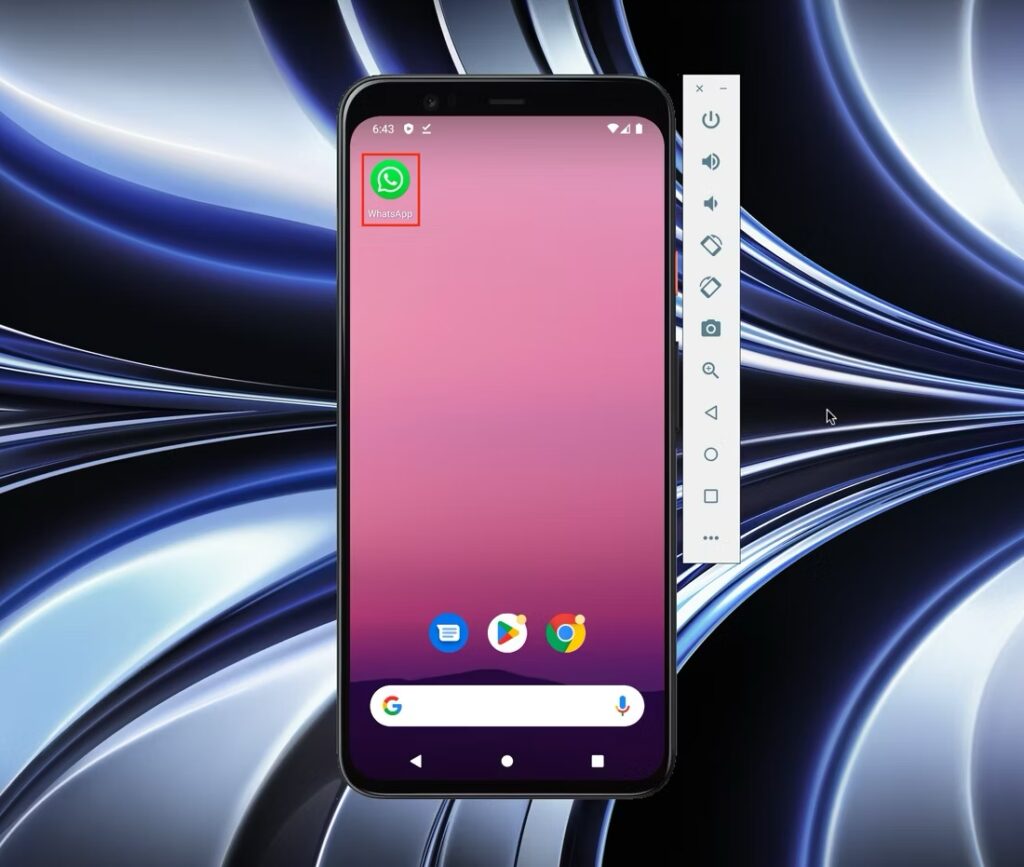
- You can then launch the app you’ve installed from the emulator’s home screen.
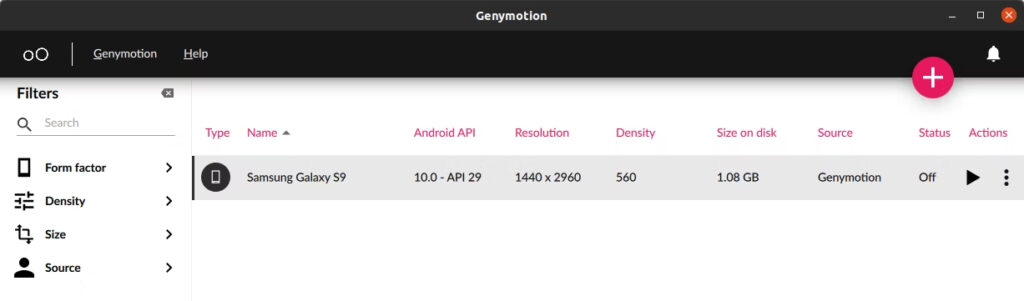
Genymotion
Genymotion is a third-party Android emulator that lets users access Android apps on Mac. It comes in free or in several pro versions that offer biometrics support, advanced developer tools, Android controls, Android 14 support, and technical support. That said, the free version should be good enough for personal use, but you can always try the program’s 30-day free trial to access more. Genymotion supports Macs with Apple silicon and the latest macOS Sonoma 14 software, which can’t be said for all emulators.
If you want to use Genymotion to play Android apps on the latest macOS, follow these instructions:
- Install Genymotion from the official website.
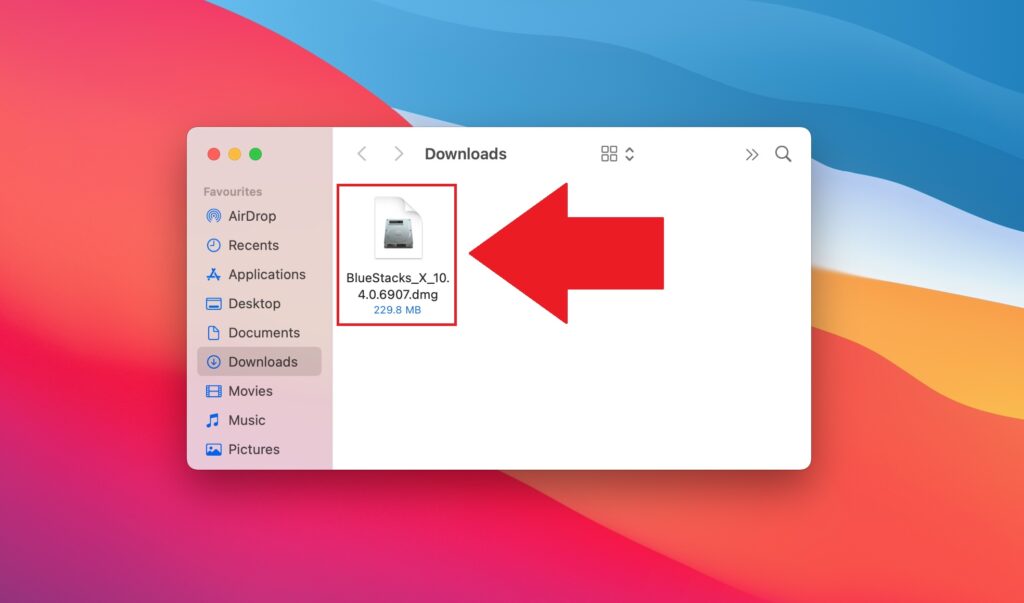
- After downloading, double-click on the download folder and open the .dmg file. A new window will pop up.
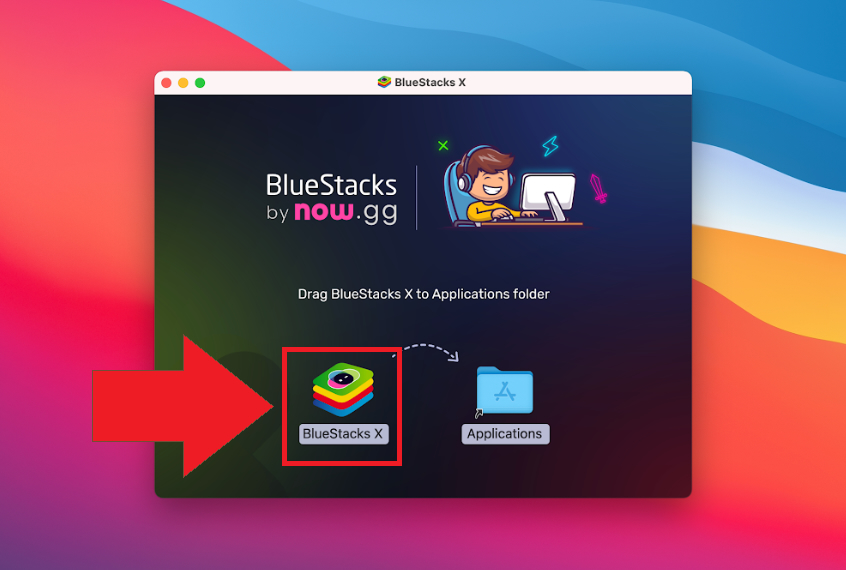
- Drag and drop Genymotion and Genymotion Shell into the Applications folder.
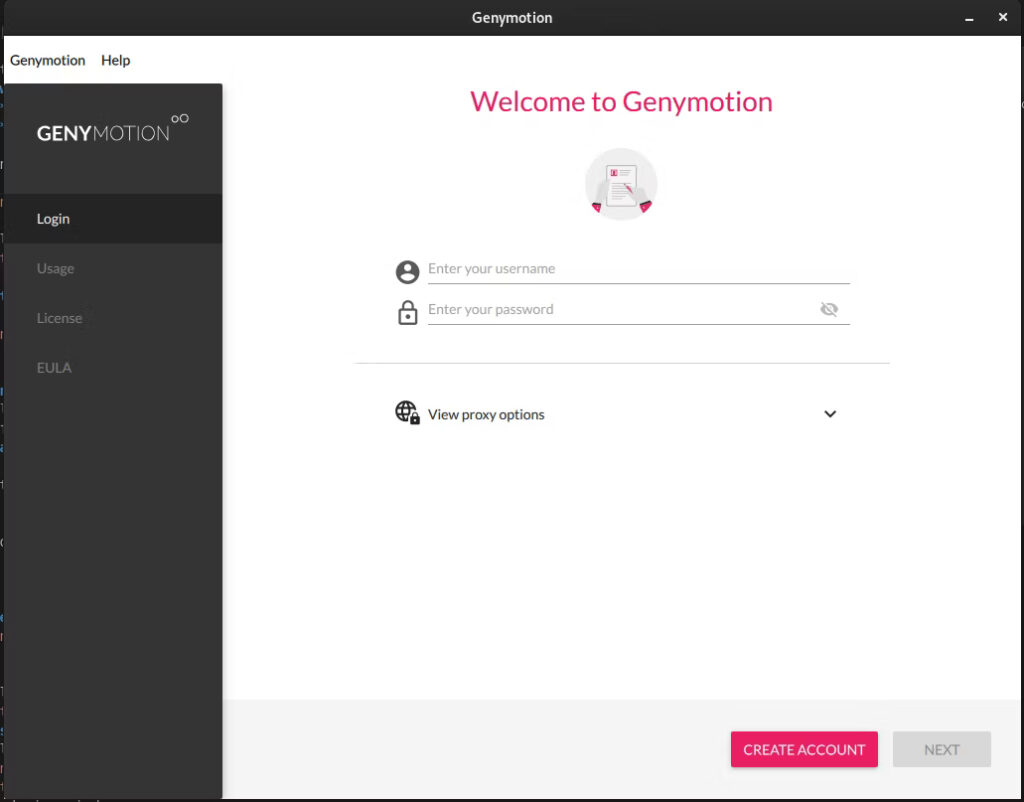
- Close the window. Genymotion should be installed, so find the application and open it.
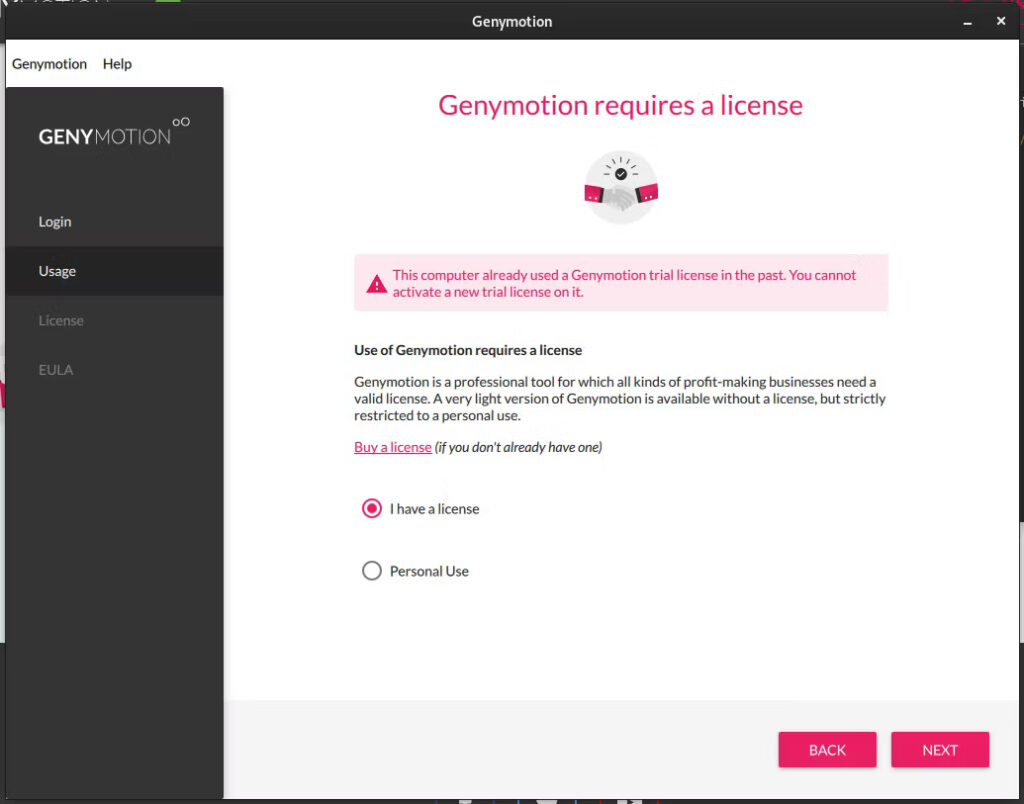
- Either sign into your Genymotion account, or set one up.
- On the next page, if you downloaded the free version, click on Personal Use. Otherwise, click on I have a license. Then follow the rest of the on-screen instructions to set up the program.
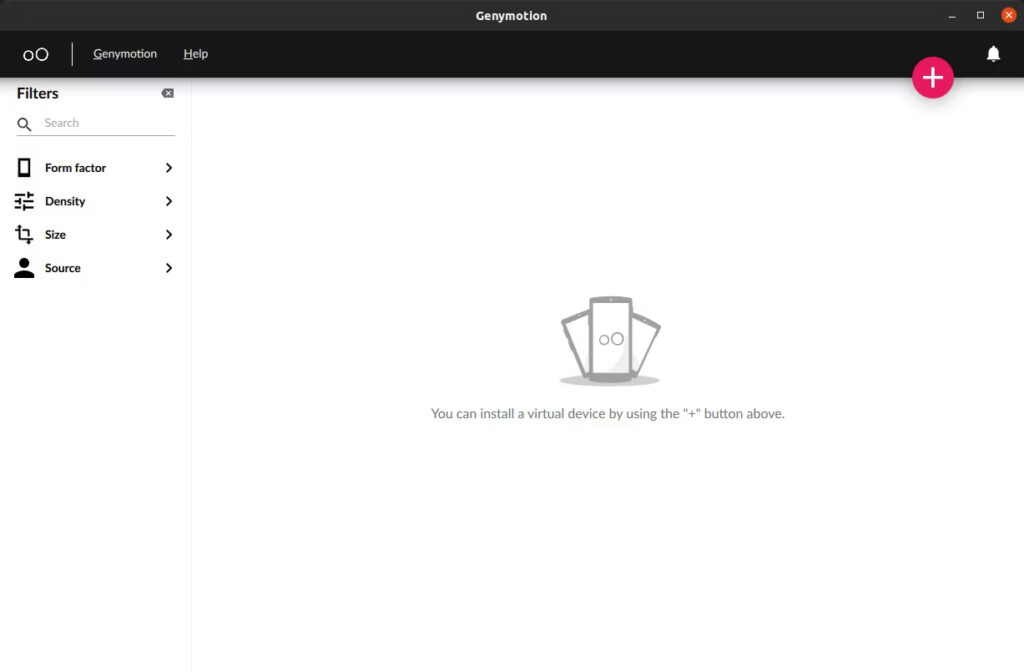
- To start using Genymotion, you need to install a virtual device. Start by clicking on the Plus button near the top of the window.
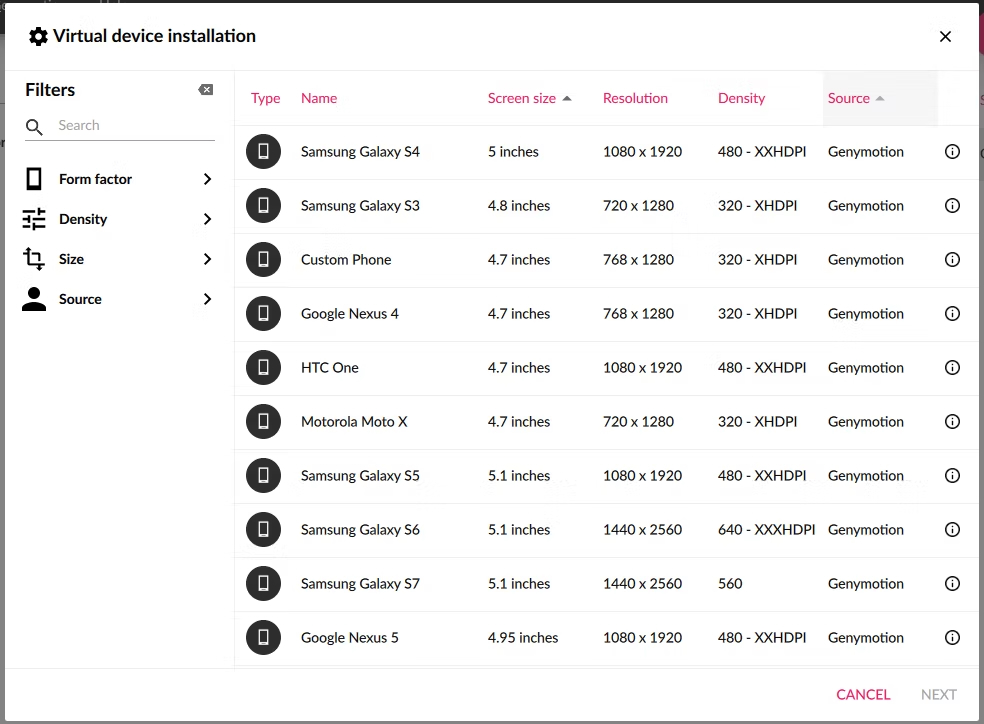
- Pick a device from the new tab, then click Next.
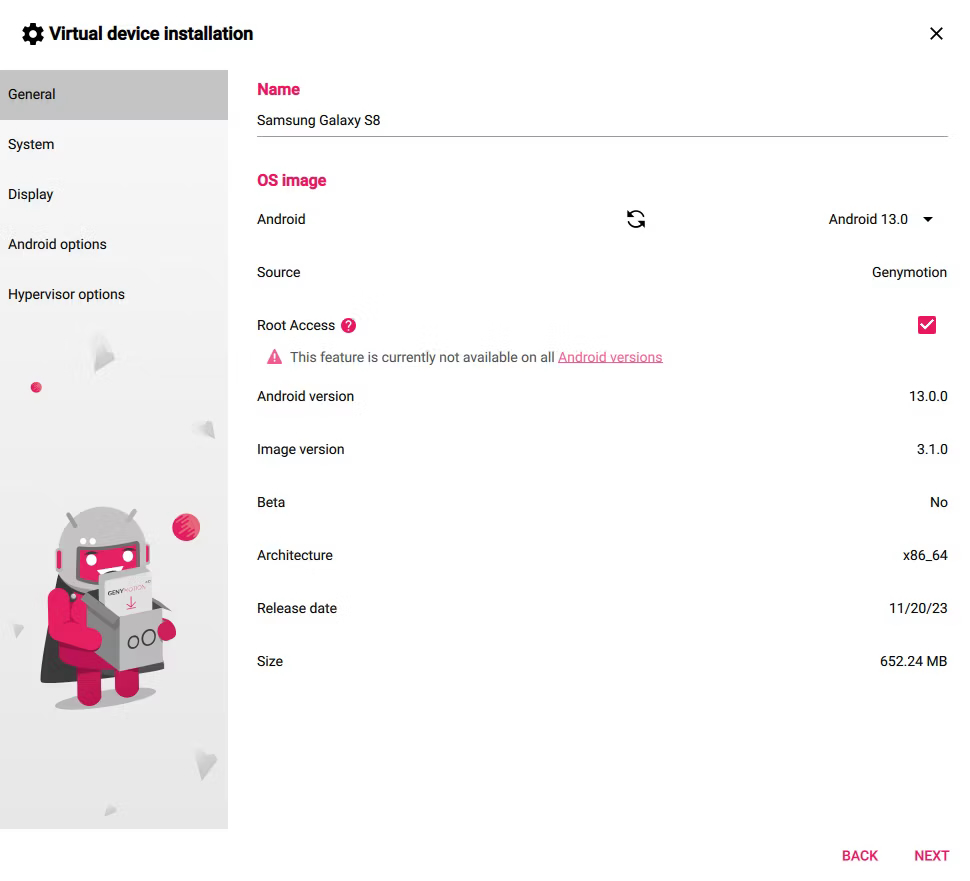
- Click on Next in the General tab.
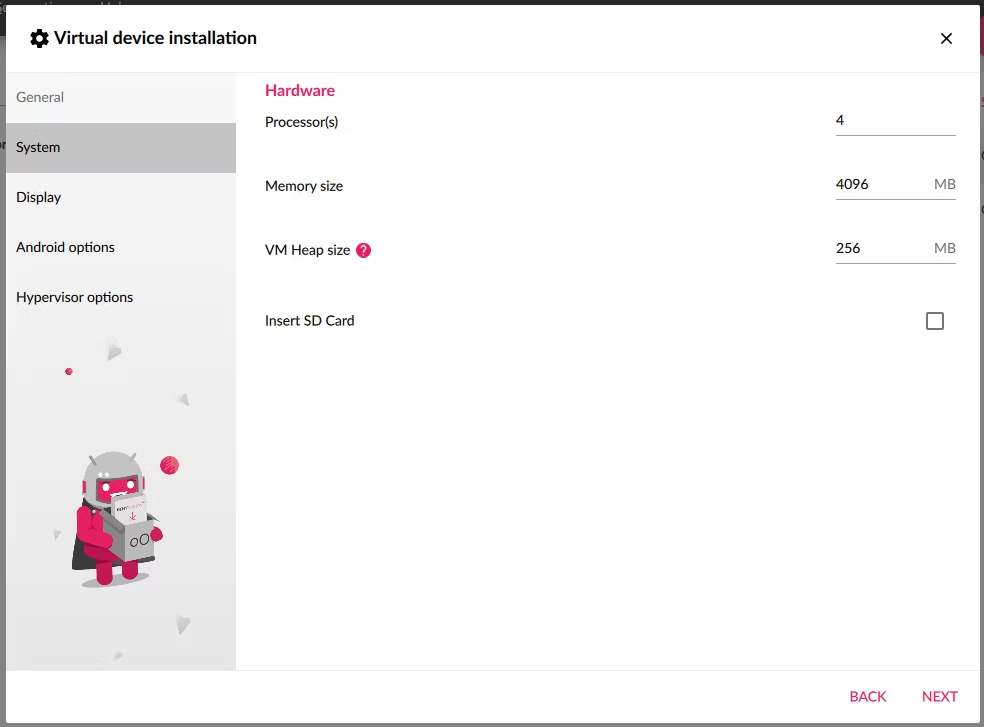
- Choose how much RAM and how many processor cores you want to assign to this virtual device, then click Next.
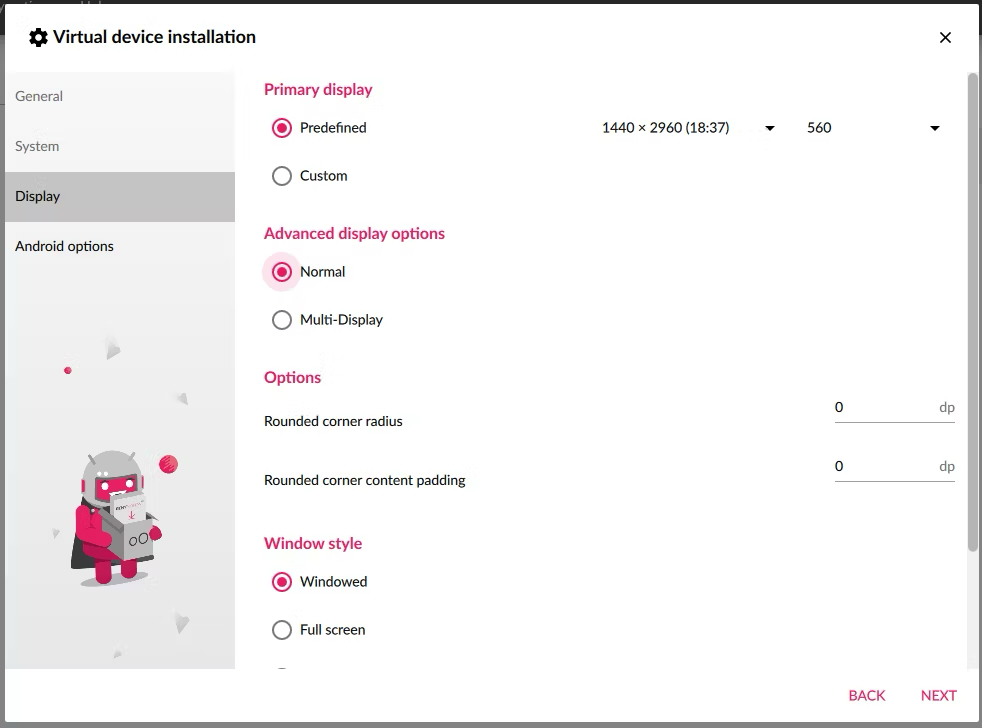
- Select your Display options (e.g., Windowed or Full screen), then click on Next.
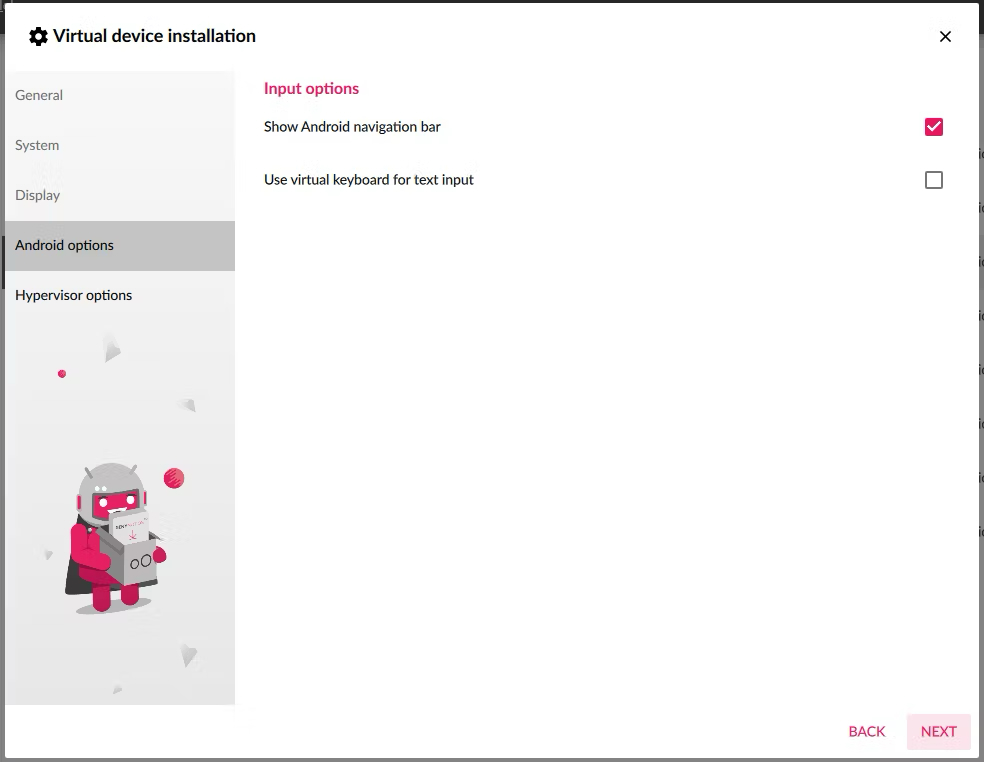
- Enable certain Android options as you see fit, then click Next.
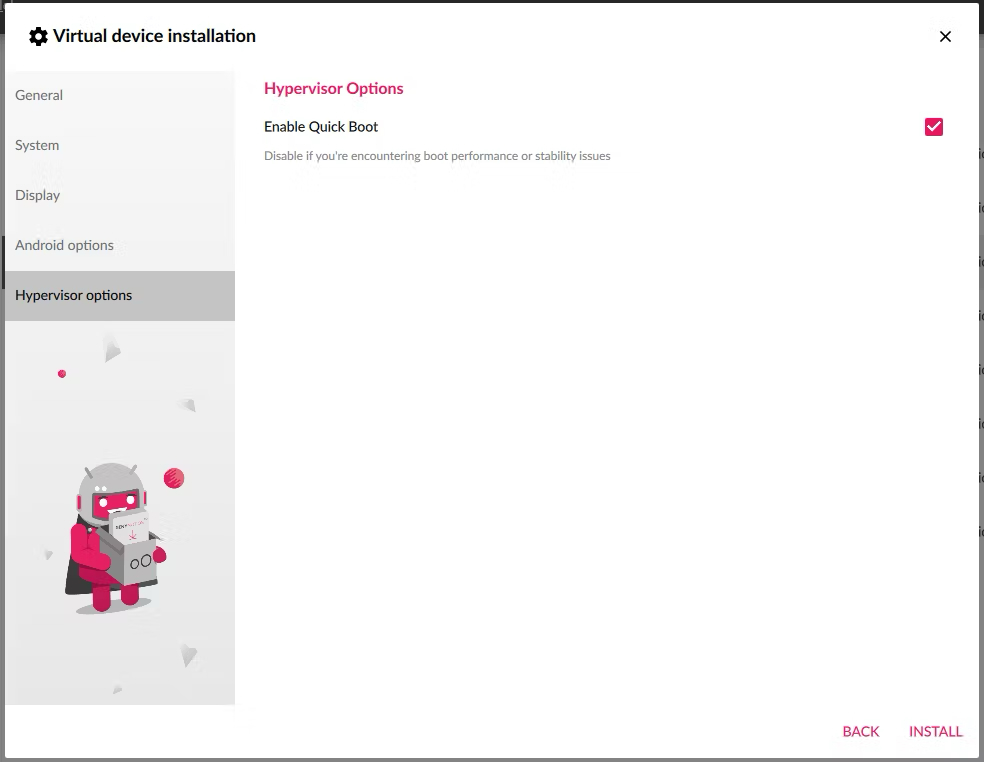
- Select Hypervisor Options if necessary, and click Install.
- Wait for the virtual device to install, then click Start. You might have to allow or deny access to your computer’s camera.
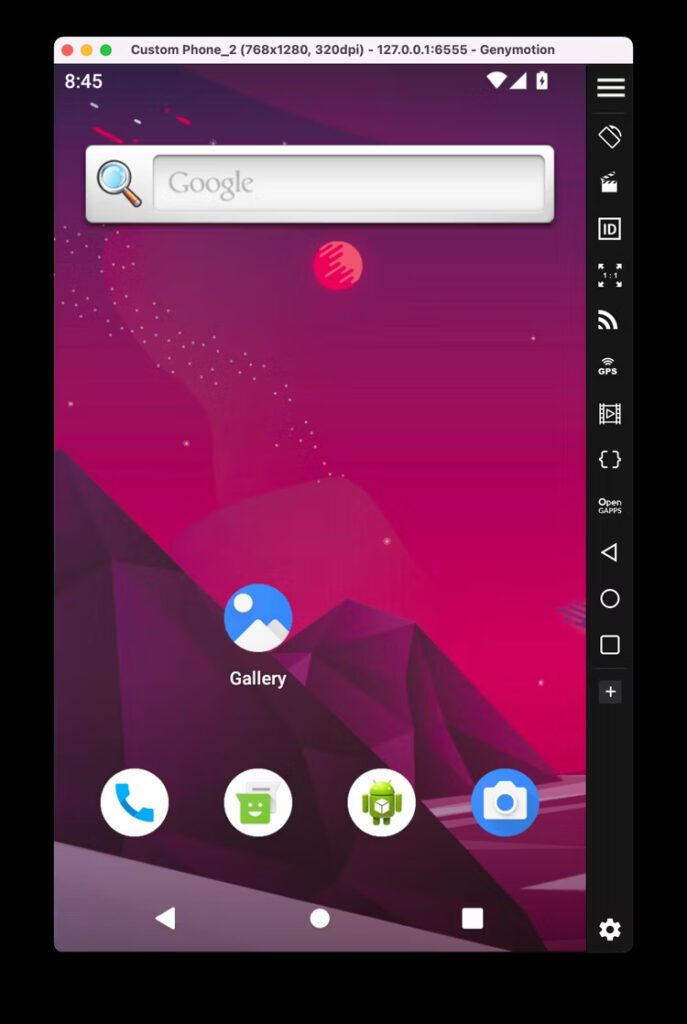
- After the process is complete, double-click on the new Genymotion virtual device to launch it.
- If the Google Play Store doesn’t show up, activate it by clicking on the Open GApps icon on the right side of the window (above the triangle icon), and then clicking Accept on the popup.
- After Genymotion is done updating, a window will appear asking if you want to restart the app. Click on Restart now, and Genymotion will restart so it can implement the changes.
- Open Google Play Store by swiping up from the bottom of the virtual device’s screen and clicking on the app’s icon.
- Enter existing or create new Google account credentials.
- Click on an app you want to download or use the Search bar to find one you want to install, then click on it.
- Click the Install button, or purchase the app if it isn’t free.
- Wait for Genymotion to download the game, then repeat the process for all other Android apps you want to install.
After all is said and done, you can use whatever apps you download onto Genymotion on your Mac. Just remember that more resource-heavy programs will require more RAM and processor cores.
BlueStacks 4
BlueStacks is another popular software for running Android apps on Mac and comes in several options: BlueStacks 4, 5, and X. Currently, BlueStacks 5 isn’t available on Mac computers, whereas BlueStacks 4 isn’t supported on the newer Macs with M-series CPUs or the recent Monterey, Ventura, or Sonoma operating systems. Otherwise, BlueStacks 4 does work with the older macOS Sierra and High Sierra, so long as the computer was built after 2014.
Some notable titles that work with the BlueStacks emulator include Roblox, Call of Duty, Raid: Shadow Legends, and Wuthering Waves. If that’s something you are looking for, here’s how you can set up BlueStacks 4:
- Install the BlueStacks program you want to use on Mac from the official website.
- After the download process is complete, move the BlueStacks program into the Applications folder.
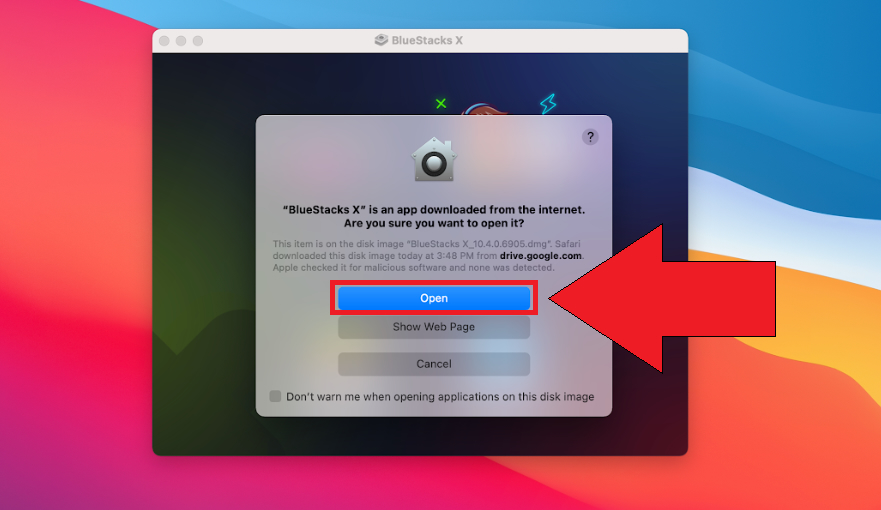
- A new window will pop up, then click on the Open button.
- After you are done installing BlueStacks, either open the app or let it open automatically, then set it up using the onscreen instructions.
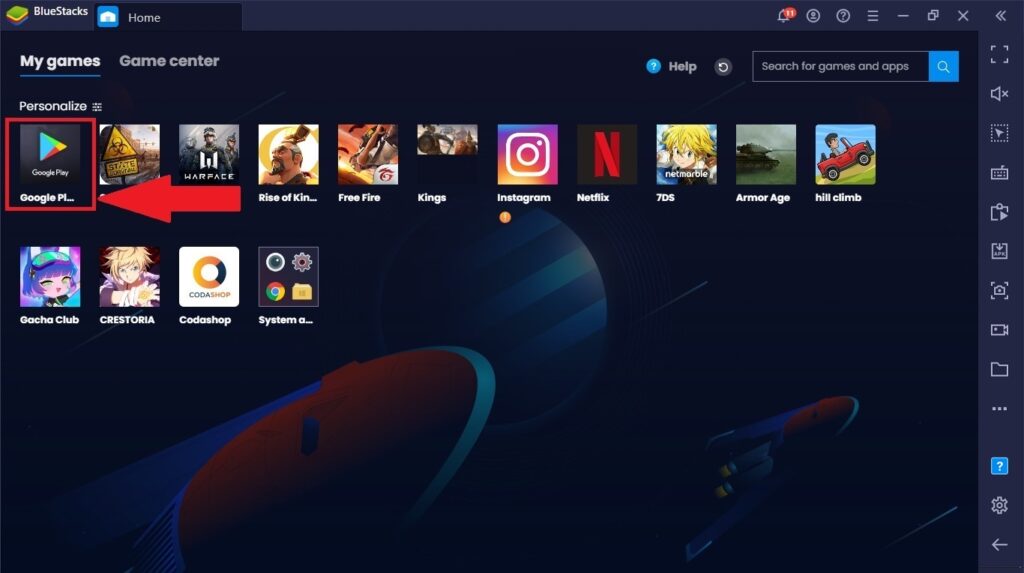
- Click on the Play Store icon, which will open the Google Play Store within BlueStacks.
- Log into your Google Play account if necessary.
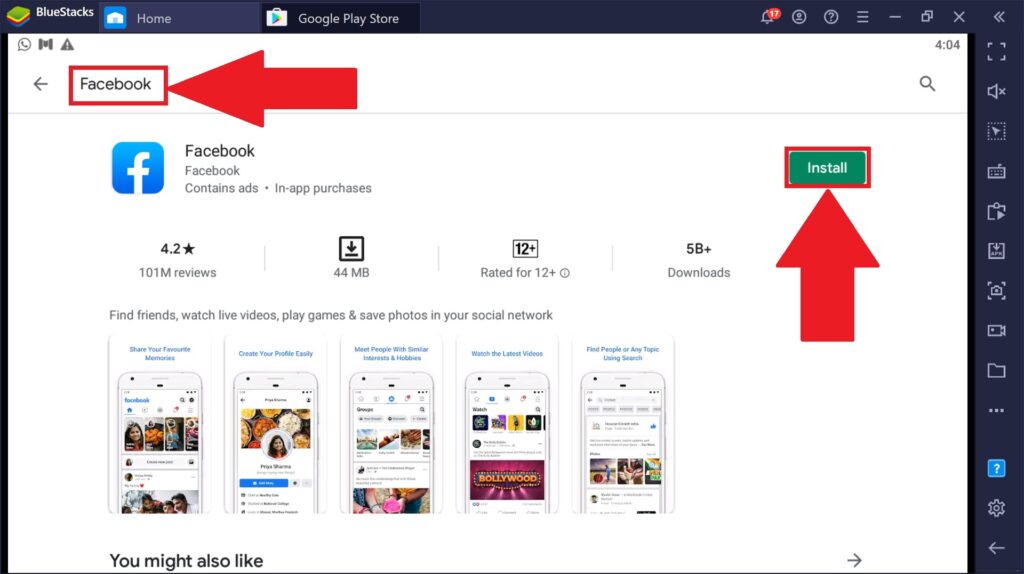
- Either click on an app you want to download or use the Search bar to find one you want to install, and then click on it.
- Click the Install button or purchase the app if it isn’t free.
- Wait for BlueStacks to download the game, then repeat the process for all other Android apps you want to install.
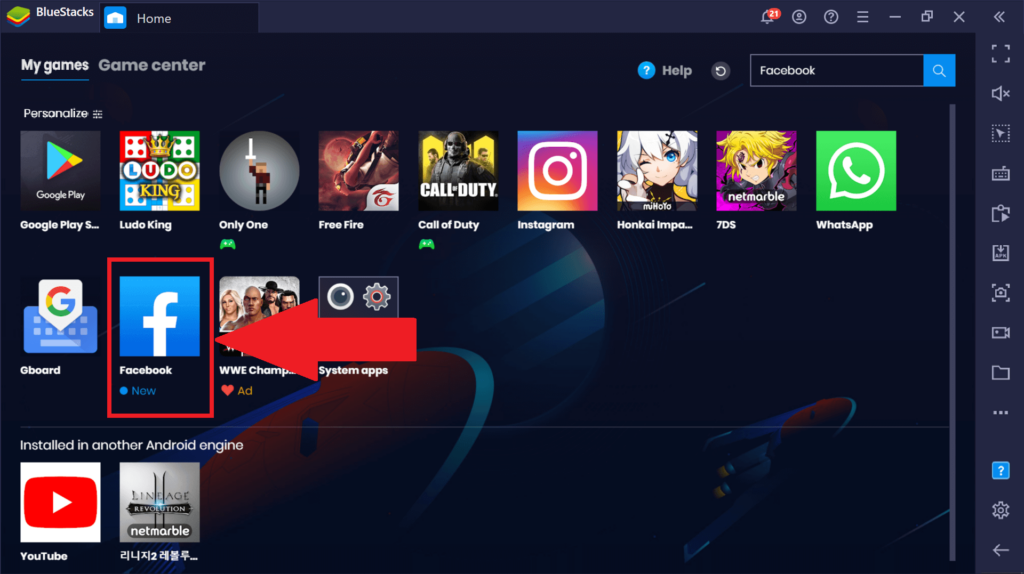
- Once you are finished, press the Home button (which looks like a house) at the top of the window.
- Click on any Android app, and BlueStacks will play it for you.
Depending on the games you download, you might need to tweak BlueStack’s performance settings (the cog-shaped button on the right of the window) to make them run more smoothly.
BlueStacks X
The latest version of BlueStacks, BlueStacks X, is a cloud-based app that lets you play several popular Android games on Mac. While the program isn’t available in every region, it works with M1 and M2 chips and all operating systems from High Sierra to Ventura; however, M3 chips and Sonoma are currently unsupported.
Since BlueStacks X is a cloud-based emulator, the program uses a slightly different interface. While you can download and install BlueStacks X the same way as you do BlueStacks 4, you won’t have access to the Google Play Store. Instead, you are limited to BlueStacks X’s “InstaPlay” and “Premium Games” options:
- Click on either InstaPlay or Premium Games.
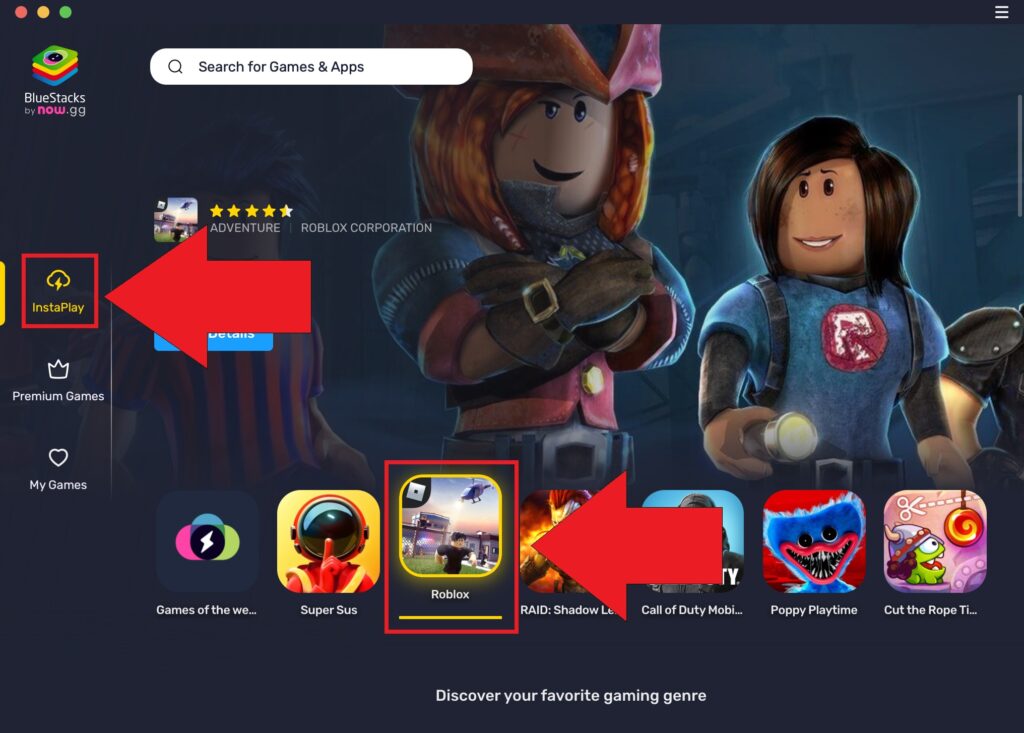
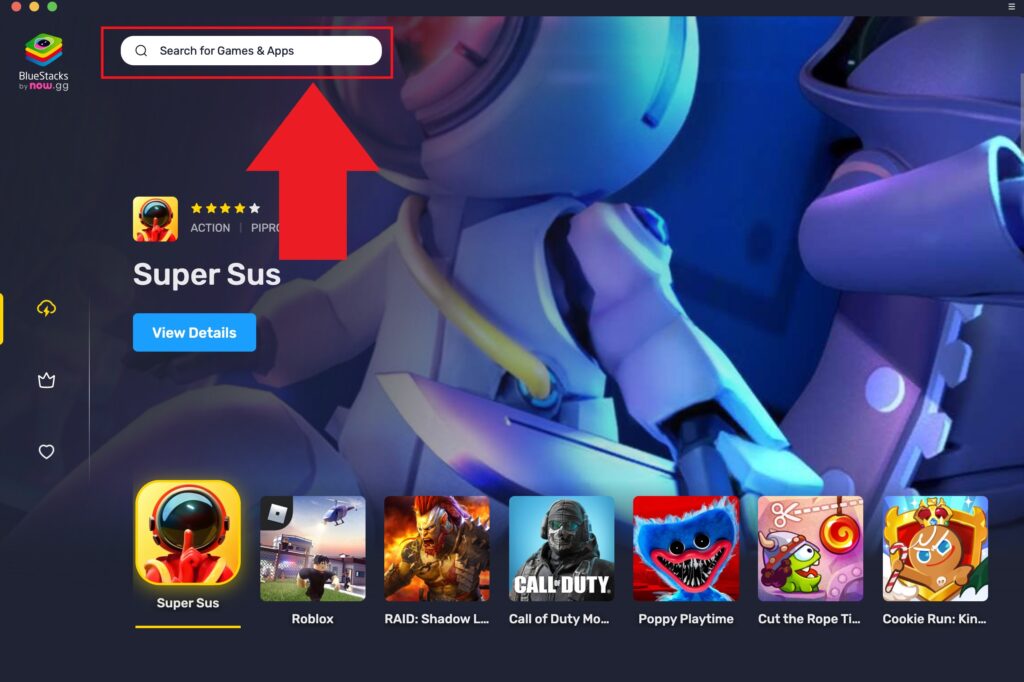
- Click on the game you want to play or use the Search bar to find the game you want, then click on it.
- Click on Instant Play in Browser, and BlueStacks X will redirect you to a browser.
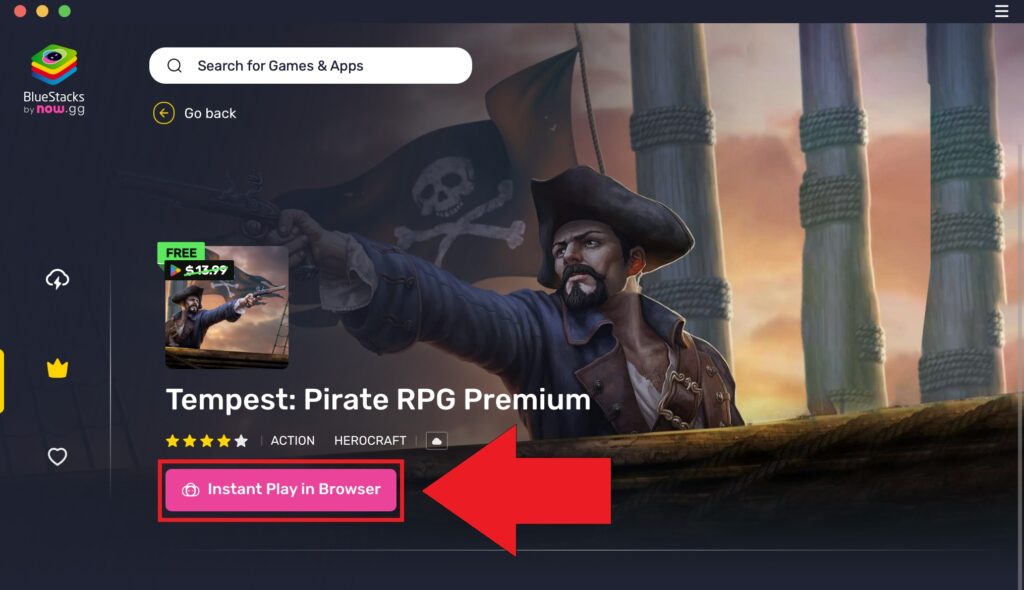
Since BlueStacks X is cloud-based, your experience will depend on your internet connection.
Access your Android apps on a big Mac screen
As you can see, running Android apps on macOS isn’t a complex process. You just need to know where to look. Once you set up the emulator for the first time, it’ll be easy to get back to it whenever you need it. It’s ideal for those who use an iPhone as a main device but need to test a certain Android-only app or feature. Since Android Studio is offered by Google, it’s always updated to include the latest OS versions and Google hardware options.