How to move your data and apps to a new iPad
When you buy your first-ever iPad, Apple makes it particularly quick and easy to get going. As soon as you get your second, though, then you need to take these certain steps to get the new one working just how you like.
You could swap to a new iPad and give the other away, or store it somewhere as a spare. You could set both the new and old up identically, with the same apps arranged in the same places on your homescreen, and all with precisely the same settings and documents.
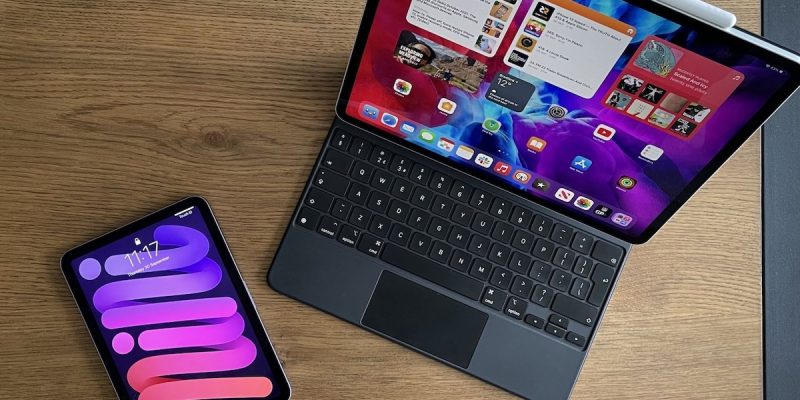
Or, you could choose to devote one iPad for certain tasks, and the other for something else. Such as if you do have an iPad Pro, perhaps you could use that for work and now add something like a n iPad mini that you chiefly read on for pleasure.
The different ways of setting up an iPad
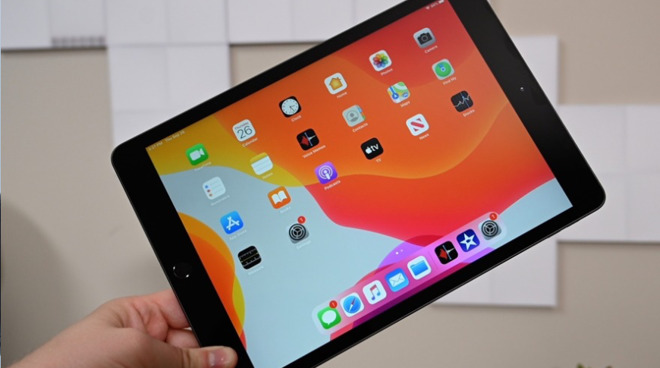
Aside from setting up your first-ever iPad, that’s three different options to think about. Replacing the old iPad entirely, setting up a twin, or setting up the new iPad as a separate device.
Whatever you do, and however many iPads you use, you need to sign in to each one with an Apple ID. In theory there’s nothing to stop you creating a new Apple ID for every iPad, iPhone and Mac you own, but that way lies madness.
You cannot recombine Apple IDs later and you will forever lose track of which account has which email on it.
So regardless of how you plan to use this new iPad, you should add it to your current Apple ID. Beyond that, you also most definitely need to backup your old iPad.
Back up your old iPad first
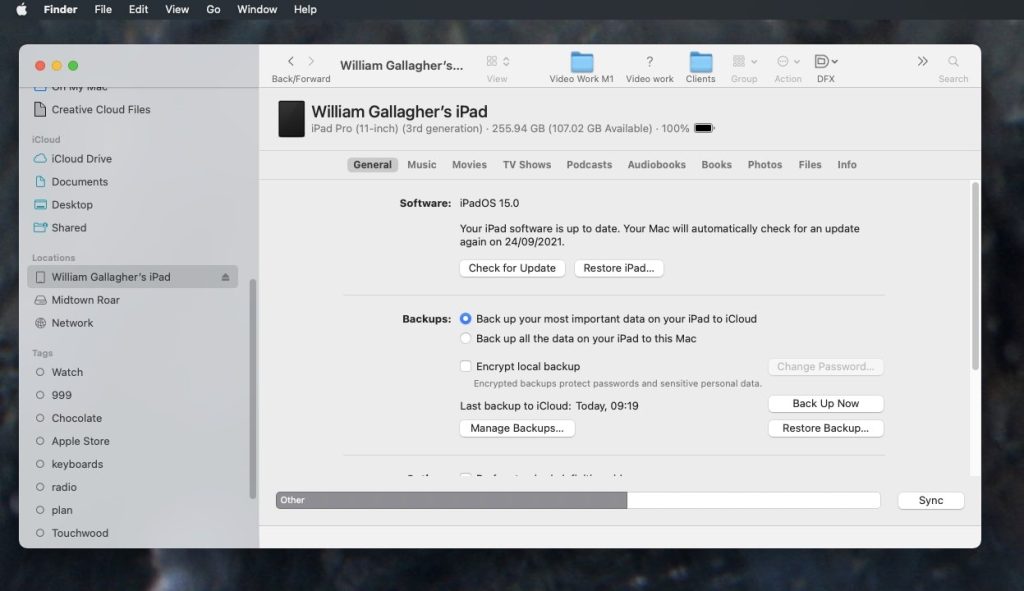
If you’ve been around Apple devices for long enough, you know that there used to be an issue over whether you backed up your iOS device to iCloud or to a Mac. There isn’t as much any more. You can choose whichever is convenient for you.
The real difference is that if you backup an iPad to a Mac, then everything on it gets backed up, including your apps and any media such as books or video. If you backup to iCloud, it’s your settings that get stored, not the content.
This needn’t be significant as if you backup to iCloud and then restore from it, your iPad will re-download all the apps and all the content that you had.
Inevitably, that’s going to be slower than restoring everything from a Mac, though. So the Mac is best option, but iCloud now works fine enough.
Whichever way you do it, back up even if you intend to use the new iPad as a separate device. On the one hand, it’s good to make regular backups anyway. But on the other, it’s easiest to use a backup to put all your old apps on the new iPad at once — and then remove any you don’t want.
How to back up your old iPad on a Mac
- Plug the iPad into your Mac
- Open a Finder window and click on the iPad’s name
- Choose either Back up your most important data on your iPad to iCloud
- Or choose Back up all the data on your iPad to this Mac
- Click Back Up Now
How to back up your old iPad without a Mac
- Open Settings on your iPad
- Tap on your name at the top
- Tap iCloud
- Choose iCloud Backup
- Tap Back Up Now
In either case, you now have a backup of your iPad which will speed setting up your new one considerably. Next you need to prepare that new iPad.
How to set up the new iPad
Begin the process by using what Apple calls Quick Start, first introduced with the iPhone 8 and iOS 11.. Place your new iPad beside your old one, and turn both on.
After a moment, the new iPad should recognize that you have an existing one, and it will offer to use the Apple ID associated with that older device. Tap Continue to accept that and then hold the new iPad over the old one.

An animation will appear on the old device. Hold the new iPad over it so that the camera shows you the animation on the screen. When it appears, tap on Finish on New iPad.
You’ll have to manually enter your Apple ID and password on the new iPad, to make sure that it is you doing this. And then you’ll have to go through the setup steps of adding Face ID or Touch ID on the new device.
Restore all your apps
This has effectively made the new iPad yours, in that it has your Apple ID on it. Go the rest of the way and have the App Store reinstall all of your apps — which you do through the restore process.
Your new iPad will offer you the option of reinstalling apps, and restoring data and settings from the backup you just made, and this is always the fastest route. Tap to choose this and you’ll be shown a list of recent backups with their dates.
Pick the latest one by taping on the most recent date. Then just wait for your iPad to do the restore. This may take some time, depending on the size of the apps you’re reinstalling.
Finish setting up the new iPad
Once all of your apps are on the new iPad, you could go through removing any you don’t want on it. Equally, you could now go to the App Store to add any that you haven’t got on your old iPad.
In practice, you’re going to find that it’s best to do this over time. Don’t delete any apps until you’ve used the iPad for a while and learned what you really do or don’t want on it.
Finish with the old iPad
If you’re keeping the old iPad, you’re done. The two machines will work perfectly together, and you’ll keep forgetting which one needs charging up.
However, if you’re going to get rid of that iPad — either by selling it to a stranger or giving it to a family member — you must do certain things. Basically, you’re removing your Apple ID and returning the old iPad to its out-of-the-box state.
How to remove your data and iCloud user ID from your old iPad
- Back up your old iPad again to be sure
- Go to Settings and tap on your name
- Scroll to the bottom and choose Sign Out
- Go back to Settings and chose iTunes & App Store
- Tap on your Apple ID and choose Sign Out
- Go back to Settings and now choose General, Reset, Erase All Content and Settings
- If prompted, enter your Apple ID and password
Now your old iPad is ready for someone else to set up as their own. And your new one is ready for you to work on.

