How to Play DOS Games on Your iPad
Apple has been lifting restrictions on game emulation on iOS and iPadOS for months now, and finally it’s possible to get DOS emulation on your mobile Apple devices without jailbreaking. One of the first DOS emulation tools on the App Store is iDOS 3, and here’s how you can get a game running in no time.
You’ll Need iDOS 3: What Is It?
The iDOS 3 app is based on the free and Open Source DOS emulator DOSBox. The app has a beautiful retro front-end, is easy to use, and only cost me around a dollar. So the first thing you need to do in this process is buy the app, and install it.
Getting Your DOS Games on iPad
The next step is getting your game files on your iPad. You can use all sorts of file setups with iDOS, such as game disk images. However, the easiest way is to simply copy a game’s installation folder over to your iPad. That is, the folder that contains the “.exe” executable file you’d run to play the game.
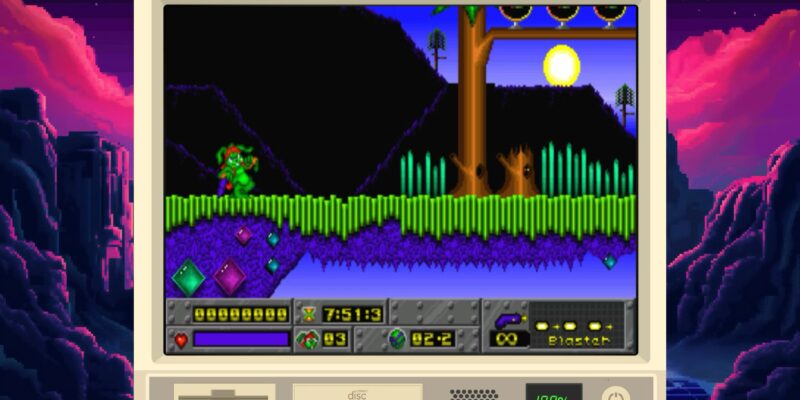
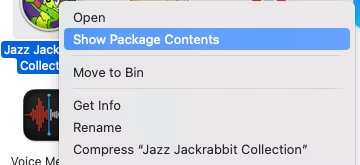
In this case, I used my GOG copy of Jazz Jackrabbit. All I had to do was look in the installation folder on my computer for the folder that contained the “Jazz.exe” file and then copy that folder to my iPad. On Mac, you can go to the application package, right-click on it, and select “Show Package Contents”
In this case the .exe file was in Content > Resources > Game, so I copied the entire contents of the “game” folder to my iPad in a folder named “Jazz“.
As to how you can get the files on your iPad, the options are endless. You can AirDrop it from your Mac, transfer the files using a USB flash drive, email them to yourself, use iCloud. It doesn’t matter where you choose to save the game files, as long as you remember it for later.
Running Your Game
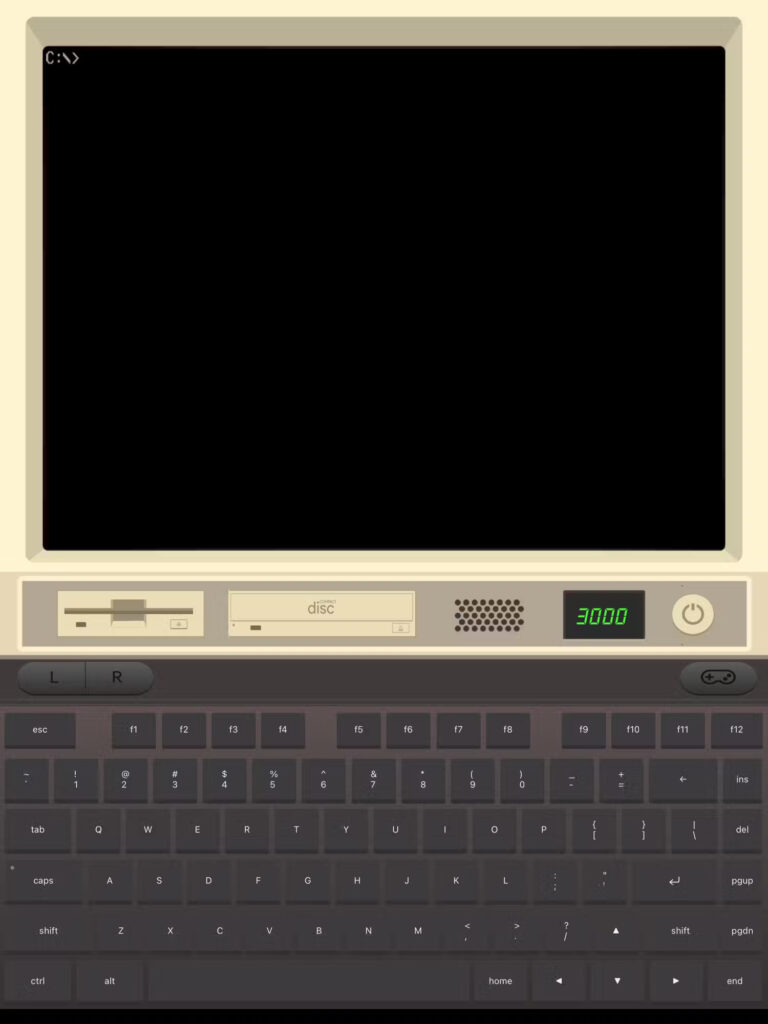
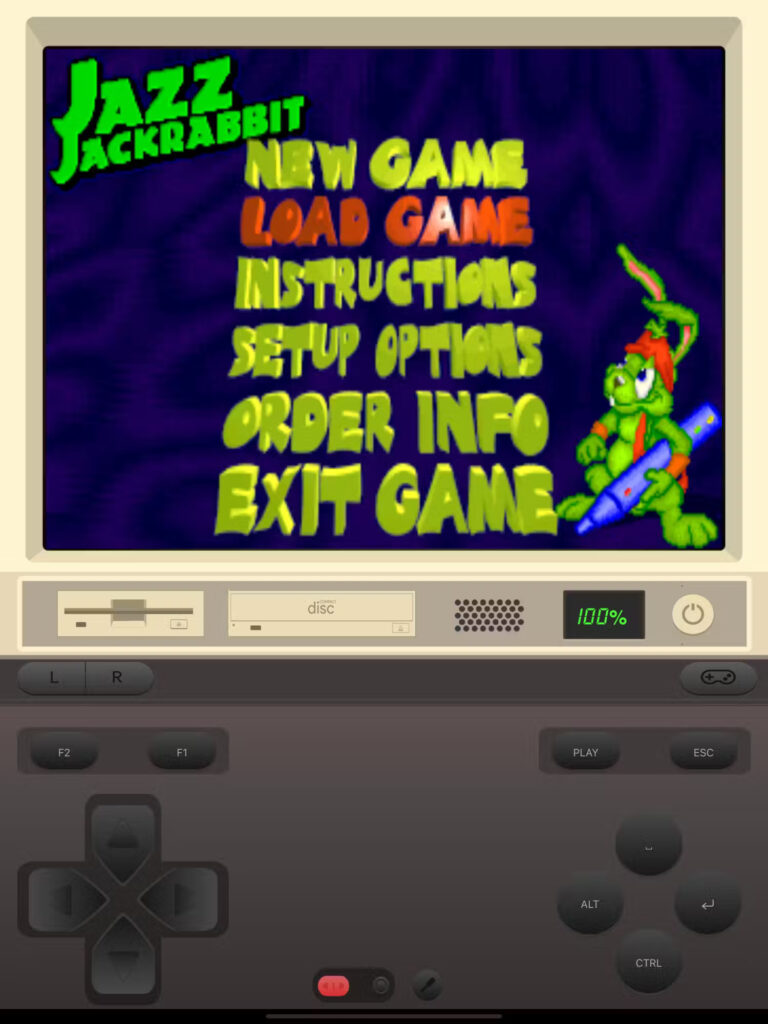
Now that your game folder is saved on your iPad, we can move on to running the game. There are two modes for iDOS 3: portrait and landscape. When holding your iPad in portrait mode, you’ll see a virtual keyboard and a faux period-appropriate computer.
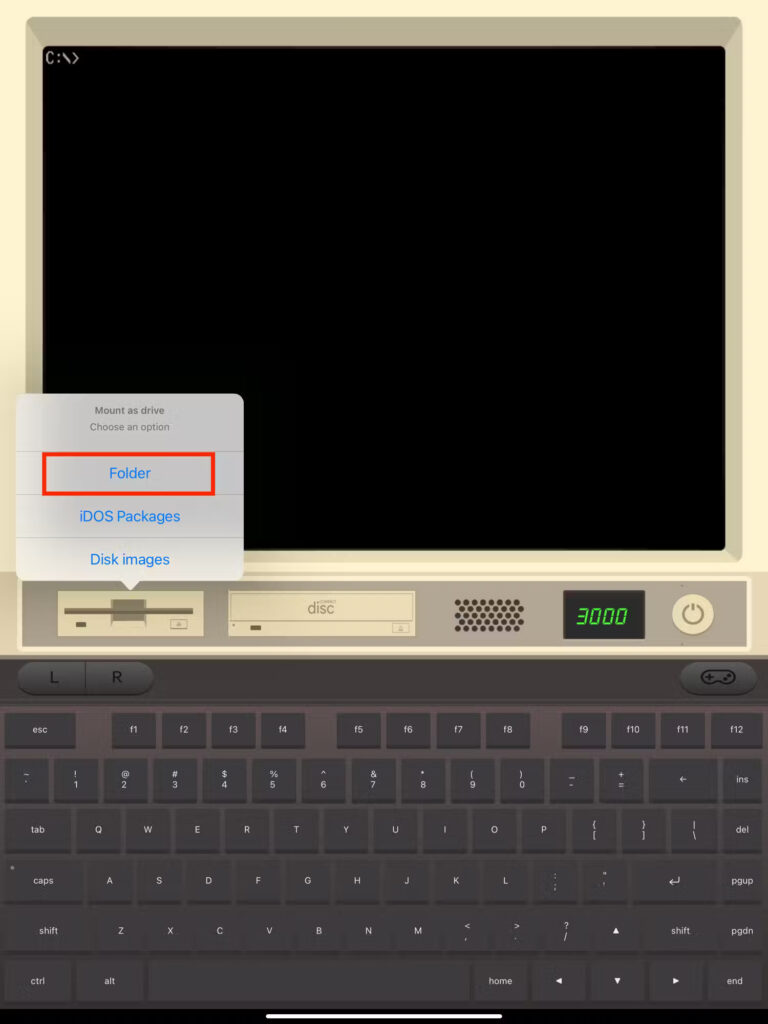
Some DOS games need to be installed off a CD, but in this case we just want to mount the folder as a drive. So tap on the floppy drive and select “Folder“.
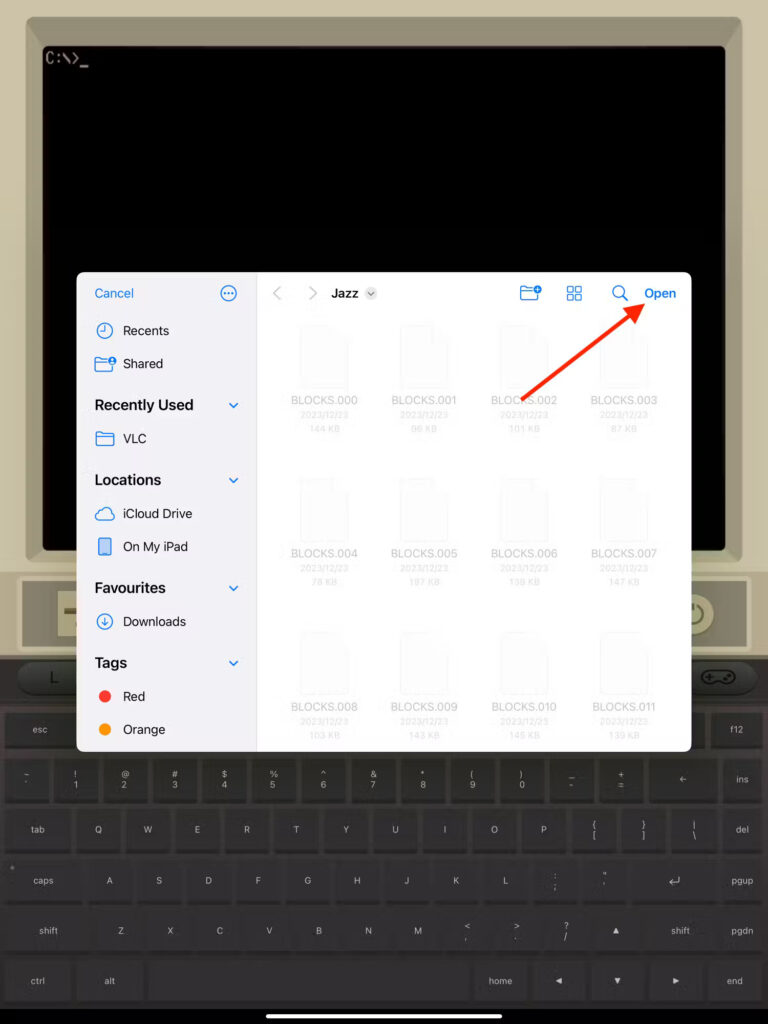
Now navigate to the folder where you saved your DOS game files, and select “Open“.
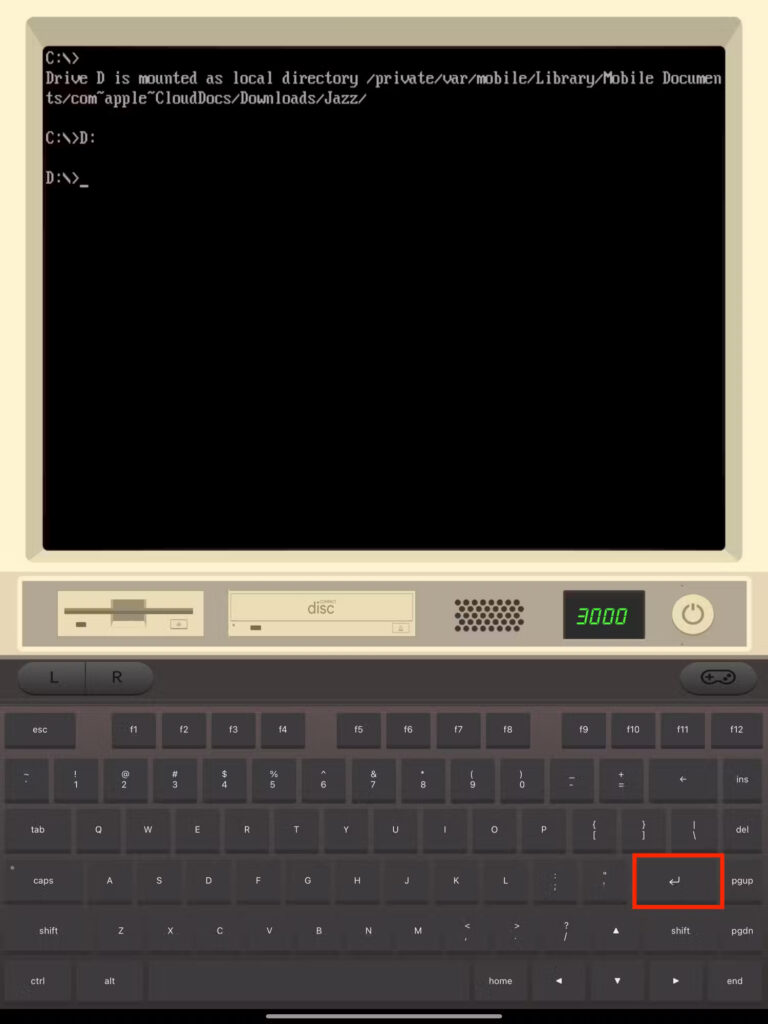
You’ll see a message that the game folder has been mounted as a virtual drive in iDOS. So next we want to change to that drive. Type “D:” using the on-screen keyboard and then tap on the Enter button.
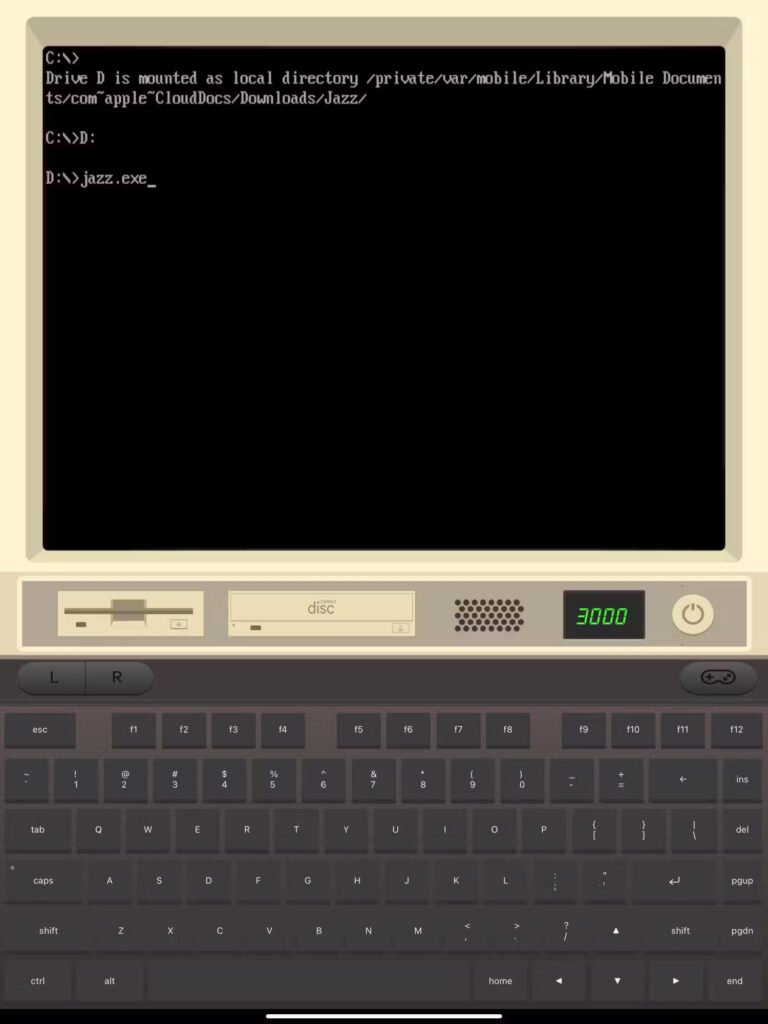
Now we’ve changed to drive D, and all you have to do is type the name of the executable, and then press enter. In this case, that’s “Jazz.exe” but it depends on the specific game, of course.
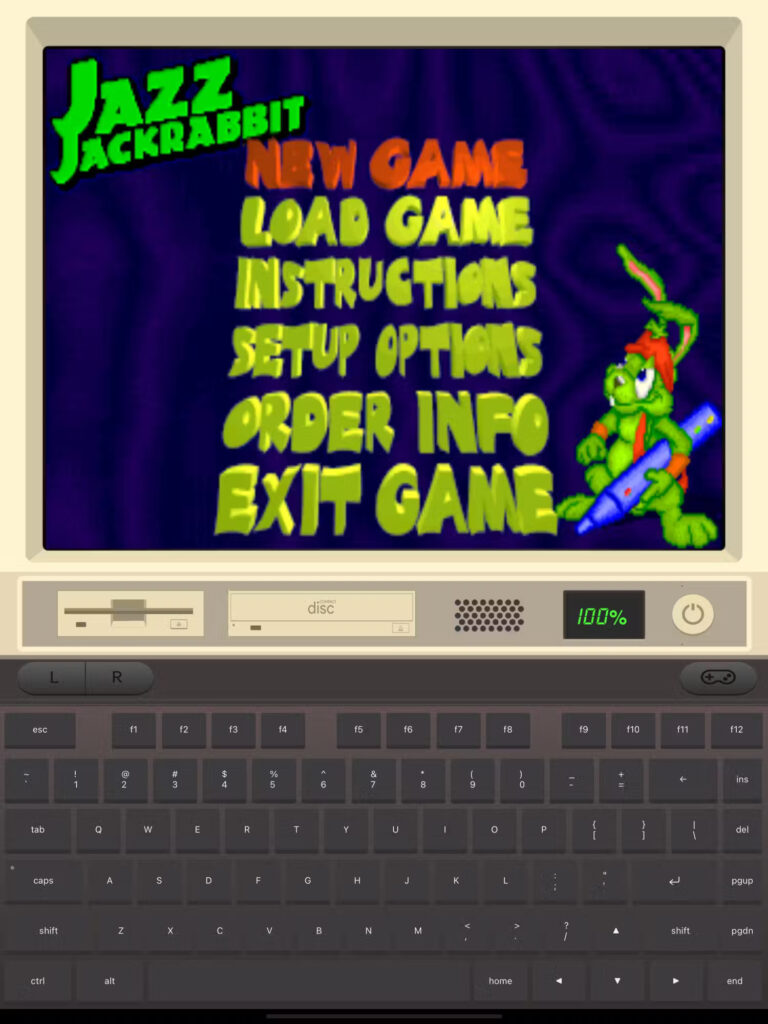
Now the game is running, but how to control it?
In portrait mode, you can use the virtual keyboard to control your game, and if you tap the little gamepad button you’ll have an on-screen gamepad with buttons that are bound to certain keyboard keys.
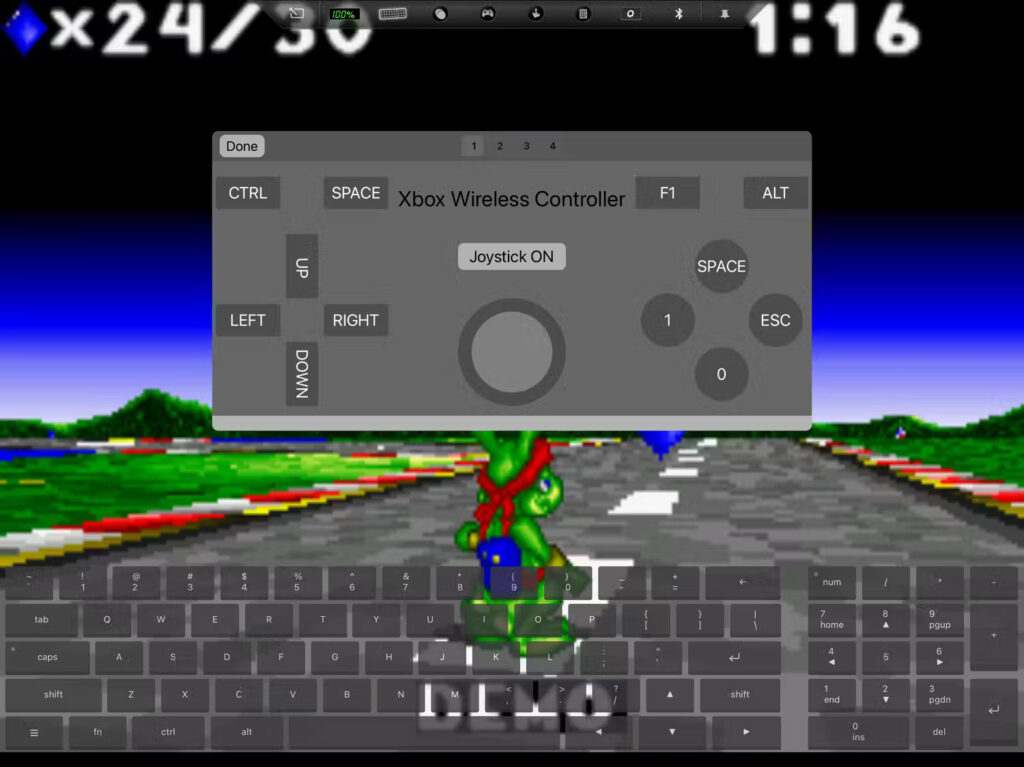
If you put the iPad into landscape mode, you’ll see a little bar with options pop up at the top.

You can use the little pin icon to make it stay, but you can just tap the top edge of the screen to make it appear. Here you can tap on buttons to see a virtual mouse, keyboard, or gamepad appear on-screen.
Configuring Peripherals
Let’s be honest, touch controls aren’t great for playing video games. Unless it’s something like my beloved Master of Orion, which is a turn-based 4X game, you’ll want something more intuitive.
The good news is that you can connect a keyboard and mouse to your iPad just as you would for any other purpose, and it just works with iDOS 3. However, for many games, you’ll want to connect a Bluetooth game controller to your iPad. In my case, I used an Xbox Series X controller. By default, the buttons and controls are bound to keyboard keys. If you tap the Bluetooth icon in the little quick bar, you can customize what each button does.

Hold the button on the controller you want to rebind, and then press the corresponding key on the virtual keyboard.
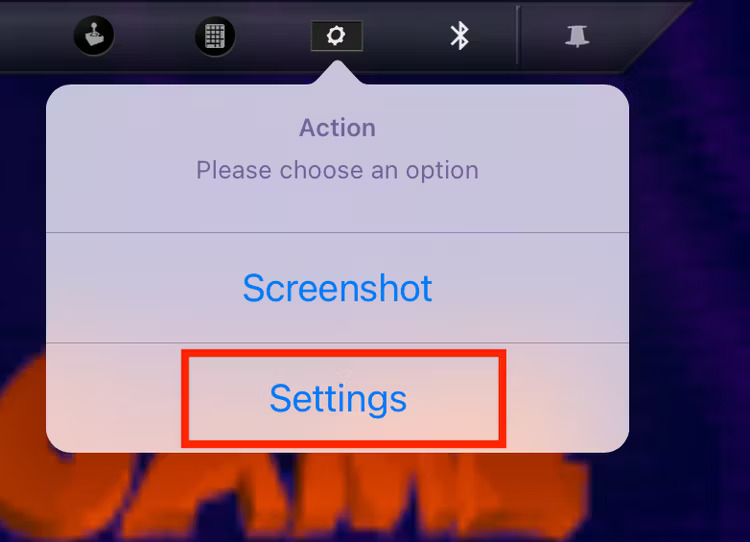
Some DOS games supported joysticks or gamepads, and if you want to use your gamepad as a true controller with these games, tap on the settings gear in the iDOS 3 quick bar and choose “Settings“.
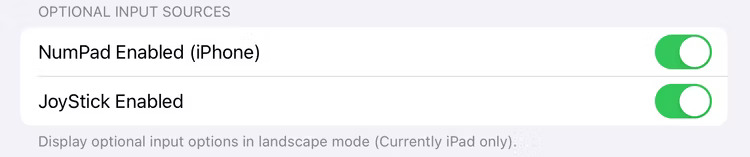
Then under “optional inputs” enable the gamepad option. Just remember that you’ll have to set up the joystick or gamepad in the game itself, since back then games calibrated these peripherals on an individual basis.
Personally, I wouldn’t bother with this most of the time, since there was rarely any sort of analog joystick control in old DOS games, but it’s great to have the option nonetheless.