Install and Run Apache Answer on Ubuntu
Apache Answer is a Q&A platform that helps teams build communities and share knowledge. It can be used as a help center, community forum, or knowledge management platform. Apache Answer is open source and incubates at Apache Incubator.
Prerequisites
This guide assumes the following prerequisites are met:
- Ubuntu Focal 20.04 (LTS) or Ubuntu Jammy 22.04 (LTS) fresh install
- Root-level user access
Install and Run Apache Answer on Ubuntu
To install and run Apache Answer on Ubuntu, follow the steps below:
1/ Install Docker Engine
- Login via SSH as root user.
- Update and upgrade system:
sudo apt-get update -y && sudo apt-get upgrade -y- Remove existing Docker files by running the following command:
for pkg in docker.io docker-doc docker-compose docker-compose-v2 podman-docker containerd runc; do sudo apt-get remove $pkg; done- Install Docker Engine latest version with:
curl -fsSL https://get.docker.com -o get-docker.sh
sudo sh get-docker.sh
2/ Install Docker Compose
- Run the following command:
sudo apt-get install docker-compose-plugin- Verify that Docker Compose is installed correctly by checking the version:
docker compose version3/ Install Apache Answer
Start Apache Answer with Docker Compose:
curl -fsSL https://raw.githubusercontent.com/apache/incubator-answer/main/docker-compose.yaml | docker compose -p answer -f - upThe default port for Answer is 9080. You can access it at http://localhost:9080.
Install steps:
After you start the answer, you can follow the steps below to complete the initialization about the basic configuration.
- Choose the language

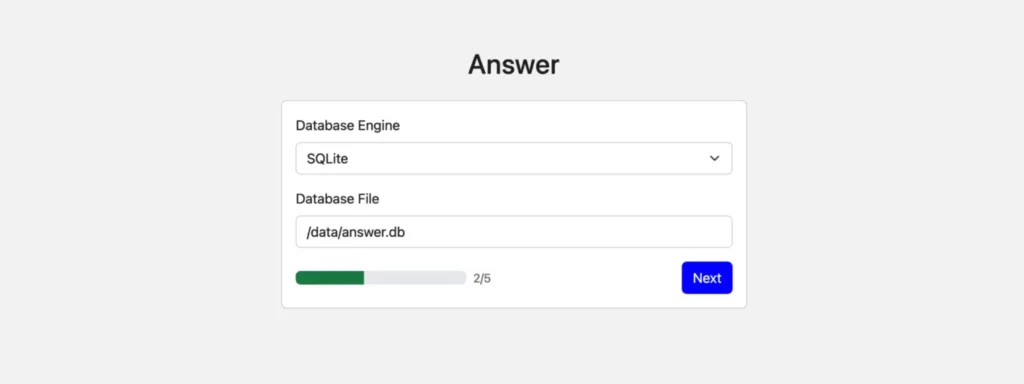
- Config database: Answer supports MySQL, PostgreSQL, and SQLite as the database backend. The smallest environment is SQLite, which does not require any additional configuration. If you want to use MySQL or PostgreSQL, you need to setup the database first and then configure the database connection in this step. Here we recommend using sqlite3 to complete your first experience.
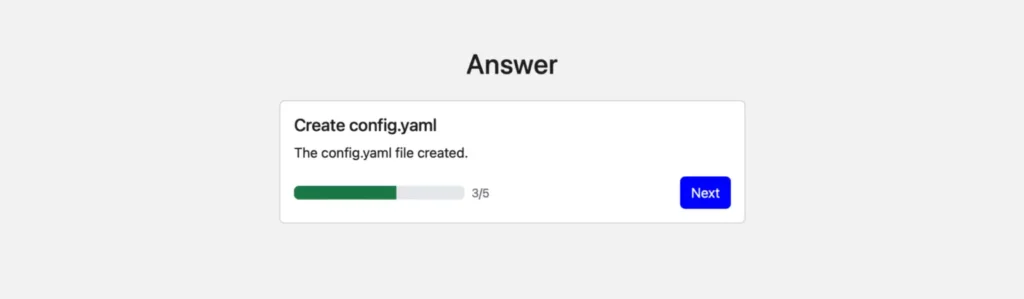
- Create configuration file: Click Next button to create the configuration file.
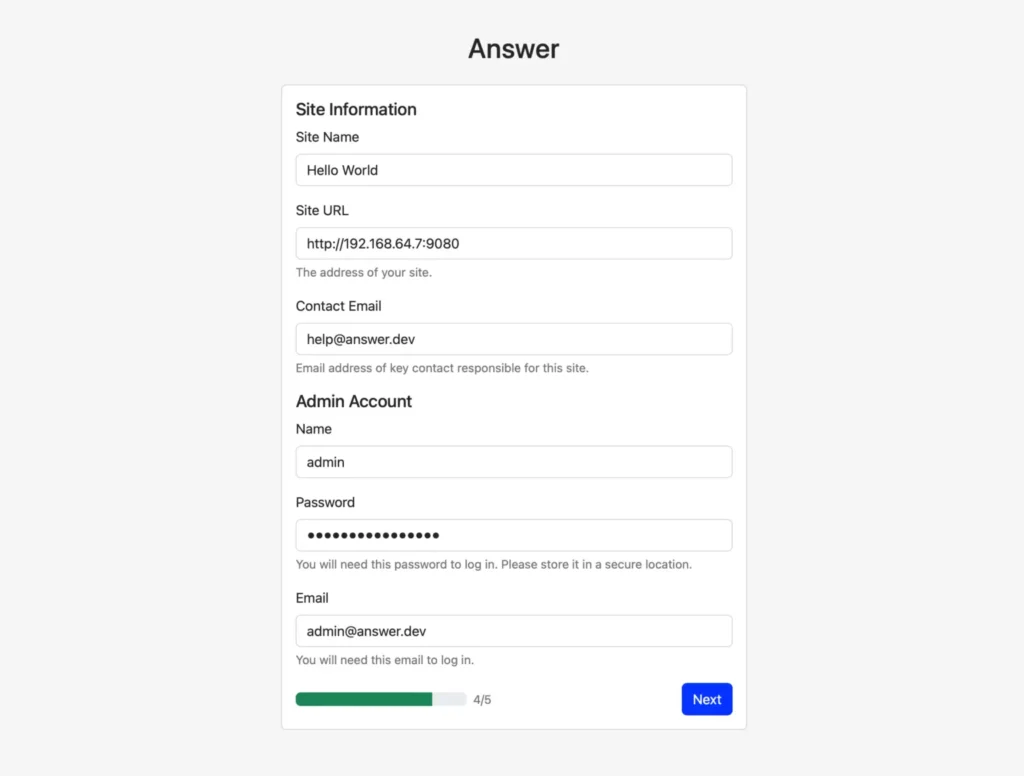
- Fill in basic information: “Site URL” is the browser address you will use to access answers after installation.
Don’t forget the admin Email and password.
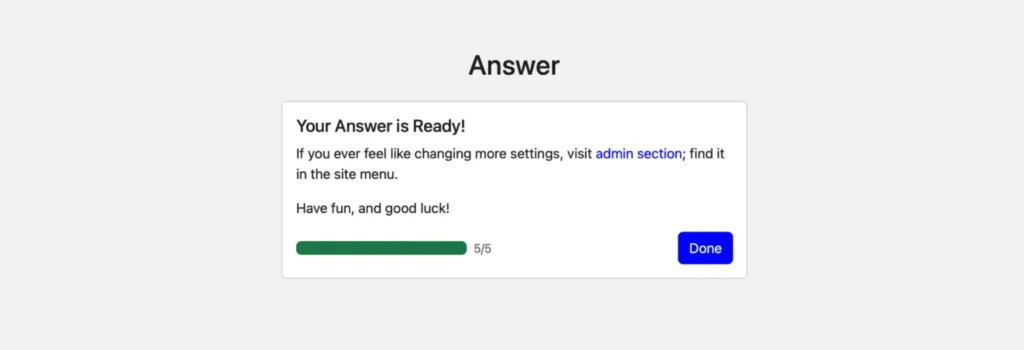
- Complete: Congratulations, you can click the done button to start your answer journey!