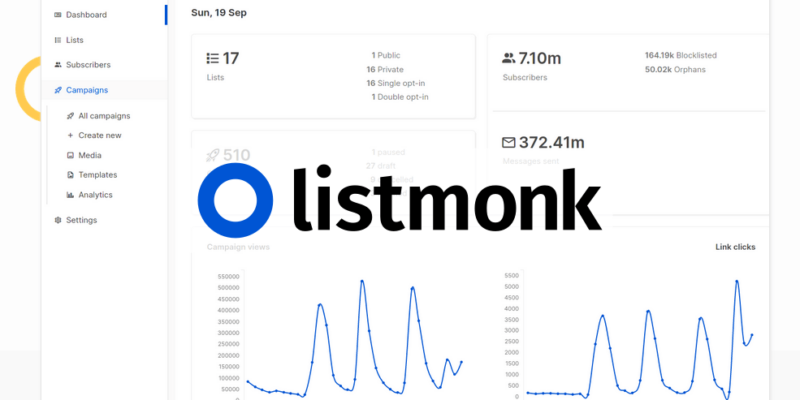
Listmonk is a powerful newsletter and mailing list manager that can be installed on AlmaLinux 8. In this guide, we will walk you through the process of installing Listmonk with Docker on your AlmaLinux 8 system. By following these steps, you’ll be able to set up Listmonk quickly and efficiently.
Step 1: Install Nginx
First, we need to install Nginx, which will act as a reverse proxy for Listmonk. To install Nginx, run the following commands:
yum install nginx -yOnce Nginx is installed, enable and start the Nginx service with the following commands:
systemctl enable nginx
systemctl start nginx
To verify that Nginx is running properly, check its status:
systemctl status nginxStep 2: Install Let’s Encrypt SSL Certificate
To secure your Listmonk installation, we will use Let’s Encrypt to issue an SSL certificate. Follow these steps to install the certificate:
- Install the EPEL repository and the mod_ssl package:
dnf install epel-release mod_ssl -y- Install the certbot client, which is used to create Let’s Encrypt certificates:
dnf install python3-certbot-nginx -y- Issue the SSL certificate using the certbot command. Replace
support.addrom.comand[email protected]with your domain name and email:
certbot --nginx --agree-tos --redirect --hsts --staple-ocsp --email [email protected] -d support.addrom.comPlease note that SSL certificates are valid for 90 days, and the renewal process is automated.
- Restart Nginx to apply the SSL configuration:
systemctl restart nginxStep 3: Configuring Nginx Server Blocks
Now, let’s configure the Nginx server blocks for your Listmonk installation. Open the nginx.conf file using the following command:
nano /etc/nginx/nginx.confReplace the contents of the nginx.conf file with the following configuration:
# For more information on configuration, see:
# * Official English Documentation: http://nginx.org/en/docs/
# * Official Russian Documentation: http://nginx.org/ru/docs/

nginx;
worker_processes auto;
error_log /var/log/nginx/error.log;
pid /run/nginx.pid;

# Load dynamic modules. See /usr/share/doc/nginx/README.dynamic.
include /usr/share/nginx/modules/*.conf;

events {
 worker_connections 1024;
}

http {
 log_format main '$remote_addr - $remote_user [$time_local] "$request" '
 '$status $body_bytes_sent "$http_referer" '
 '"$http_user_agent" "$http_x_forwarded_for"';

 access_log /var/log/nginx/access.log main;

 sendfile on;
 tcp_nopush on;
 tcp_nodelay on;
 keepalive_timeout 65;
 types_hash_max_size 2048;

 include /etc/nginx/mime.types;
 default_type application/octet-stream;

 # Load modular configuration files from the /etc/nginx/conf.d directory.
 # See http://nginx.org/en/docs/ngx_core_module.html#include
 # for more information.
 include /etc/nginx/conf.d/*.conf;
}
Save and exit the file by pressing Ctrl+O and then Ctrl+X.
Next, create a new Nginx configuration file for your Listmonk domain:
vi /etc/nginx/conf.d/dev.confAdd the following configuration to the dev.conf file:
upstream app {
server 192.169.7.180:9000;
}

server {
listen 80 default_server;
server_name dev.domainhere.info;
return 301 https://$server_name$request_uri;
}

server {
listen 443 ssl; # managed by Certbot
server_name dev.domainhere.info;

ssl_certificate /etc/letsencrypt/live/dev.domainhere.info/fullchain.pem; # managed by Certbot
ssl_certificate_key /etc/letsencrypt/live/dev.domainhere.info/privkey.pem; # managed by Certbot
include /etc/letsencrypt/options-ssl-nginx.conf; # managed by Certbot
ssl_dhparam /etc/letsencrypt/ssl-dhparams.pem; # managed by Certbot

location / {
proxy_pass http://app;
proxy_set_header X-Real-IP $remote_addr;
proxy_set_header X-Forwarded-For $remote_addr;
proxy_set_header Host $host;
proxy_set_header X-Real-Port $server_port;
proxy_set_header X-Real-Scheme $scheme;
}
}
Save and exit the file by pressing Esc, then :wq!, and finally pressing Enter.
If your system has SELinux enabled, run the following command to allow Nginx to make network connections:
setsebool -P httpd_can_network_connect 1Finally, restart Nginx to apply the new configuration:
systemctl restart nginx
systemctl status nginx
Step 4: Enable Port 9000
To enable Listmonk to listen on port 9000, you need to allow incoming connections through the firewall. Run the following commands to open port 9000:
firewall-cmd --zone=public --permanent --add-port 9000/tcp
firewall-cmd --reload
Step 5: Install Listmonk with Docker
Now that we have all the necessary configurations in place, it’s time to install Listmonk using Docker. Follow these steps to complete the installation:
- Update the installation details in the
docker-compose.ymlfile:
docker run --name listmonk -d --publish 9000:9000 listmonk/listmonk:latest- Create a new directory for Listmonk and navigate to it:
mkdir listmonk && cd listmonk- Run the Listmonk installation script:
sh -c "$(curl -fsSL https://raw.githubusercontent.com/knadh/listmonk/master/install-prod.sh)"The installation process may take a few minutes to complete. Once it’s finished, you’re ready to access Listmonk.
Step 6: Accessing Listmonk
To access Listmonk, open your browser and enter the IP address or domain name of your server followed by /admin. For example, if your domain is support.addrom.com, you would enter https://support.addrom.com/admin.
Congratulations! You have successfully installed Listmonk with Docker on your AlmaLinux 8 system. You can now start using Listmonk to manage your newsletters and mailing lists.
Conclusion
In this article, we have walked you through the process of installing Listmonk with Docker on AlmaLinux 8. By following these steps, you have set up a powerful newsletter and mailing list manager that can help you effectively communicate with your audience. If you have any further questions or need assistance, feel free to reach out to our support team at Shape.host. We are here to help you with all your Linux SSD VPS hosting needs.
Remember to regularly update and maintain your Listmonk installation to ensure its security and reliability. Happy emailing!


