In today’s digital age, managing and streaming your personal media library has never been easier, thanks to powerful tools like Jellyfin. If you’ve been following our series on home lab setups, you’ll know we’ve already covered tools like Sonarr for TV show management, Radarr for movies, and Koel for music streaming. Now, it’s time to dive into Jellyfin, an open-source media streaming solution that brings all your media together in one place.
In this comprehensive guide, we’ll explore what Jellyfin is, its standout features, and provide a step-by-step tutorial on how to install and configure it in your home lab. Whether you’re a media enthusiast or a tech-savvy hobbyist, Jellyfin is a game-changer for organizing and streaming your content.
What is Jellyfin?
Jellyfin is a free, open-source media server that allows you to manage and stream your personal media library across multiple devices. Whether you have a collection of movies, TV shows, music, or even live TV, Jellyfin provides a seamless and customizable way to access and organize your content.
Unlike other media servers, Jellyfin is completely free, with no licensing fees or subscription costs. It’s a community-driven project that prioritizes user freedom and privacy, making it an excellent choice for tech enthusiasts who value open-source solutions.
Key Features of Jellyfin
Here’s why Jellyfin stands out as a top-tier media streaming solution:
- Completely Open-Source: No hidden costs or proprietary restrictions.
- Multi-Platform Support: Works on Windows, Linux, macOS, and even Docker containers.
- Full Media Library Management: Organize movies, TV shows, music, and photos effortlessly.
- Transcoding and Streaming: Stream media to any device, with support for real-time transcoding.
- Multi-User Streaming: Create separate user profiles for family members or friends.
Disclaimer: Legal and Ethical Considerations
Before we proceed, it’s essential to emphasize the importance of adhering to legal and ethical standards. Downloading or sharing copyrighted material without proper authorization is illegal in many jurisdictions and can lead to severe consequences.
This guide is intended solely for educational purposes, assuming users will engage in lawful and ethical activities. We do not endorse or encourage any illegal or unethical behavior, including the unauthorized sharing or downloading of copyrighted material.
How to Install Jellyfin in Your Home Lab
Installing Jellyfin is straightforward, especially if you’re familiar with Docker and Portainer. Below, we’ll walk you through the process step by step.
Step 1: Gather Required Information
Before starting, you’ll need to gather some essential details:
- Process ID (PUID) and Process Group ID (PGID): These specify the user and group ownership for processes running inside Docker containers.
- Time Zone (TZ): Ensure your server’s time zone is correctly configured.
To find your PUID and PGID, open a terminal and run the following command:
id <username>Replace <username> with the name of the user deploying the stack.

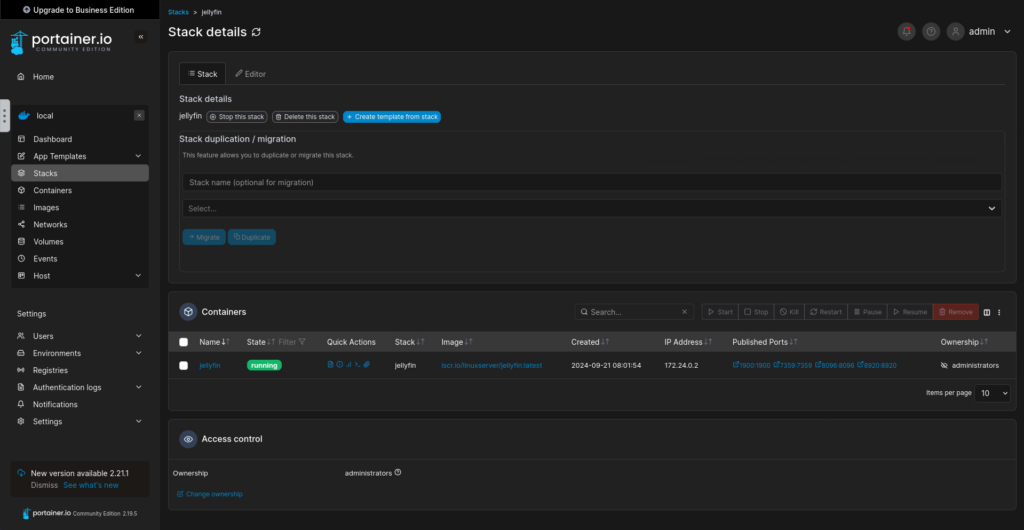
Step 2: Deploy Jellyfin Using Portainer
Portainer simplifies Docker container management, making it an excellent tool for deploying Jellyfin. Here’s how to do it:
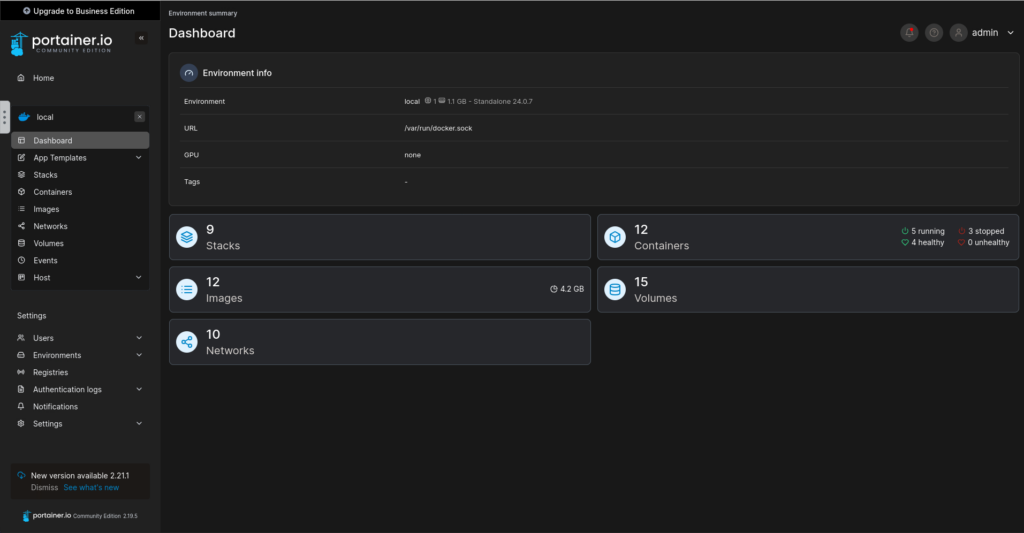
- Log in to your Portainer instance and navigate to your local Docker environment.
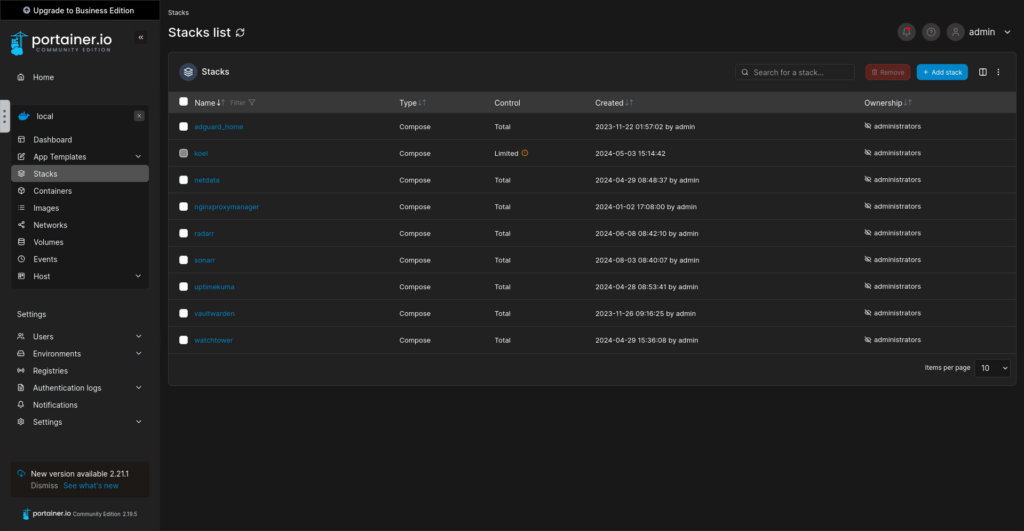
- Click on the Stacks option and then Add Stack.
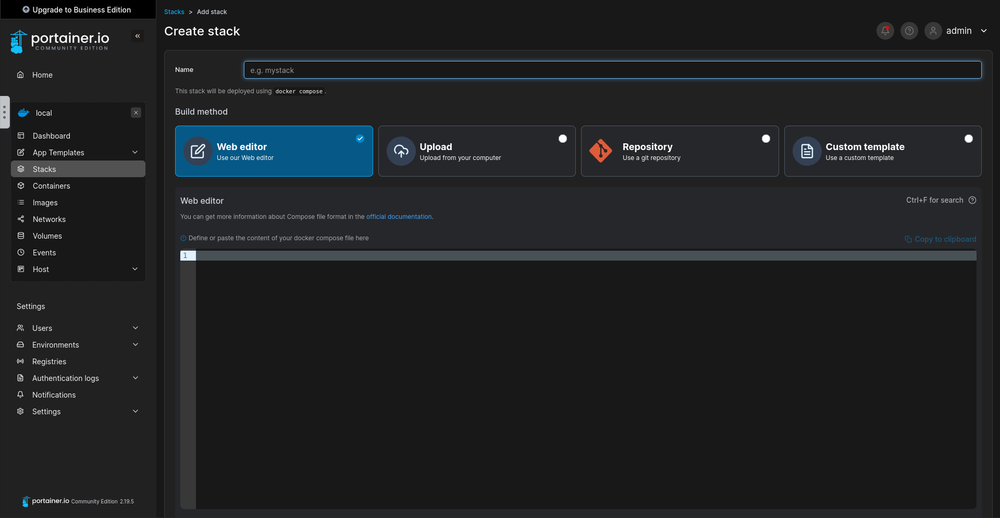
- Name your stack (e.g., “Jellyfin”) and paste the following
docker-composefile:
services:
  jellyfin:
    image: lscr.io/linuxserver/jellyfin:latest
    container_name: jellyfin
    hostname: jellyfin
    environment:
      - PUID=1000
      - PGID=1000
      - TZ=Asia/Kolkata
    volumes:
      - jellyfin_config:/config
      - /home/admin/NFS/Shows:/data/shows
      - /home/admin/NFS/Movies:/data/movies
    ports:
      - 8096:8096
      - 8920:8920
      - 7359:7359/udp
      - 1900:1900/udp
    restart: always

volumes:
  jellyfin_config: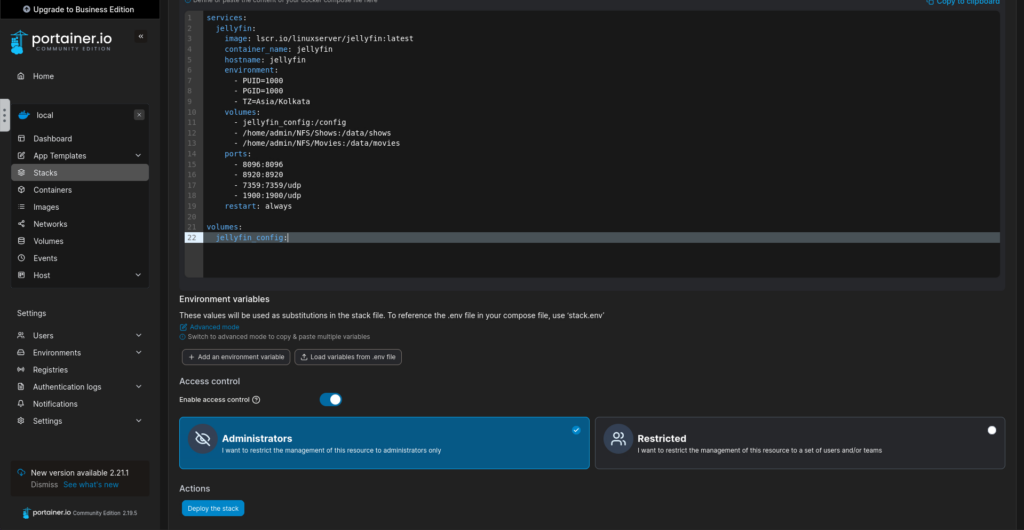
- Replace the
PUID,PGID, andTZvalues with your own. - Click Deploy the Stack to start the installation.
Step 3: Access and Configure Jellyfin
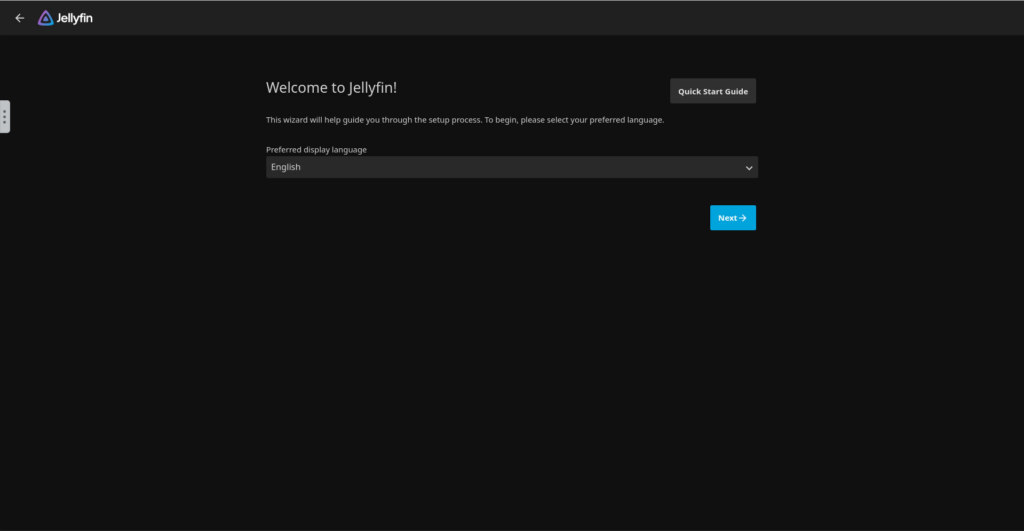
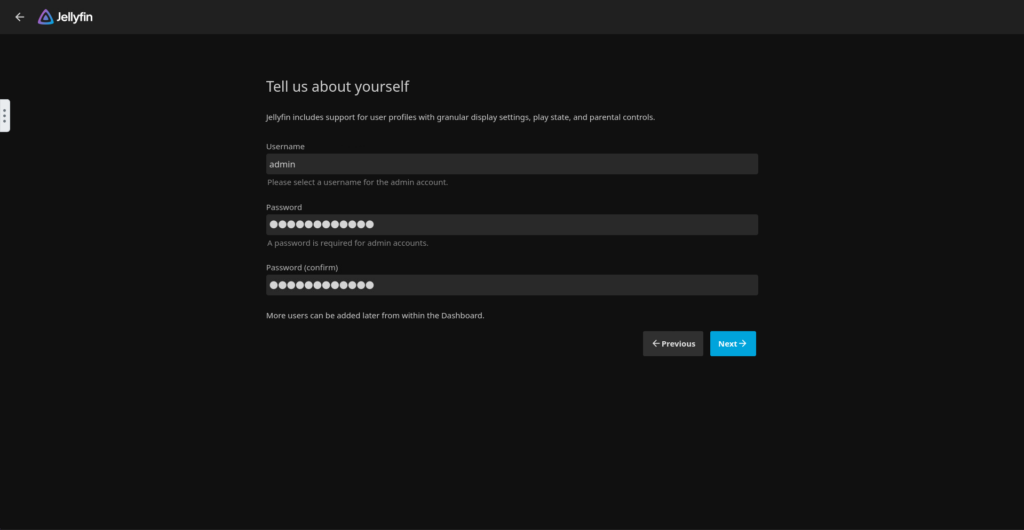
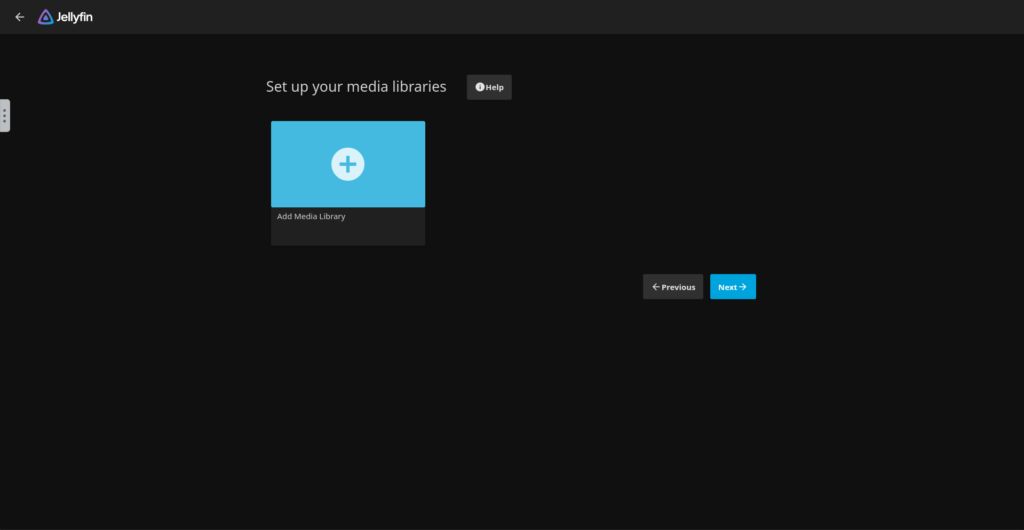
Once the stack is deployed, you can access Jellyfin by navigating to http://<your-ip>:8096. Follow these steps to complete the setup:
- Language Selection: Choose your preferred language.
- Admin Account Setup: Create a username and password for your admin account.
- Media Library Configuration: Add the folders you mapped in the
docker-composefile (e.g.,/data/showsand/data/movies).
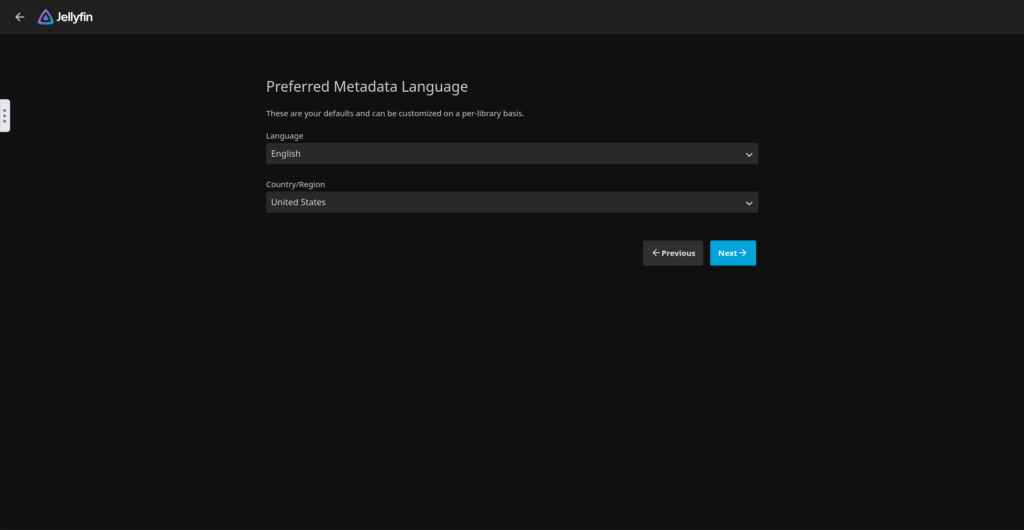
- Metadata Preferences: Select your preferred language for metadata.
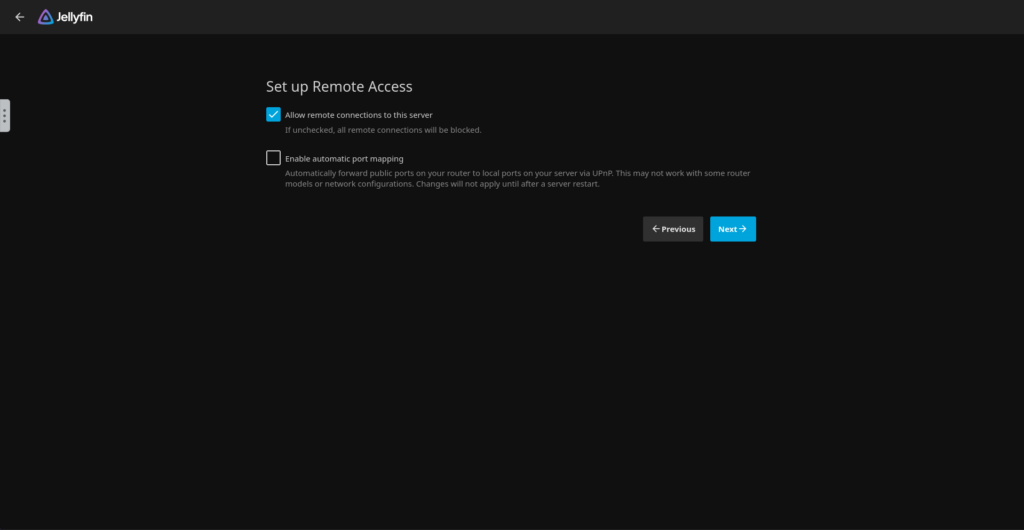
- Remote Access: Enable or disable remote access based on your needs.
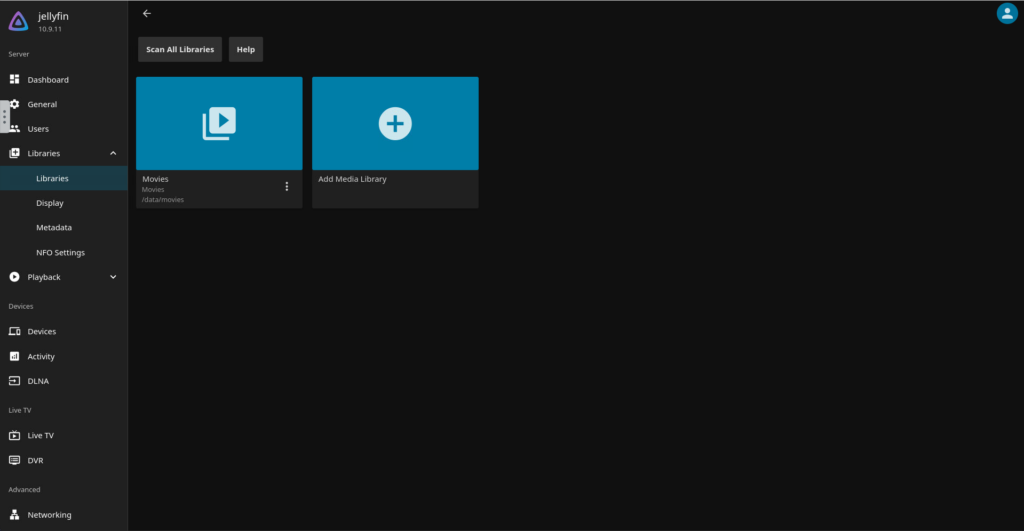
Step 4: Add Media Libraries
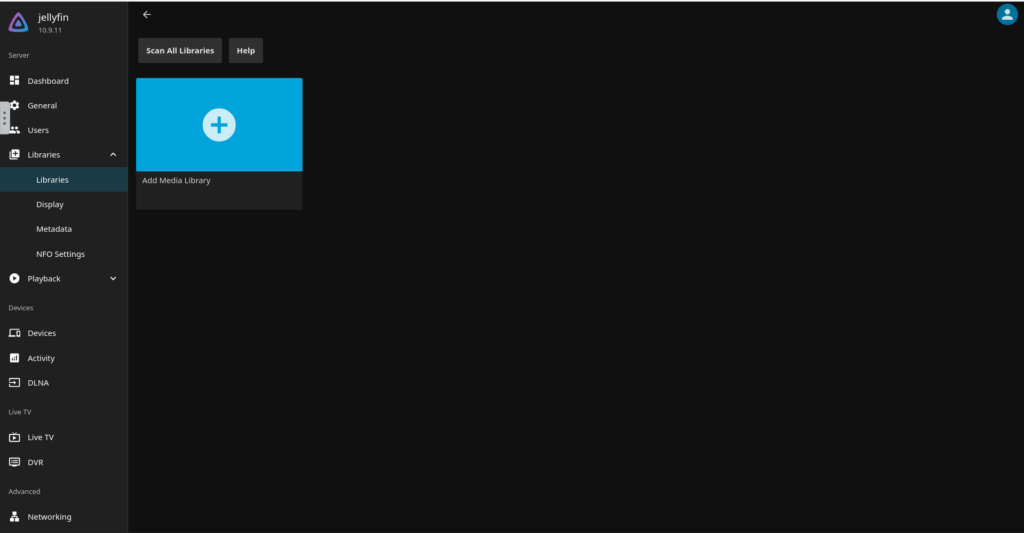
After the initial setup, you’ll need to add your media libraries:
- Click on Add Media Library.
- Select the content type (e.g., Movies, TV Shows).
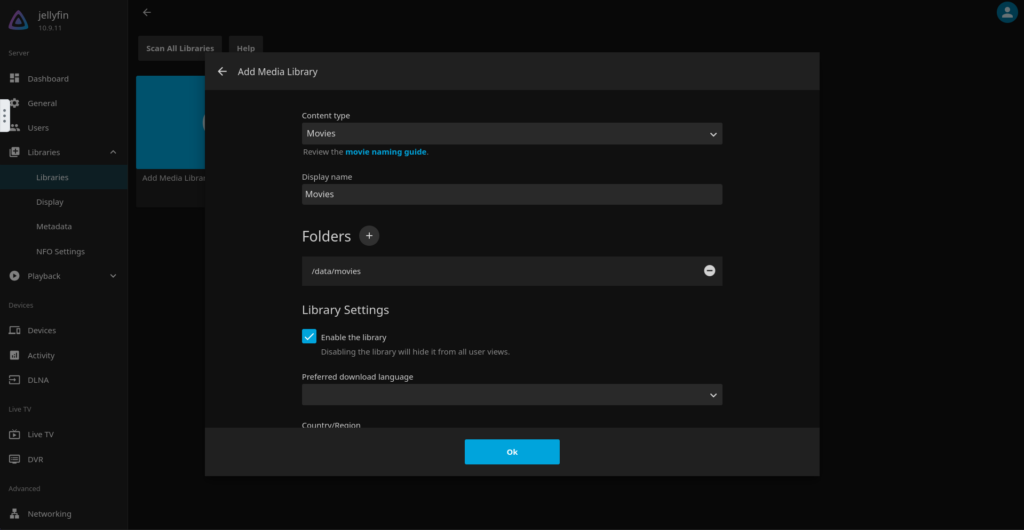
- Name your library and add the corresponding folder.
- Jellyfin will scan the folder and fetch metadata for your media.
Streaming Your Media
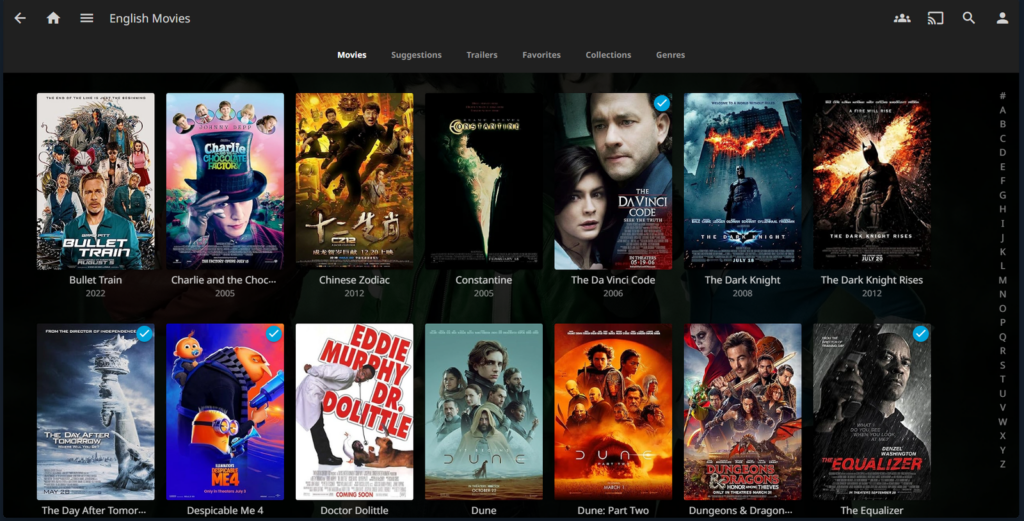
Once your libraries are set up, you can start streaming your media. Jellyfin supports a built-in player, but you can also use native clients for various platforms, including Android, iOS, and smart TVs.
Conclusion
Jellyfin is a powerful, open-source media streaming solution that brings your personal media library to life. With its robust features and ease of use, it’s an excellent addition to any home lab setup.
In this guide, we’ve walked you through the installation and configuration process, ensuring you can get started with Jellyfin in no time. Stay tuned for our next article, where we’ll explore another exciting service to expand your home lab capabilities.

