In our previous guide, we walked you through the seamless installation of qBittorrent in your Home Lab. Now, let’s shift our focus to another powerful tool that can revolutionize your content discovery and retrieval process – Prowlarr. This article will provide a detailed, step-by-step guide to installing, configuring, and optimizing Prowlarr for efficient content management.
What is Prowlarr and Why Should You Use It?
Prowlarr is an open-source application designed to simplify torrent and Usenet indexer management. It acts as a centralized hub, allowing you to search, organize, and automate content discovery across multiple indexers. Whether you’re a torrent enthusiast or a Usenet user, Prowlarr offers features that make it an indispensable tool for your Home Lab:
- Unified Interface: Manage all your indexers from a single dashboard.
- Automation: Integrate with other applications like qBittorrent for seamless downloads.
- Customization: Tailor settings to match your specific needs.
- Security: Advanced authentication options to protect your data.
By streamlining the management of indexers, Prowlarr saves you time and effort, making it a must-have tool for efficient content retrieval.
Disclaimer: Legal and Ethical Considerations
Before diving into the installation and usage of Prowlarr, it’s essential to emphasize the importance of adhering to legal and ethical standards. Downloading or sharing copyrighted material without proper authorization is illegal in many jurisdictions and can result in severe consequences.
This guide is intended solely for educational purposes and assumes users will engage in lawful activities. Always respect the terms and conditions of indexers, and ensure compliance with all relevant laws and regulations.
Step-by-Step Guide to Installing Prowlarr
Follow these detailed steps to install Prowlarr in your Home Lab:
Step 1: Gather Required Information
Before proceeding, you’ll need to obtain the Process User ID (PUID) and Process Group ID (PGID) of the user deploying the stack. These IDs ensure that files created by Prowlarr are owned by the correct user and group.
- Open a terminal and connect to your LXC via SSH or Proxmox Console.
- Run the following command to retrieve the PUID and PGID:
id <username>Replace <username> with the name of the user deploying the stack.

Step 2: Install Prowlarr Using Portainer Stack
Portainer simplifies the deployment of Docker containers. Here’s how to install Prowlarr:
- Log in to your Portainer instance and navigate to the local Docker environment.

- Click on Stacks and then Add Stack.
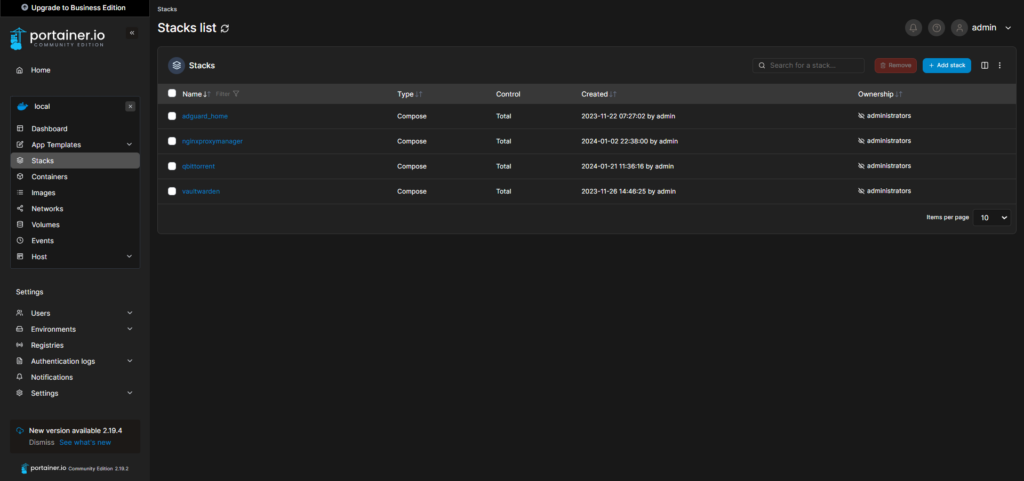
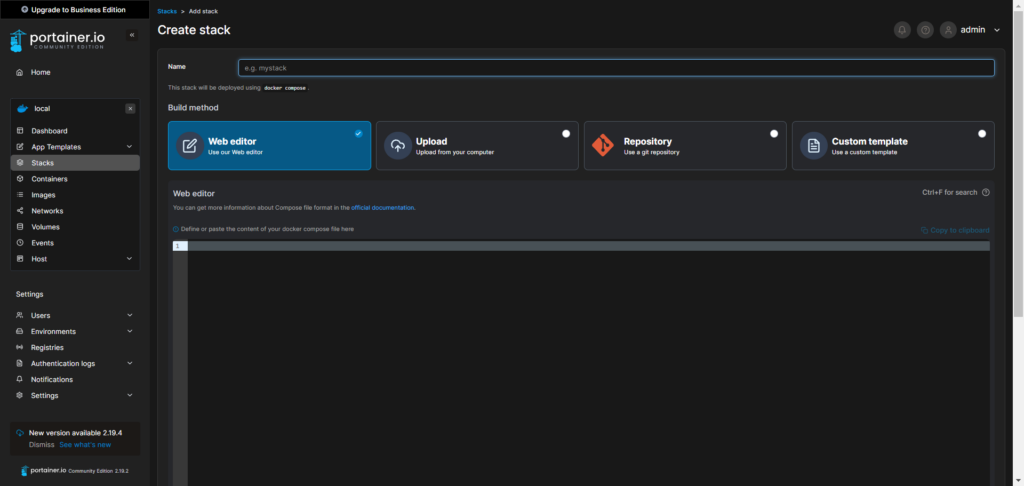
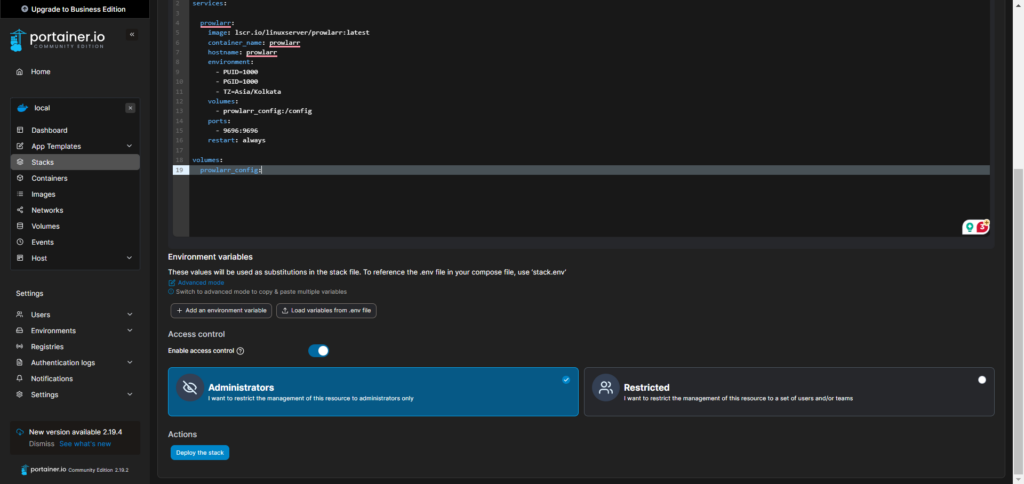
- Name your stack and paste the following Docker Compose file:
version: "2.1"
services:

  prowlarr:
    image: lscr.io/linuxserver/prowlarr:latest
    container_name: prowlarr
    hostname: prowlarr
    environment:
      - PUID=1000
      - PGID=1000
      - TZ=Asia/Kolkata
    volumes:
      - prowlarr_config:/config
    ports:
      - 9696:9696
    restart: always

volumes:
  prowlarr_config:
Replace PUID, PGID, and TZ with your user’s IDs and time zone.
- Click Deploy the Stack to start the Prowlarr container.
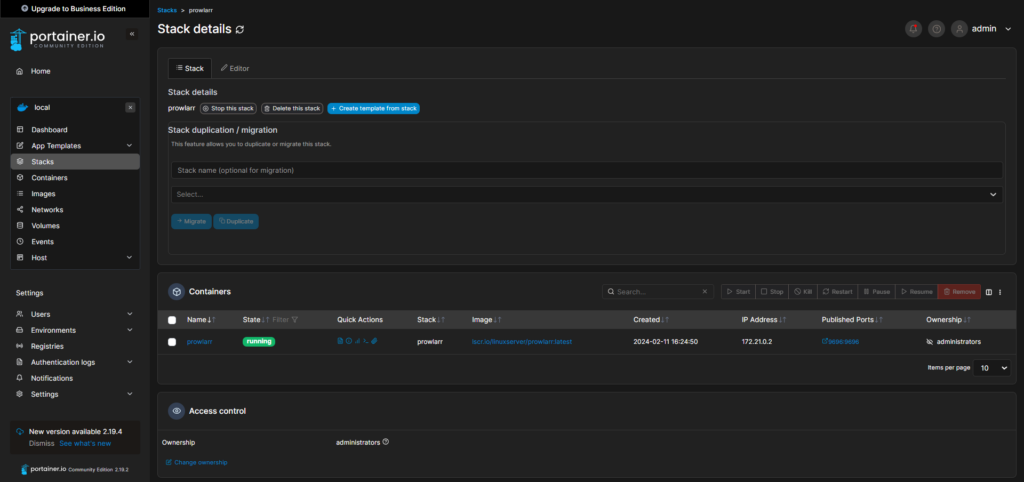
Step 3: Verify the Installation
Once the stack is deployed, confirm that your Prowlarr instance is running successfully by checking the container status in Portainer.
Configuring Prowlarr for Optimal Performance
Step 1: Access the Prowlarr Interface
- Open your browser and navigate to
http://<IP-Address>:9696.
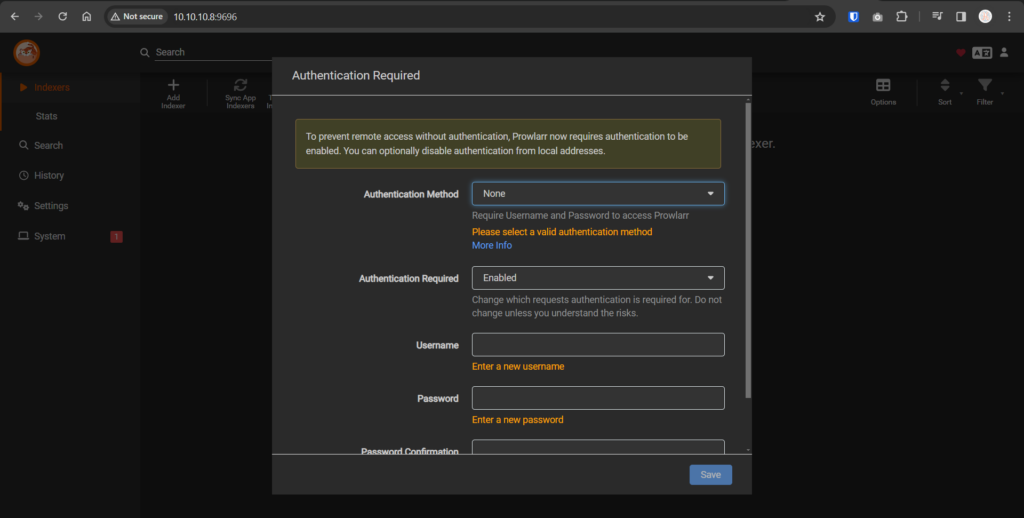
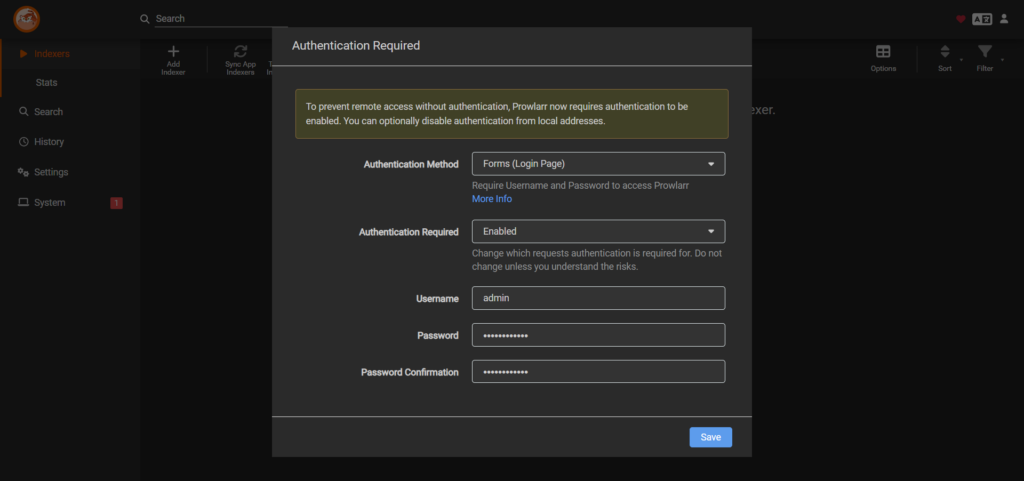
- Enable authentication to secure your Prowlarr instance.
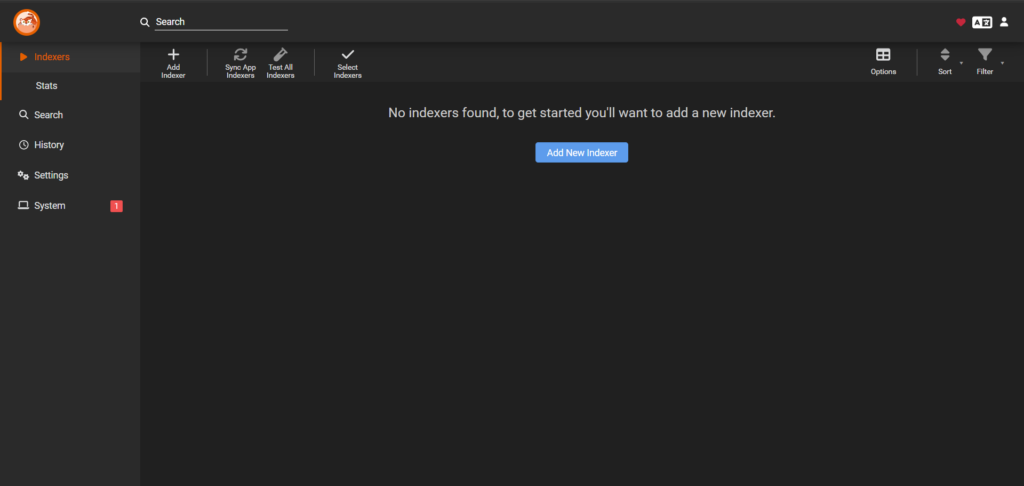
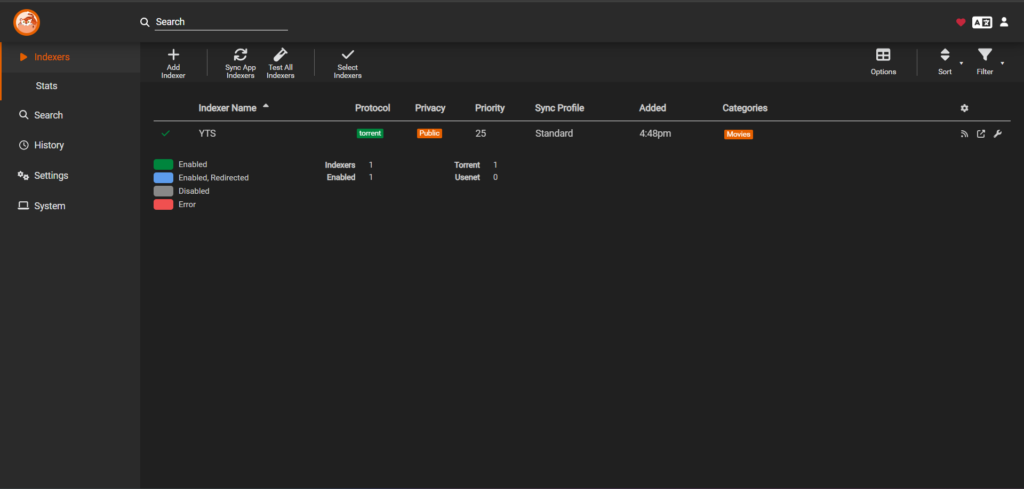
Step 2: Add Indexers
- Click on Add New Indexer and select your preferred indexer.

- Configure the indexer settings and test the connection.
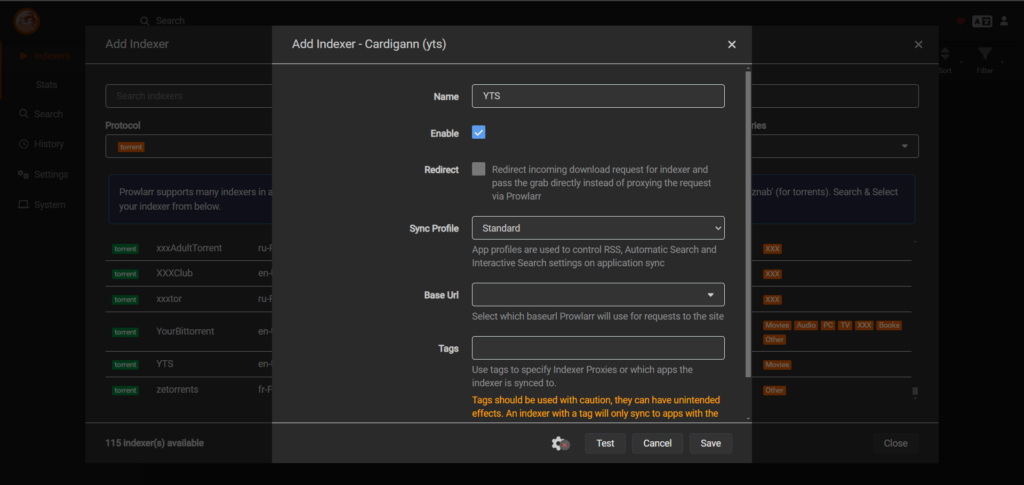
- Save the indexer to your list.
Integrating Prowlarr with qBittorrent
To streamline your content downloads, connect Prowlarr with qBittorrent:
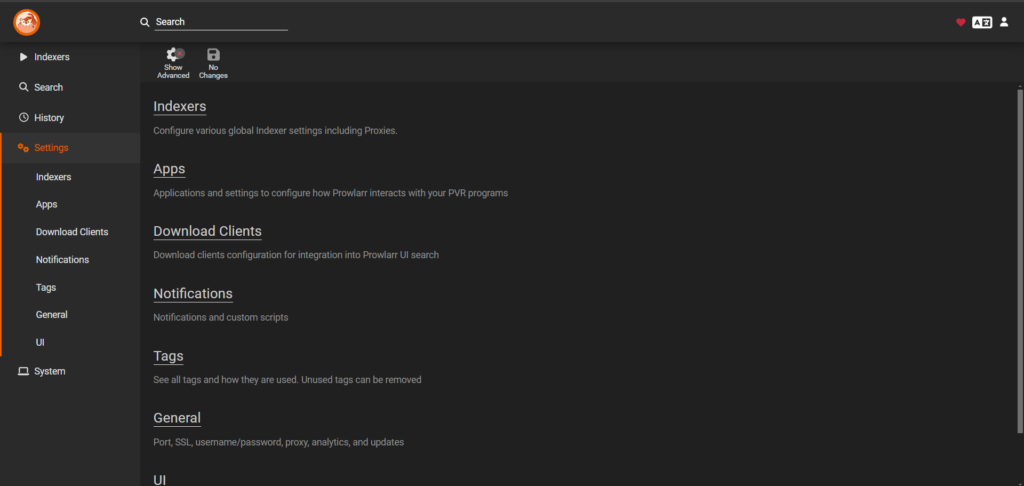
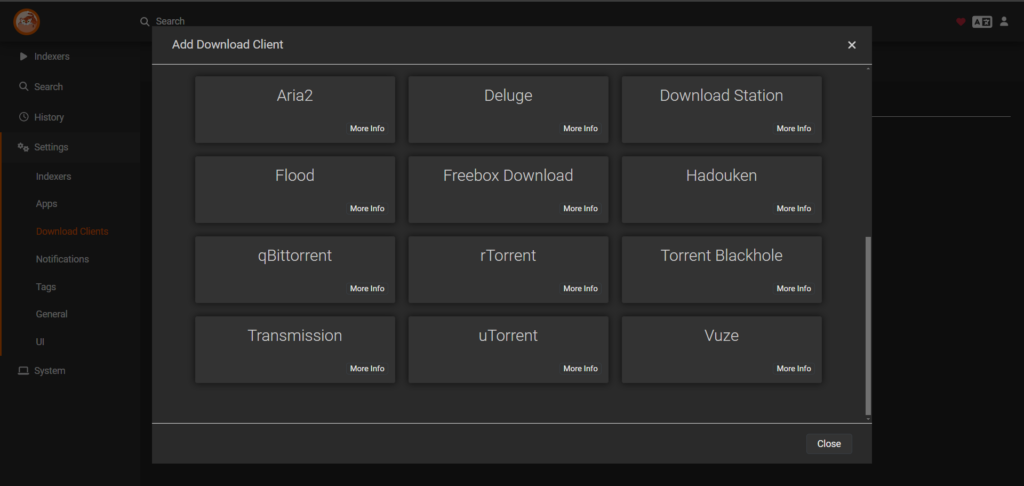
- In Prowlarr, go to Settings > Download Clients.
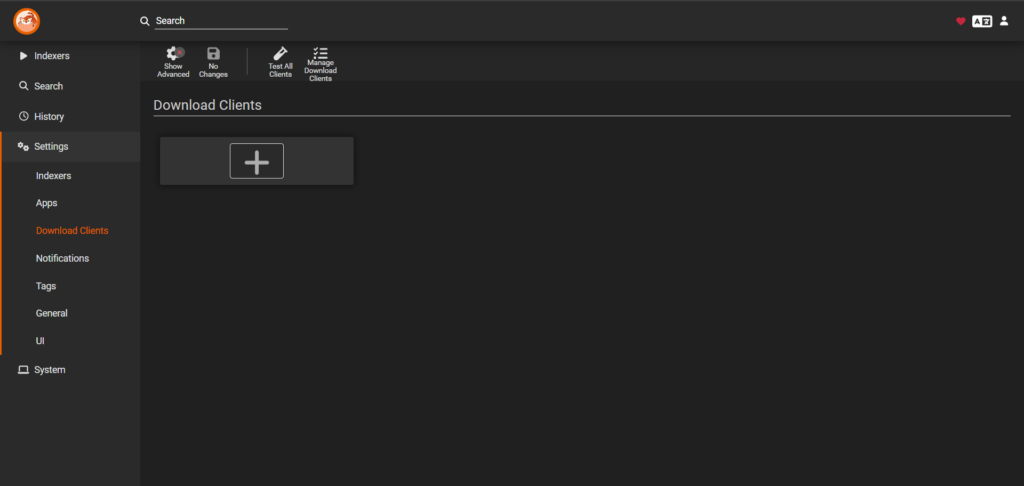
- Click the + button and select qBittorrent.
- Enter your qBittorrent credentials and test the connection.
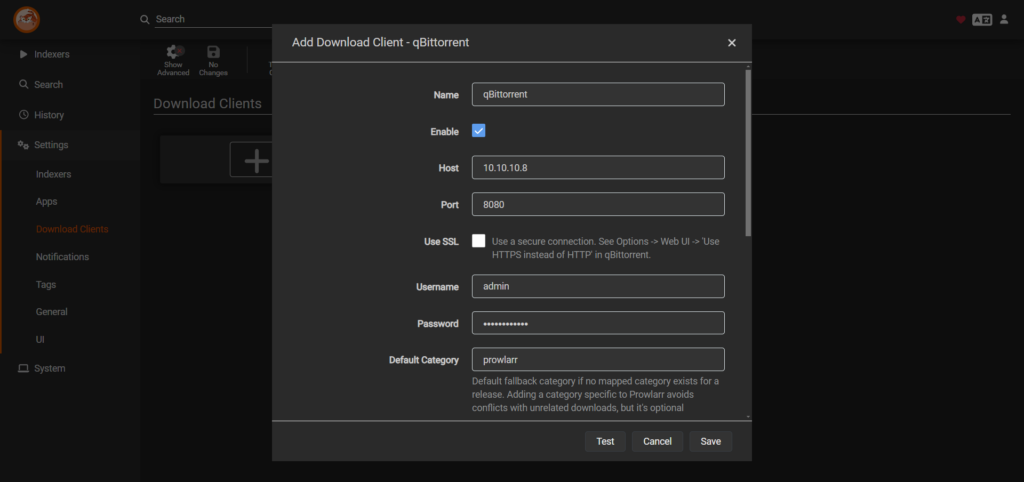
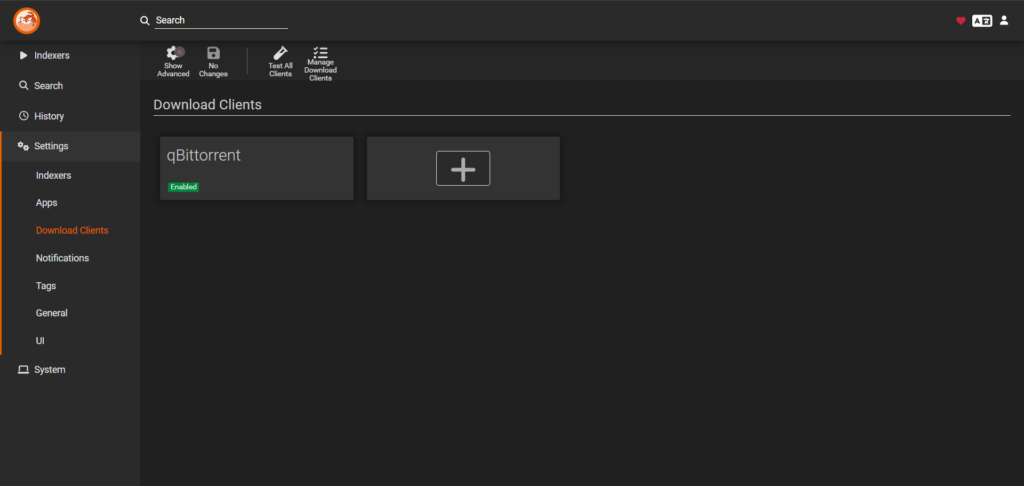
- Save the configuration to enable downloads directly through Prowlarr.
Managing and Downloading Content
With everything set up, you can now search and download content effortlessly:
- Navigate to the Search tab in Prowlarr.
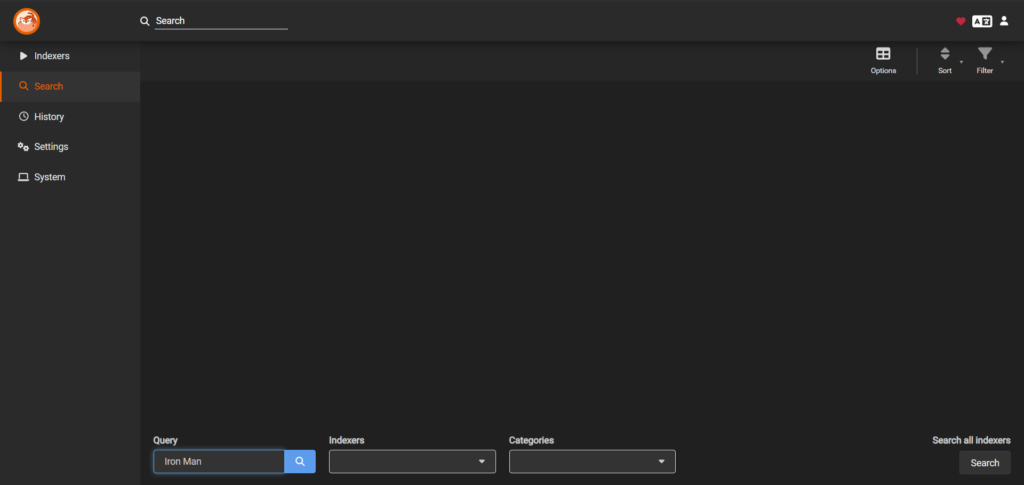
- Enter your query and hit Search.
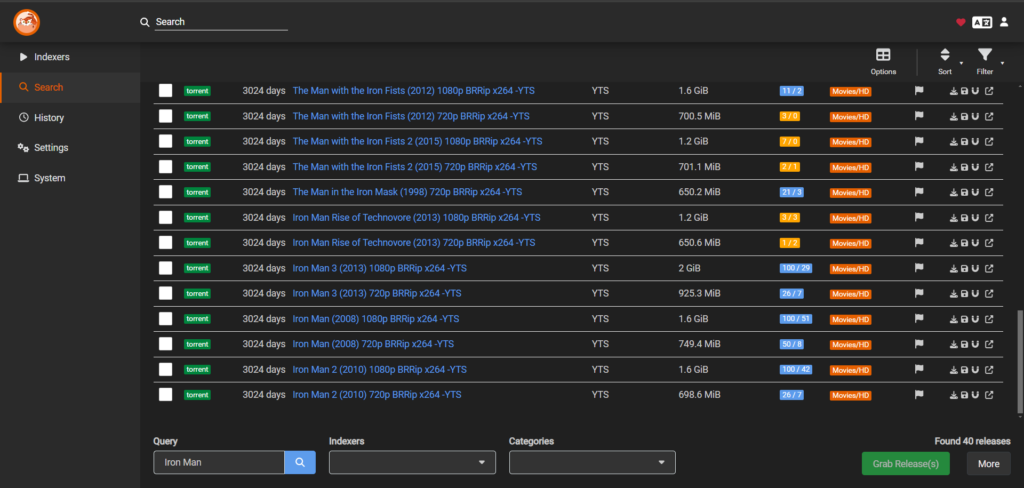
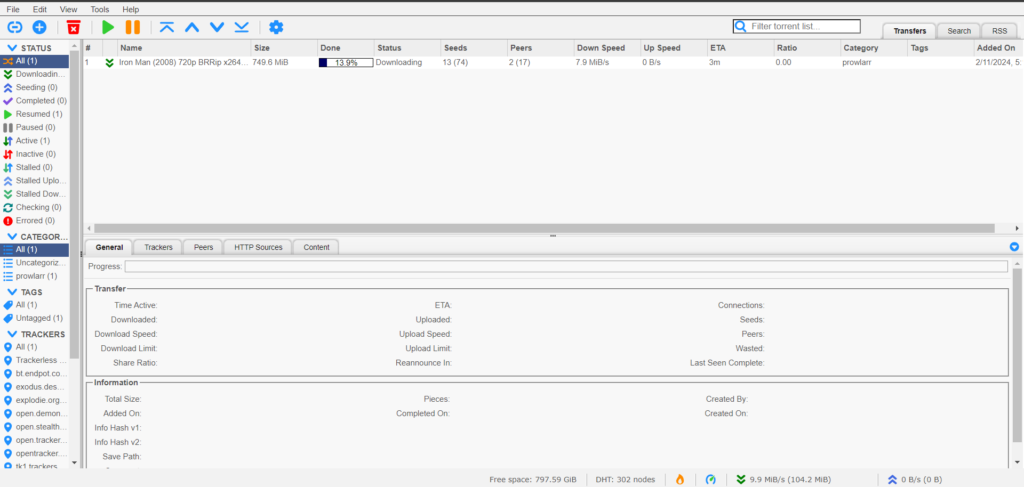
- Click the Download icon next to the desired result.
- Monitor the download progress in qBittorrent.
Conclusion
Congratulations! You’ve successfully installed, configured, and integrated Prowlarr into your Home Lab. This powerful tool simplifies content management and enhances your efficiency. Stay tuned for our next guide, where we’ll explore additional services to expand your Home Lab capabilities.