
Rom Sony Xperia T3 (D51xx)
DOWNLOAD:
1. Sony Xperia T3 (D5102)
2. Sony Xperia T3 (D5103)
- D5103_18.1.A.2.32-R10B_Orange-PL.ftf
- D5103_18.1.A.2.25_R10B_Customized.UK.ftf
- D5103_18.1.A.1.21-R8B_Customized-GR.ftf
- D5103_18.1.A.1.17-R4B_Orange-RO.ftf
- D5103_18.1.A.1.14-R1B_Service-Exchange-Unit.ftf
3. Sony Xperia T3 (D5106)
- D5106_18.1.A.2.32-R8B_Claro-BR.ftf
- D5106_18.1.A.2.25-R16B_Bell-Mobility-CA.ftf
- D5106_18.1.A.2.25_R4B_Customized.US.ftf
- D5106_18.1.A.1.14-R1B_Service-Exchange-Unit.ftf
Flashing instructions:
(1). Download and install Sony Xperia USB Driver on the computer. If in case Xperia Drivers are already installed, then SKIP this step.

(2). Download and extract Sony Xperia Firmware on the computer. After extracting the firmware, you will be able to get similar files (with .ftf extension):

(3). Download and install Sony Xperia Flash Tool on the computer. If in case Xperia Flash Tool is already installed, then SKIP this step.

(4). Once Sony Xperia Flash Tool is installed, Launch it from the Desktop Shortcut or from the Start Menu. Alternatively, you can also launch the Flash Tool from the C:\Flashtool\ folder.
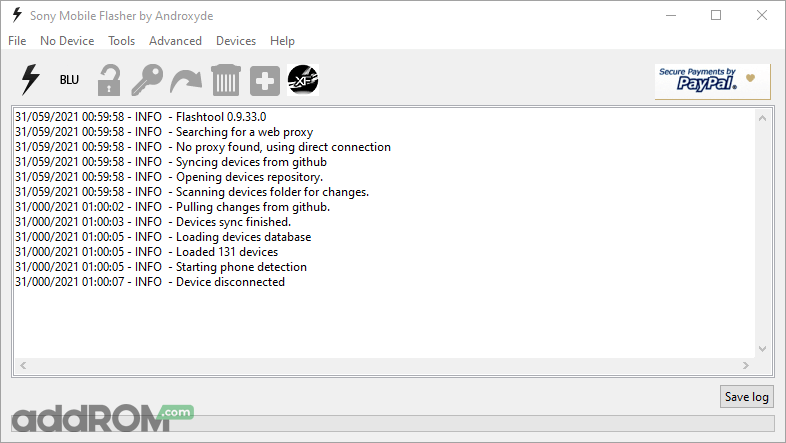
(5). Once Sony Xperia Flashtool is launched, you will be able to see the following screen:
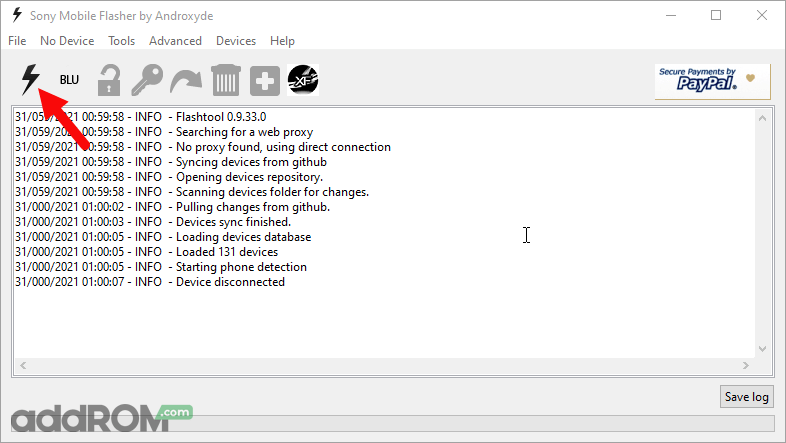
(6). Click on the Flash Button.
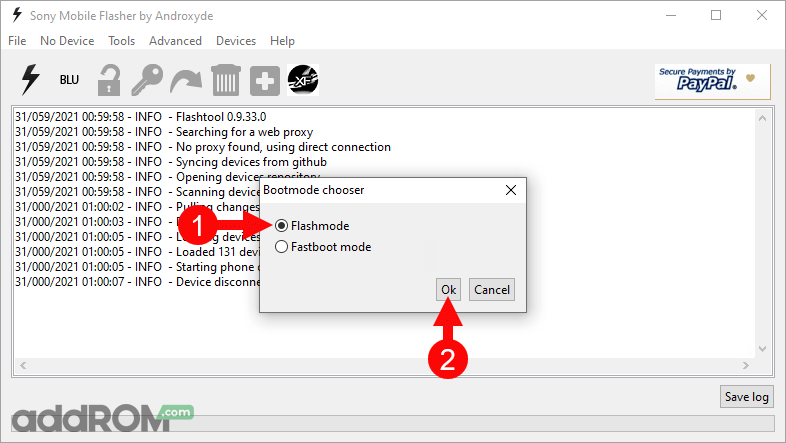
(7). Now, you will be able to see the Bootmode Choose Dialog Box. Select Flashmode option and Click on OK button.
(8). Load the downloaded Xperia Firmware (.ftf) in the flashtool by clicking on the Browse Button.
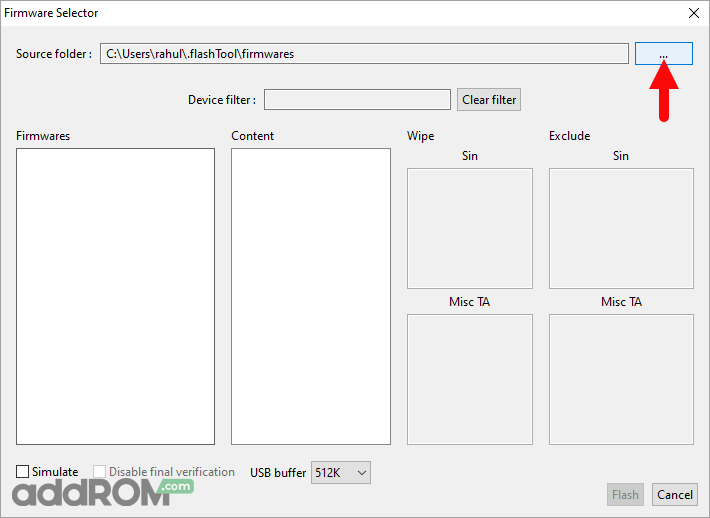
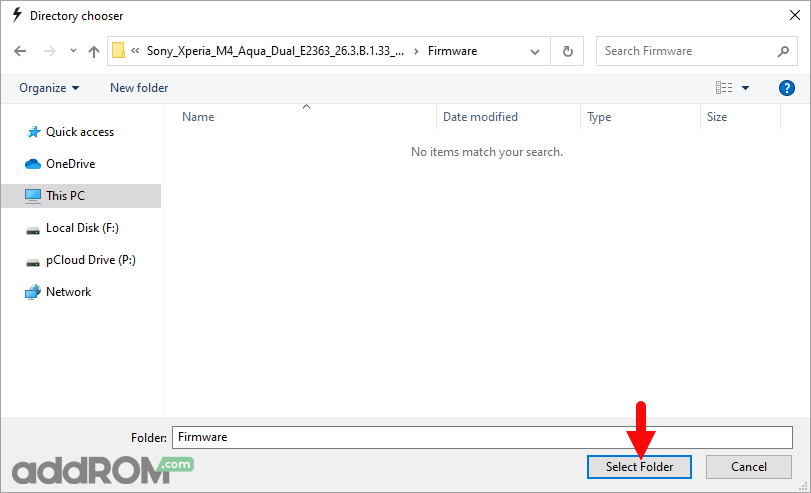
Locate and Select the Firmware Folder:
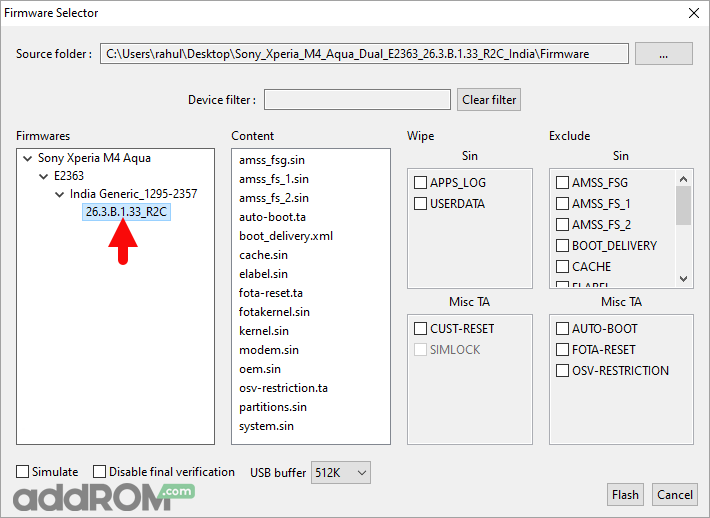
(9). Once the Firmware is Loaded in the Flash Tool, Select the Firmware version using the dropdown button.
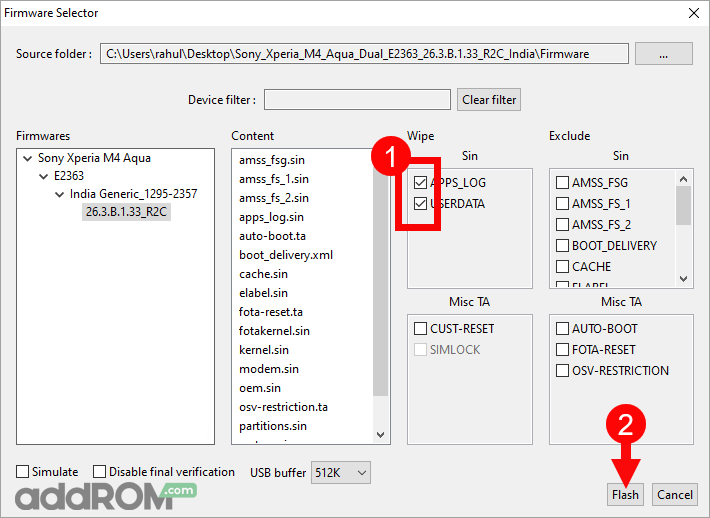
Select all the Checkbox under Wipe area and Click on the Flash button to begin the flashing process:
(10). Power off the Xperia Device > Press and Hold Volume Down button and connect the device to the computer using the USB cable.

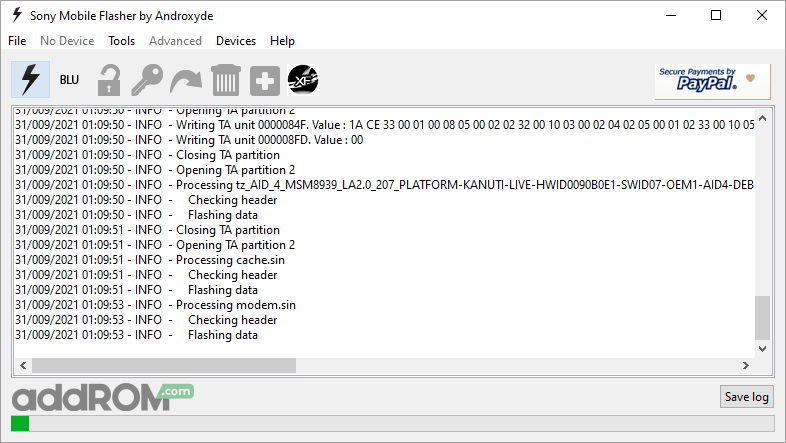
(11). Once the device is successfully connected to the computer, flashing will begin and will take 5-10 minutes to complete.
(12). Once the flashing process is completed, disconnect you