In the rapidly evolving landscape of artificial intelligence, AI agents offer incredible capabilities for automation and content generation. However, in my experience, a common challenge with raw AI agents is their inherent messiness. Data can be scattered, workflows unorganized, and interaction often requires delving into complex backends. What if you could transform these powerful agents into intuitive, fully functional web applications, complete with a clean user interface and organized data storage?
This is where the revolutionary concept of “Vibe Coding” comes into play. Imagine building sophisticated web applications, not by writing lines of code, but by simply expressing your desires in natural language. This approach empowers anyone, regardless of their development background, to leverage AI agents effectively and even monetize their creations.
I’ve personally navigated this journey, transforming a chaotic AI agent into a seamless web application, and I’m here to share the blueprint for how you can achieve similar “insane results.”
Understanding Vibe Coding: The Future of Development
Before we dive into the technicalities, let’s demystify Vibe Coding. For many, the word “coding” conjures images of complex syntax and years of dedicated study. However, Vibe Coding flips this paradigm on its head.
What is Vibe Coding?
Simply put, Vibe Coding is the art of communicating with a Large Language Model (LLM) or an AI-powered platform using natural language to generate code or build web elements for you. You articulate what you want the application to do, how it should look, and what functionality it needs, and the AI interprets your “vibe” to construct the underlying structure.
- No Prior Coding Experience Needed: This is perhaps the most liberating aspect. I’m not a developer by trade, nor do I have extensive coding experience. Yet, with Vibe Coding, I can effectively “become” one, turning concepts into tangible applications at an unprecedented speed.
- From Idea to Reality: It’s about rapid prototyping and deployment. Instead of spending months learning a programming language, you can spin up a functional website in a matter of prompts.
- The Power of Natural Language: Your ability to ask clear questions and describe your vision becomes your most valuable skill. The AI handles the intricate coding details, allowing you to focus on the application’s purpose and user experience.
Imagine prompting an AI with something like: “Build me a blogging website with a natural health and holistic feel. It needs a single page for viewing the latest blog, an archive page to see all past posts, and a quick form field to add new blogs.” Then, you specify the form fields: “Title (single line text), Topic (text area), Style (dropdown with ‘informative’ and ‘theoretical’ options).” The AI, understanding your natural language, then scaffolds the entire application. It’s truly that simple, requiring minimal refinement after the initial prompt.
The Core Tech Stack: Three Pillars for AI-Powered Apps
To achieve this seamless integration and powerful functionality, we rely on a trio of robust tools. I like to visualize this as a triangle, with each tool playing a crucial, interconnected role:
1. Lovable: The Vibe Coding & Front-End Interface
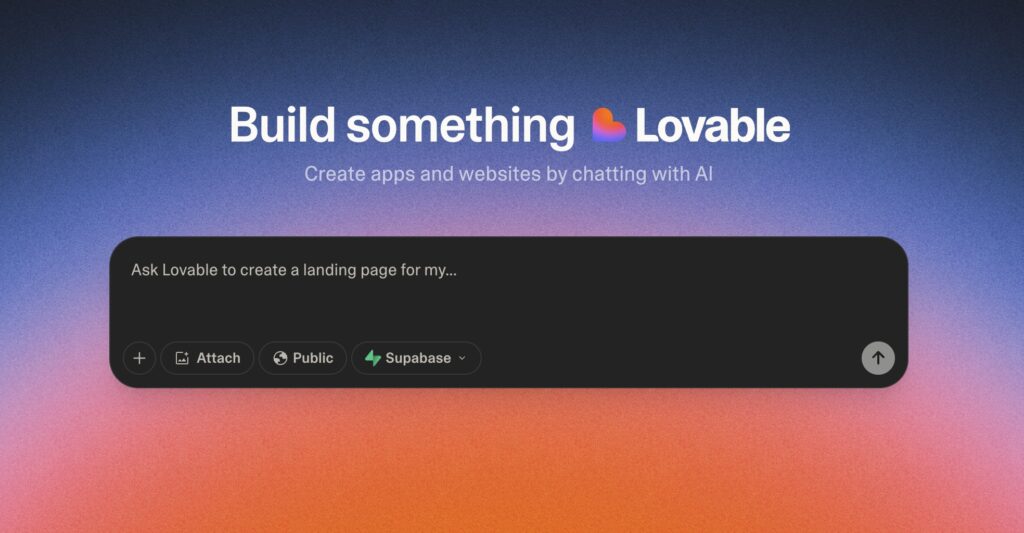
Lovable serves as our command center and the user-facing interface. This is where we “vibe code” our application, using natural language to design the layout, forms, and display elements. It’s also where users will interact with your AI agent, initiating workflows and viewing the results.
- Natural Language UI Building: Lovable translates your prompts into functional web pages and interactive components.
- User Interaction Hub: It provides the buttons, forms, and display areas that bridge the gap between your AI agent and the end-user.
- Data Presentation: Lovable is responsible for fetching and beautifully presenting the data generated by your AI agent and stored in your backend.
2. n8n: The AI Agent & Automation Engine
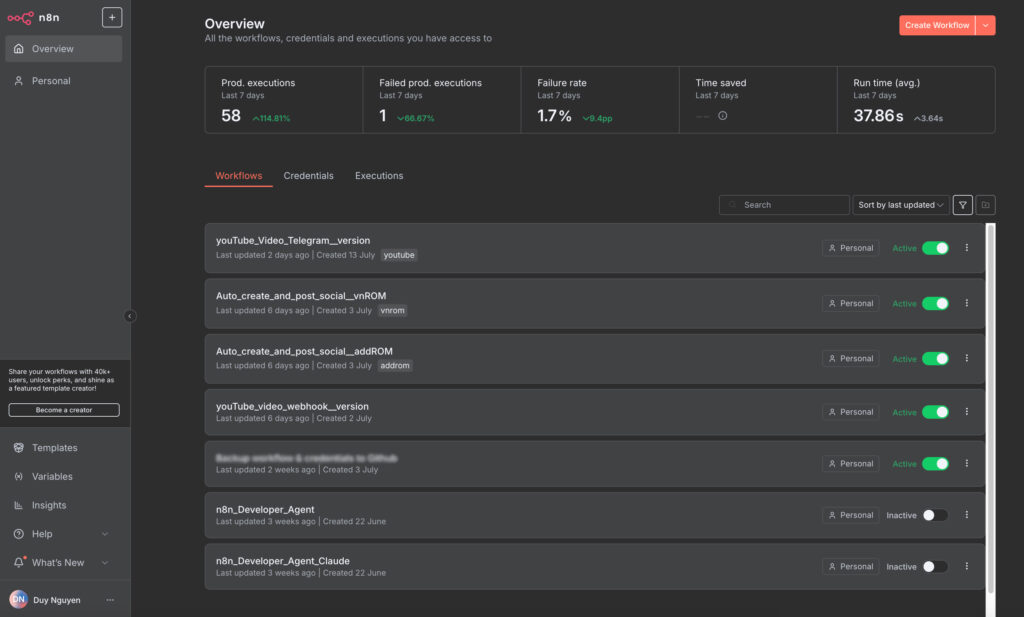
n8n (pronounced “node-en”) is an open-source workflow automation platform that acts as the brain of your operation. This is where you build your AI agents, design complex automations, and define the logic that processes information and generates content.
- Agent Construction: You define your AI agent’s persona, instructions, and input/output structure within n8n.
- Workflow Automation: n8n orchestrates the entire process, from receiving a trigger from Lovable to sending generated content back.
- AI Model Integration: It allows you to connect to various AI models (like Google Gemini via OpenRouter) to power your agent’s intelligence.
3. Superbase: The Robust Backend & Database
Superbase provides the backend infrastructure for our application. Think of it as a supercharged Google Sheet or a powerful database where all your AI-generated content and application data are securely stored.
- Data Storage: It acts as the repository for all your blog posts, user data, or any other information your agent produces.
- Scalability & Security: Superbase offers robust features for managing data, user authentication, and ensuring the security of your application.
- Seamless Integration: Lovable can directly interact with Superbase, creating tables and managing data based on your natural language prompts, eliminating the need for manual database setup.
How They Connect: The Workflow Triangle
Here’s the magical flow:
- Lovable (Front-End) to n8n (Agent): Lovable, through a user action (like clicking a “Generate Article” button or submitting a form), sends data (e.g., article title, topic, style) to an n8n workflow via a webhook.
- n8n (Agent) Processes: The n8n agent receives this data, uses its defined instructions and an AI model to generate the desired content (e.g., a blog post).
- n8n (Agent) Responds to Lovable: Once the content is generated, n8n sends it back to Lovable using a “Respond to Webhook” node.
- Lovable (Front-End) to Superbase (Backend): Lovable then programmatically takes this received content and sends it to your Superbase database for storage.
- Lovable (Front-End) Displays Data: Finally, Lovable fetches the content from Superbase and displays it beautifully on your web application’s front end, ensuring it’s always up-to-date and organized.
This setup allows your AI agent to run in the background, entirely unseen by the end-user, while providing a professional and user-friendly interface.
Building Your AI Agent in n8n: The Brain of Your App
Let’s walk through setting up a simple blogging agent in n8n. This agent will take a topic and style, then generate a blog post based on a predefined persona.
1. Create a New Workflow
- Start by creating a new workflow in n8n and give it a descriptive name, like “Holistic Blogging Agent.”
2. Set Up the Trigger and Input Variables
- Manual Trigger: For initial testing, I recommend adding a “Manual Trigger” node. This allows you to manually initiate the workflow and check its steps.
- Set Node for Inputs: Add a “Set” node immediately after the trigger. This node will define the variables your agent needs. For our blogging agent, we’ll create two fields:
topicandstyle. Initially, you can input fixed test values (e.g., “Why we shouldn’t drink 2% milk” for topic, “informative” for style). Later, these will become dynamic, pulling from your Lovable form.
3. Configure the AI Agent
- Add AI Agent Node: Drag and drop an “AI Agent” node onto your workflow.
- Define Prompt Source: Select “Define below” for the prompt source.
- Dynamic Inputs: In the input section, pull in your
topicandstylevariables from the previous “Set” node. You’ll use expressions like{{ $node["Set"].json.topic }}and{{ $node["Set"].json.style }}to ensure these values are dynamically fed into the prompt. - System Message (Custom Instructions): This is where you imbue your agent with its persona and rules. For my example, I wanted a “provocative, unapologetically confident blogging agent that crafts bold, minimalist natural health posts, fearlessly dismantles conventional medical narratives…” You also provide examples of desired output structure.
- Structured Output Parser: This is crucial for ensuring your AI agent delivers content in a predictable and usable format (e.g., JSON).
- Enable “Require specific output format.”
- Click “Output Parser” and select “Structured Output Parser.”
- Paste an example JSON structure that the agent should adhere to. For instance:
json { "blog": "blog post here" } - This ensures the agent only outputs the blog content within a JSON object, without extra conversational text.
- Chat Model: Connect a “Chat Model” node to your AI Agent. I often use OpenRouter, which allows access to various models. For this project, Google Gemini 2.5 Flash works well, providing internet access for content generation.
4. Prepare Output Data
- Second Set Node: Add another “Set” node after your AI Agent. This node prepares the data for sending back to Lovable and Superbase.
- Create fields:
title,content,author. - Dynamically pull the generated blog content into the
contentfield. UseJSON.stringify({{ $node["AI Agent"].json.blog }})to remove any unnecessary whitespace from the JSON output. - Pull the
titledynamically from your initial input. - For
author, you can set a fixed value (e.g., your name).
- Create fields:
5. Integrate Webhooks for Seamless Communication
- Webhook Trigger: In the upper right corner of n8n, search for “Webhook” and select the “Webhook” node. Change the HTTP method to “POST.” This node will generate a unique URL. This URL is what Lovable will call to initiate your n8n workflow. Connect this webhook to your first “Set” node (the one defining
topic,style,title). Rename the path to something clean like/entryblog. - Respond to Webhook: Add a “Respond to Webhook” node. This node ensures n8n sends data back to Lovable after the agent completes its work. Connect this to your second “Set” node (the one preparing the output data).
- In the “Webhook” trigger node, change the “Respond” setting from “Immediately” to “Using Respond to Webhook node.”
- In the “Respond to Webhook” node, select “Respond with custom JSON body.”
- Define the JSON structure for the response, pulling in your
title,content, andauthorfields. For example:json { "title": "{{ $node["Set1"].json.title }}", "content": "{{ JSON.stringify($node["Set1"].json.content) }}", "author": "{{ $node["Set1"].json.author }}" }
(Note:Set1would be the name of your second set node in n8n.)
This completes your n8n agent setup. It’s now ready to receive data, process it, and send a structured response.
Setting Up Your Superbase Backend: Organized Data Storage
Superbase is incredibly user-friendly, especially when paired with Lovable.
1. Create a Superbase Project
- Go to superbase.com and sign up or log in.
- Create a “New Project,” give it a name (e.g., “Blogging Holistic Database”), and set a secure password.
2. Connect Superbase to Lovable
- In Lovable, navigate to your workspace settings.
- Look for the Superbase integration dropdown.
- Select your organization and then find your newly created Superbase project. This grants Lovable the necessary access to manage your database.
The beauty here is that you won’t need to manually create tables or define schemas. Lovable, driven by your natural language prompts, will handle all the backend database creation for you.
Crafting Your Front-End with Lovable: Bringing It All Together
This is where the Vibe Coding magic truly shines.
1. The Initial Prompt
Now, armed with your n8n webhook URL and Superbase connection, you can provide Lovable with a comprehensive natural language prompt. Here’s a powerful example:
"Build me a blogging website that has a natural health and holistic feel. It should allow for a single blog page for the latest post and also an archive page to see all past blogs. Allow me to add a new blog with a quick form field.

The form fields should be:
- Title (single line text)
- Topic (text area)
- Style (dropdown list with options: 'informative', 'theoretical')

This form, once submitted, should connect and trigger my n8n blogging agent using this webhook URL: [PASTE YOUR N8N WEBHOOK URL HERE].

It will return information from the webhook in this JSON format:
{
  "title": "title here",
  "content": "entire blog post here",
  "author": "author here"
}

While the blogging agent is generating content, make a visually appealing loading bar or spinner once I hit 'Generate Article' from the form.

Finally, please create the necessary Superbase tables to accept this webhook response data and to present it on the front end. Make this website have earthy tones and be a very simple personal blogging website."
2. AI-Powered Database & Website Creation
- Apply Changes: After you send this prompt, Lovable will respond by outlining the SQL commands it will use to create your Superbase tables. Review them (though typically they are perfect) and click “Apply Changes.” Lovable automatically executes these commands in Superbase, creating tables with appropriate fields (ID, title, content, author, topic, style, created_at, updated_at).
- Website Generation: Once the backend is set up, Lovable proceeds to build the front-end website based on your specifications. This includes the home page, the “New Article” form, and the archive page.
3. Testing and Refinement
- Connect Dynamic Data: Remember those fixed test values in your n8n “Set” node? Now, you need to connect them to the dynamic data coming from Lovable’s webhook.
- In n8n, trigger your webhook (by hitting “Generate Article” in Lovable).
- Observe the data that hits your n8n webhook node.
- Go to your first “Set” node in n8n. Instead of fixed values, drag and drop the dynamic parameters from the webhook’s body (e.g.,
{{ $json.body.title }}for the title,{{ $json.body.topicAndDetails }}for topic,{{ $json.body.writingStyle }}for style).
- Full Test: Now, return to your Lovable website. Fill out the “New Article” form with real content (e.g., “Tap Water Dangers,” “Tap water is dangerous and causes health issues,” “Informative”). Hit “Generate Article.”
- Observe:
- You should see the loading spinner on your Lovable site.
- In n8n, the workflow will trigger, process the data, call the AI agent, and respond. (Occasionally, AI models might fail to adhere to the structured output format on the first try; n8n’s “Retry on Fail” setting for the AI Agent node can resolve this.)
- Once complete, the generated article will appear on your Lovable site.
- Crucially, when you refresh your Superbase project, you’ll see the new blog entry, complete with its unique ID and all the associated data.
- Iterate and Improve: Vibe Coding is iterative. If you want to change the styling, add new pages (like the archive page mentioned in the example), or refine functionality, simply prompt Lovable with your desired modifications. For instance, “The loading spinner is not attractive; make it more visually engaging. Also, add a blog archive page.” Lovable will understand and implement these changes.
The Future is Here: Monetization and Beyond
This framework for turning AI agents into applications is just the beginning. The example of the blogging agent is a simple demonstration, but the potential is vast. You can build:
- Internal Dashboards: For team-specific AI tools.
- Customer-Facing Applications: AI-powered customer support, personalized content generators, or creative tools.
- Automated Services: Any process that can be defined and automated by an AI agent can be wrapped in a user-friendly application.
Furthermore, these applications aren’t just for internal use. With natural language prompts, you can also integrate features like user authentication, paid subscriptions (e.g., via Stripe), and advanced deployment options. This means you can create your own SaaS (Software as a Service) products driven by AI, allowing users to pay for access to your powerful agents and the valuable content they generate.
Conclusion
The era of complex, code-heavy development is giving way to a more intuitive, natural language approach. By leveraging Vibe Coding with tools like Lovable, n8n, and Superbase, turning AI agents into apps is no longer a daunting task reserved for seasoned developers.
I’ve personally found this process to be incredibly empowering, transforming messy AI agent outputs into structured, user-friendly, and even monetizable web applications. The key is understanding how these three powerful tools connect and, most importantly, learning how to articulate your vision clearly to the AI. This isn’t just about building apps; it’s about unlocking a new level of creativity and efficiency, enabling anyone to bring their AI-powered ideas to life.