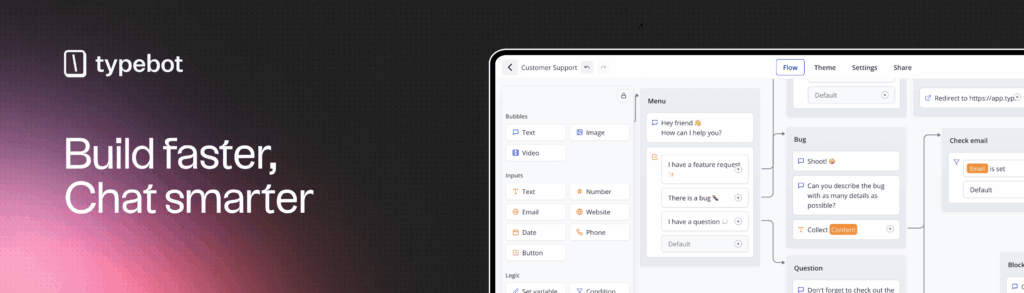
Are you tired of expensive monthly subscriptions for chatbot services that hold your data hostage? Enter Typebot—a fair-source, visual chatbot builder that puts you in control. Whether you are a developer, a marketer, or a business owner, Typebot offers a unique proposition:
- 100% Data Privacy: You own the infrastructure.
- No Vendor Lock-in: Switch servers whenever you want.
- Visual Builder: Drag-and-drop interface (no coding required).
- Unmatched Customization: Full control over CSS and theming.
In this comprehensive guide, we will cover everything from self-hosting Typebot on Docker to building your very first conversation flow.
The Power of Open-Source Conversational AI
Unlike traditional platforms like Dialogflow or Landbot, Typebot is designed for flexibility. It allows you to create sophisticated conversational apps that can be embedded anywhere—as a popup, a full-page chat, or a standard bubble.
Key Features
- 30+ Native Building Blocks: From simple text bubbles to complex inputs like date pickers, file uploads, and payment gateways (Stripe).
- Integrations: Seamlessly connect with OpenAI (ChatGPT), Google Sheets, Zapier, Make.com, and Chatwoot.
- High Performance: The chat client is ultra-lightweight, ensuring your website speed isn’t compromised.
Why Self-Host?
- Cost Efficiency: Eliminate “per-message” or “per-seat” pricing. You only pay for your server (VPS), which can start as low as $5/month.
- Security: Ideal for industries requiring GDPR or HIPAA compliance, as no third party accesses your user data.
- Scalability: No artificial rate limits. Scale vertically or horizontally based on your own infrastructure.
How to Self-Host Typebot on Docker
Ready to take control? Follow this step-by-step tutorial to deploy Typebot on your own server.
Prerequisites:
- A server (Ubuntu 20.04+ recommended) with Docker & Docker Compose installed.
- A domain name (e.g.,
yourdomain.com). - Basic knowledge of the terminal.
Step 1: Prepare Your Environment
Create a folder for your project and generating encryption keys.
mkdir typebot && cd typebot
touch docker-compose.yml .env
Step 2: Configure Environment Variables
Edit your .env file. You will need to generate secure keys for TYPEBOT_ENCRYPTION_KEY and NEXTAUTH_SECRET (you can use openssl rand -base64 32 to generate these).
# .env example
DATABASE_URL=postgresql://postgres:typebot@typebot-db:5432/typebot
NEXTAUTH_URL=https://typebot.yourdomain.com
[email protected]
SMTP_HOST=mail
[email protected]
S3_BUCKET=typebot
Step 3: The Docker Compose File
Populate your docker-compose.yml. This stack includes the Builder, the Viewer, the Database, and a Reverse Proxy (Caddy) for automatic SSL.
(Note: Ensure you point the virtual.host labels to your actual domain).
services:
  typebot-db:
    image: postgres:16
    volumes:
      - db-data:/var/lib/postgresql/data
    environment:
      POSTGRES_DB: typebot
      POSTGRES_PASSWORD: typebot

  typebot-builder:
    image: baptistearno/typebot-builder:latest
    depends_on: [typebot-db]
    env_file: .env

  typebot-viewer:
    image: baptistearno/typebot-viewer:latest
    depends_on: [typebot-db]
    env_file: .env

  caddy-gen:
    image: wemakeservices/caddy-gen:latest
    ports:
      - "80:80"
      - "443:443"
    volumes:
      - /var/run/docker.sock:/tmp/docker.sock:ro
Step 4: Launch
Run the following command to start your instance:
docker-compose up -dNavigate to https://typebot.yourdomain.com and log in. You now have a production-ready chatbot platform!
Building Your First Chatbot (No-Code)
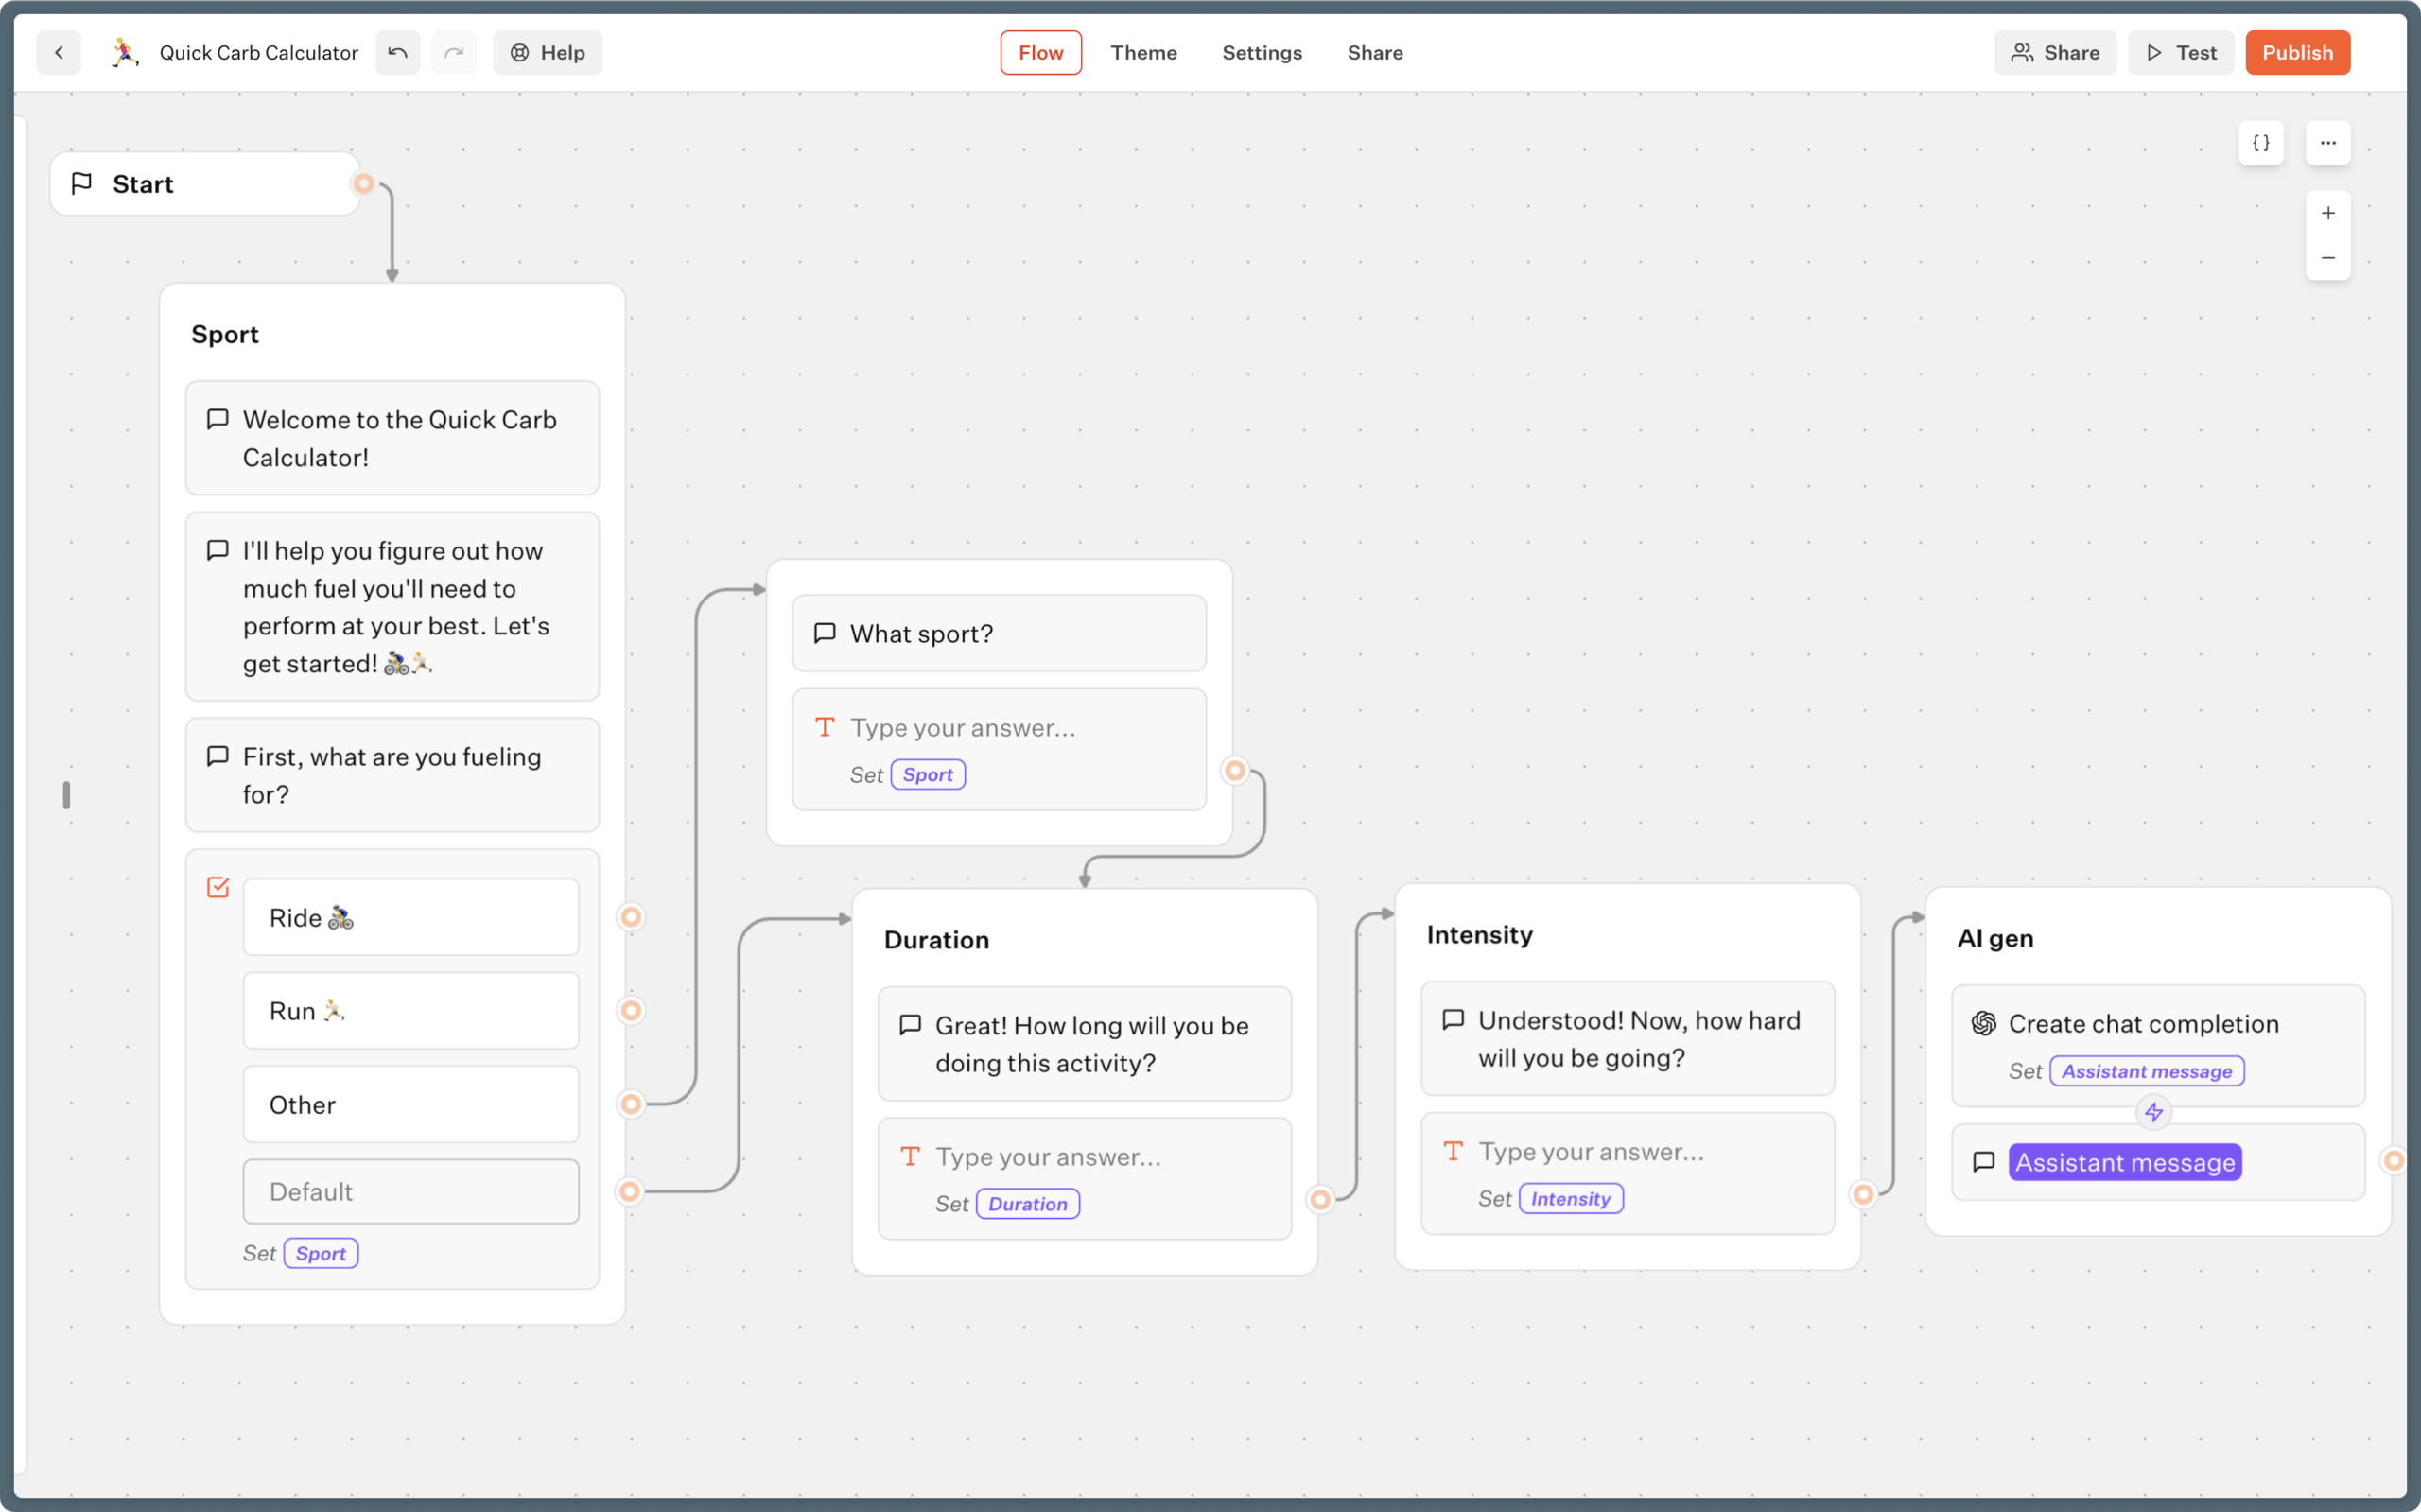
Now that your server is running, let’s build a Customer Support Bot.
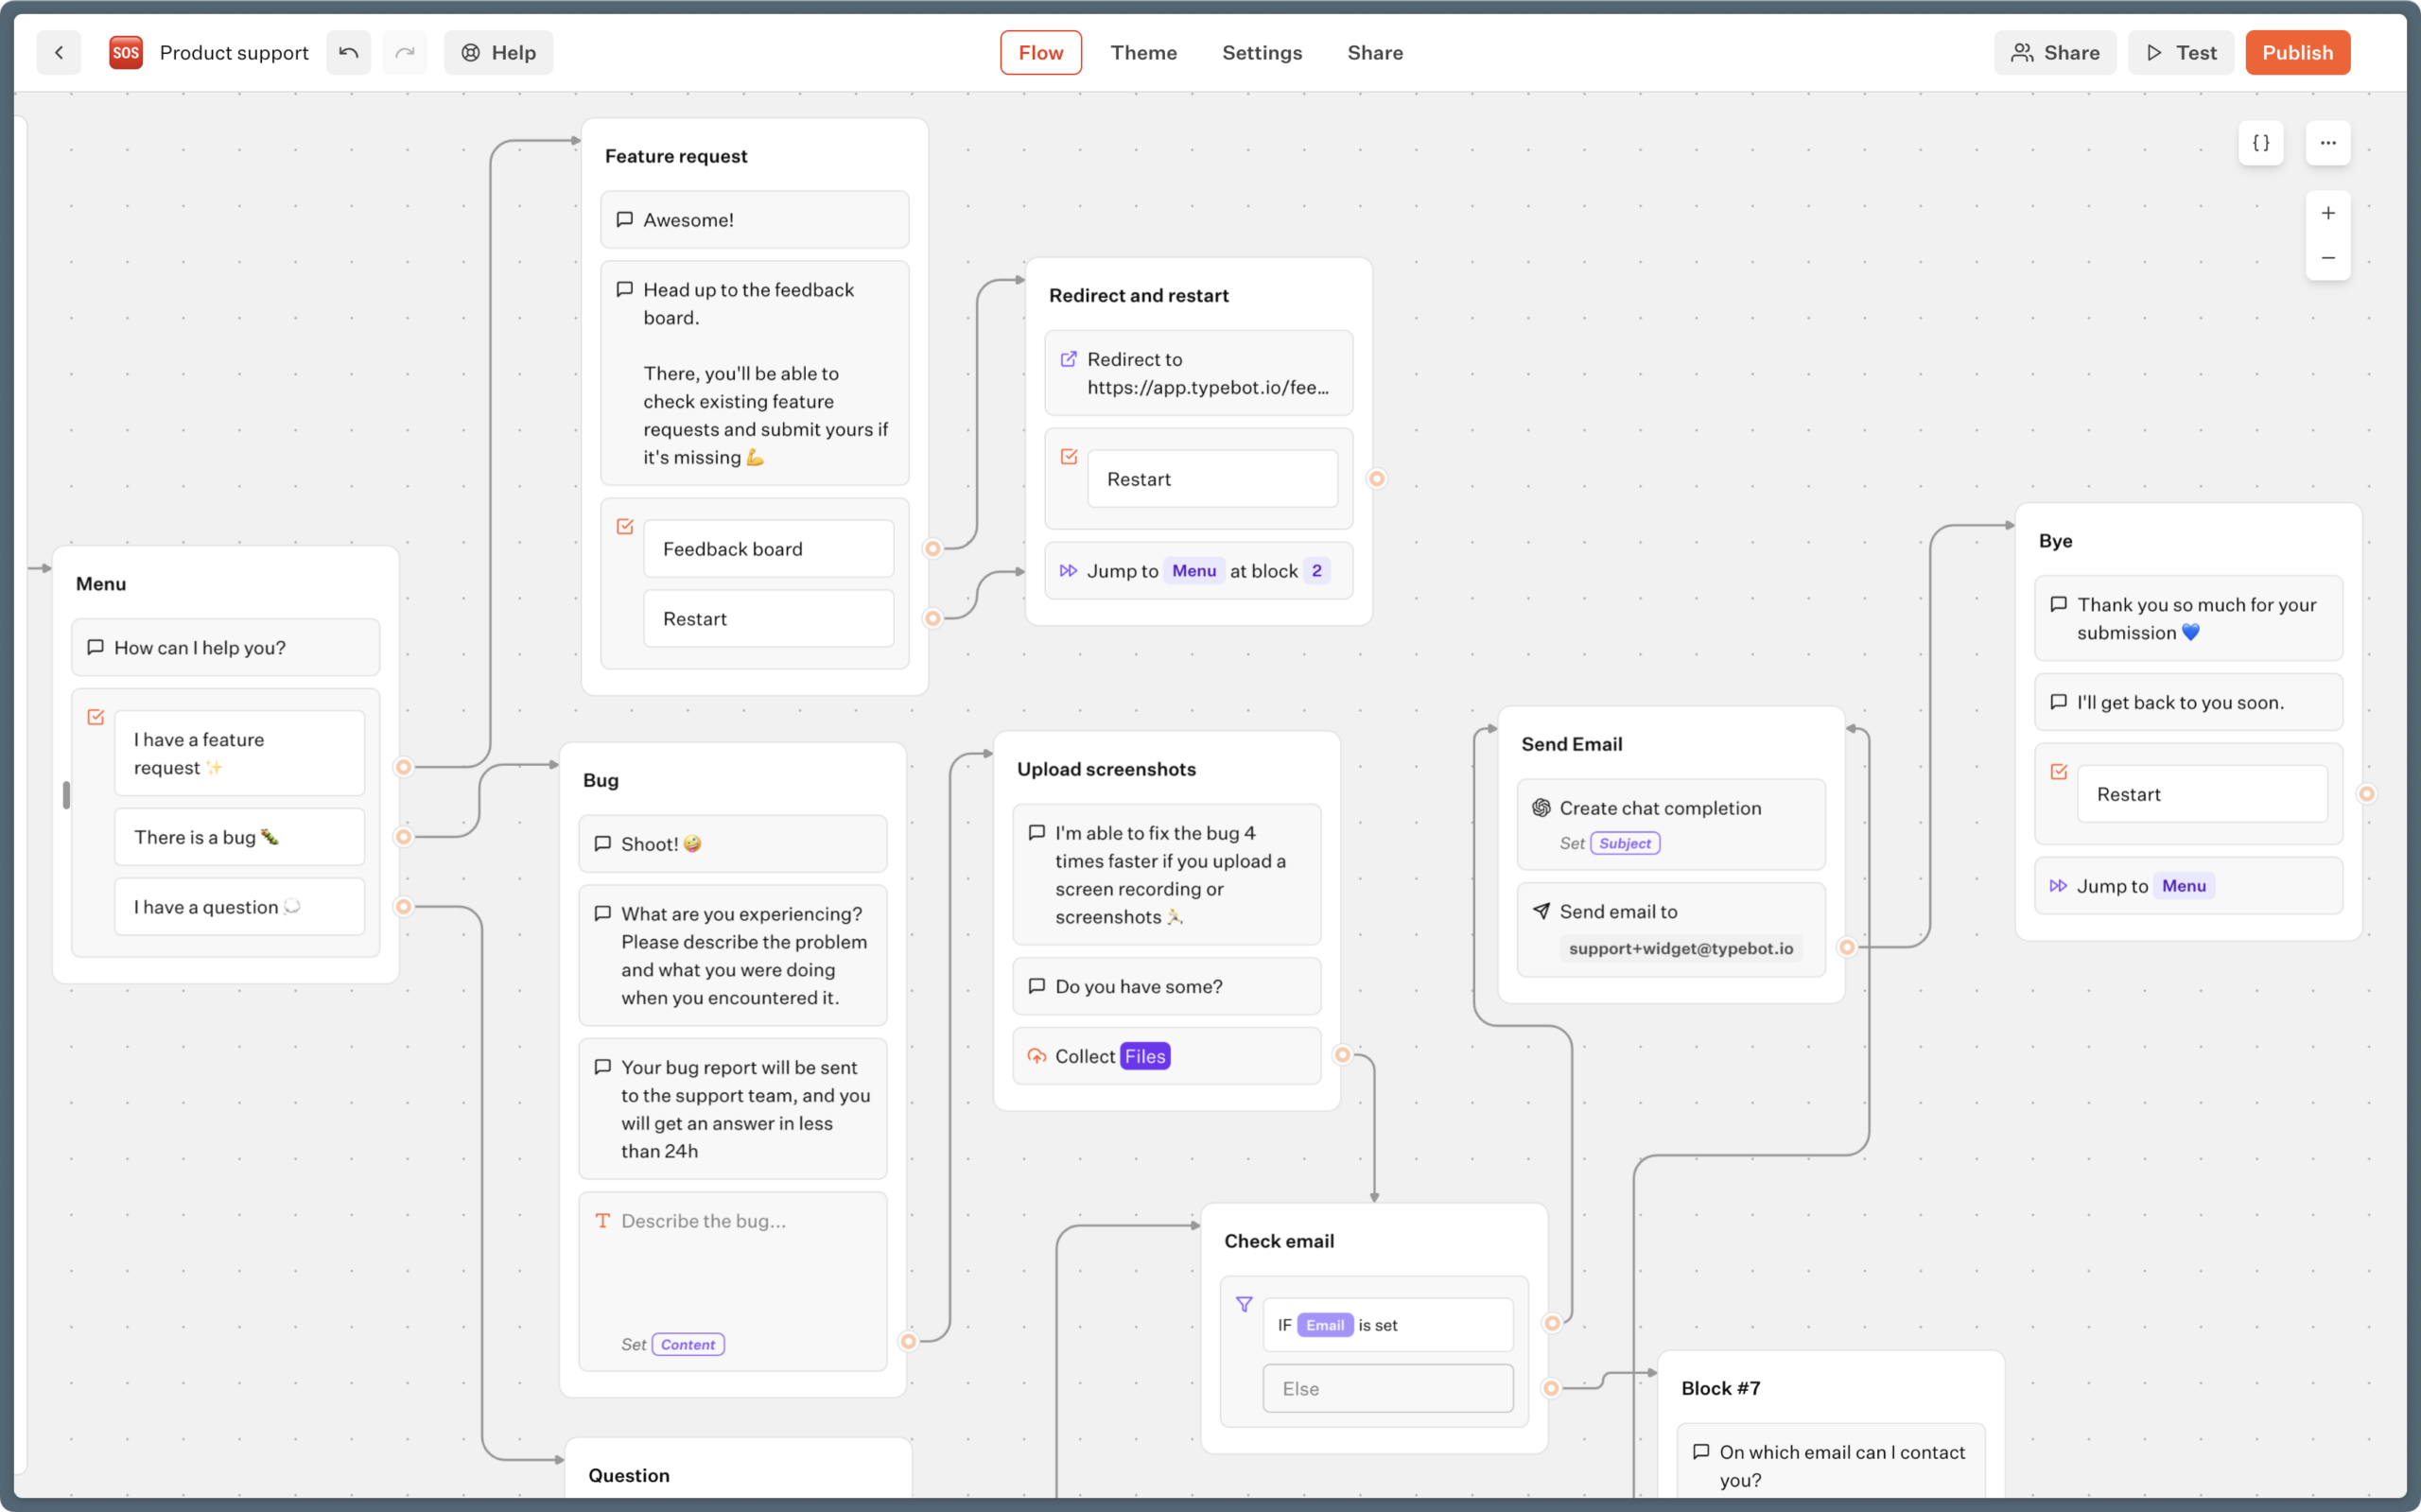
1. The Setup
Log into your Typebot instance and click “Create New Bot”. You will see the drag-and-drop editor.
- Left Sidebar: Your toolbox (Text, Images, Inputs).
- Center: Your canvas flow.
- Right Sidebar: Preview and settings.
2. Design the Conversation Flow
A good bot feels like a conversation, not a form.
- Greeting: Drag a Text Bubble and write: “Hi! Welcome to [Brand Name] Support.”
- Triage: Add a Buttons Input with options:
- Track Order
- Return Item
- Talk to Human
3. Add Logic & Branching
This is where Typebot shines. You can drag connections from specific buttons to different flows.
- If user clicks “Track Order” $\rightarrow$ Ask for Order ID $\rightarrow$ API Call (to check status).
- If user clicks “Talk to Human” $\rightarrow$ Collect Email $\rightarrow$ Send Notification (via Email or Slack).
4. Advanced: Integrations
Don’t let data die in the chat.
- Google Sheets: Use the native integration to append every new lead directly to a spreadsheet.
- OpenAI: Insert an OpenAI block to allow the bot to answer general FAQs using AI before escalating to a human.
Conclusion: The Future is Self-Hosted
By switching to a self-hosted Typebot instance, you reclaim ownership of your customer interactions. You gain the power of an enterprise-grade chatbot builder without the enterprise-grade price tag or data privacy concerns.
Ready to start?
- Download: Check the Typebot GitHub Repository.
- Community: Join the Discord to share themes and get help.
- Build: Launch your first bot today and watch your engagement soar.