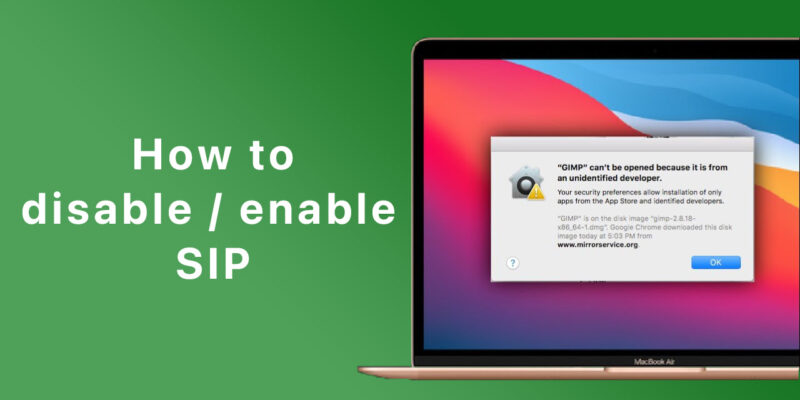
How to disable and enable System Integrity Protection
System Integrity Protection (SIP) in macOS protects the entire system by preventing the execution of unauthorized code. The system automatically authorizes apps that the user downloads from the App Store. The system also authorizes apps that a developer notarizes and distributes directly to users. The system prevents the launching of all other apps by default.
During development, it may be necessary for you to disable SIP temporarily to install and test your code. You don’t need to disable SIP to run and debug apps from Xcode, but you might need to disable it to install system extensions, such as DriverKit drivers.
What is System Integrity Protection?
System Integrity Protection is a security technology developed to guard files and folders on your Mac against potentially malicious software.
Before the SIP release, the root user account had full access to the entire operating system: any system folder or app on your Mac. Malware that got root permission could use it to destroy the low-level operating system files.
Today, Mac System Integrity Protection, also known as ‘rootless,’ restricts the root user and won’t allow it to perform specific actions, such as adding code into system processes or managing protected locations. This is good news. Software with granted root permission can no longer tamper with system files.
Parts of the system protected by SIP
System Integrity Protection is effective at defending the following system locations:
/System/usr/bin/sbin/var- Apps that come preinstalled with macOS
If you try to tamper with one of such protected parts, you’ll see the message: “Operation not permitted.” Only Apple-signed processes, such as authorized Apple installers or software updates, have privileges to write to system files.
Tip:

Find the full list of protected locations at: /System/Library/Sandbox/rootless.conf
Why you may need to disable System Integrity Protection
The most common issue with ‘rootless’ is it breaks apps. Some apps might fail to install or function correctly, even after they are installed. That’s when users see the “Cannot attach to process due to System Integrity Protection” message.
These app-specific errors are largely a thing of the past. Since time, most developers have updated their software to comply with the latest macOS versions. Of course, there are still exceptions.
Note that the blame for these problems doesn’t lie on SIP alone. It’s also the responsibility of developers who failed to adjust their apps properly.
How to disable System Integrity Protection (SIP)
SIP on the latest macOS has minor differences with the previous versions, but the basics of turning it on/off remain the same. Let’s see how to do that.
- Restart your computer in Recovery mode.
APPLE SILICON:

- On your Mac, choose Apple menu > Shut Down.
Wait for your Mac to shut down completely. A Mac is completely shut down when the screen is black and any lights (including in the Touch Bar) are off.
- Press and hold the power button on your Mac until the system volume and the Options button appear.
- Click the Options button, then click Continue.
- If asked, select a volume to recover, then click Next.
- Select an administrator account, then click Next.
- Enter the password for the administrator account, then click Continue.

When the Recovery app appears in the menu bar, you can choose any of the available options in the window or the menu bar.
INTEL PROCESSOR:
- Restart your Mac.
- Immediately press and hold one of the following key combinations until you see the startup screen:
+ Command-R: Start up from the built-in macOS Recovery System. Use this key combination to reinstall the latest macOS that was installed on your system, or to use the other apps in macOS Recovery.
+ Option-Command-R: Start up from macOS Recovery over the internet. Use this key combination to reinstall macOS and upgrade to the latest version of macOS that’s compatible with your Mac.
+ Option-Shift-Command-R: Start up from macOS Recovery over the internet. Use this key combination to reinstall the version of macOS that came with your Mac or the closest version that’s still available.
- If you see a lock, enter the password for your Mac.
- If you have multiple volumes on your disk, select the volume you want to recover, then click Next.
- If requested, choose an administrator account, click Next, enter the password for the account, then click Continue.
When the Recovery app appears in the menu bar, you can choose any of the available options in the window or the menu bar.- Go to Utilities > Terminal
- Type and press Return or Enter on the keyboard:
csrutil disable - Click the Apple logo > Restart.
Once you fix an issue, turn on System Integrity Protection right away.
How to enable System Integrity Protection
To switch SIP back to its full power, follow the first four steps once again. Enter csrutil enable in the Terminal and restart your Mac for the changes to take effect.
- Restart your Mac in Recovery Mode
- Open Terminal app
- Paste in:
csrutil enable - Hit Enter
- Restart your Mac
Most apps and their installers run smoothly with SIP turned on. Still, there might be situations when disabling it is the only option. If so, we’ve just told you what to do. Always keep your macOS updated and pick an anti-virus for your Mac if you haven’t got one yet. We are using CleanMyMac X, but there are many other good options too.