How to install and use Magisk modules on a rooted Android phone
Magisk is, without a doubt, one of the best tools a rooted user can tap into when customizing any Android device. You can install modules to do just about anything you want systemlessly, which means they won’t permanently overwrite your system files. Once you uninstall them and reboot, you’re right back to stock. Certain module-related properties have changed in recent versions of Magisk, so follow the guide below to learn more about how to install and use it.
The official Magisk repo and how to use it
This official repo was built directly into the Magisk app to make installing and updating your modules quick and easy. However, starting with Magisk v24.0, developer John Wu has decided to remove it entirely from the app. If you previously relied only on the app for your module needs, you might be unsure of what to do now that the feature is missing.
Now, you have to manually access the official repo, which you can find by doing the following:
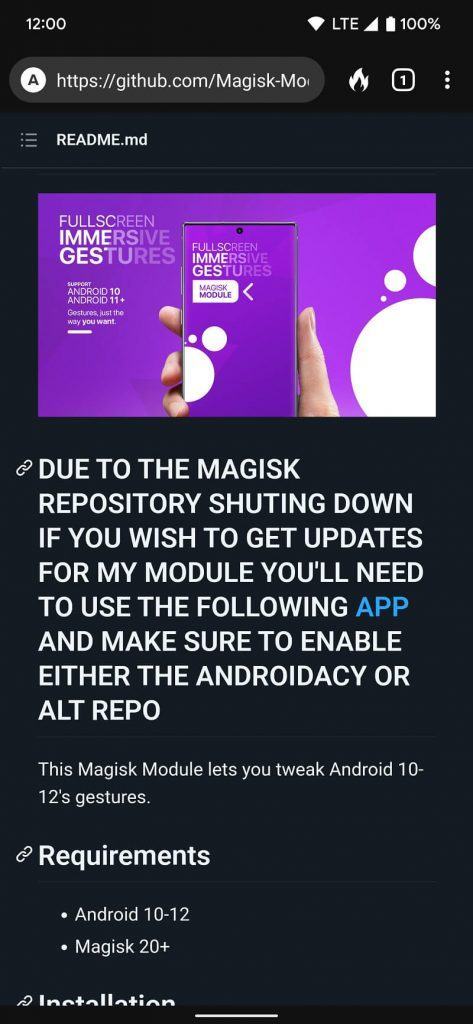
(1). Visit the official Magisk repo on GitHub.
(2). Scroll through the list and tap on a module that interests you.
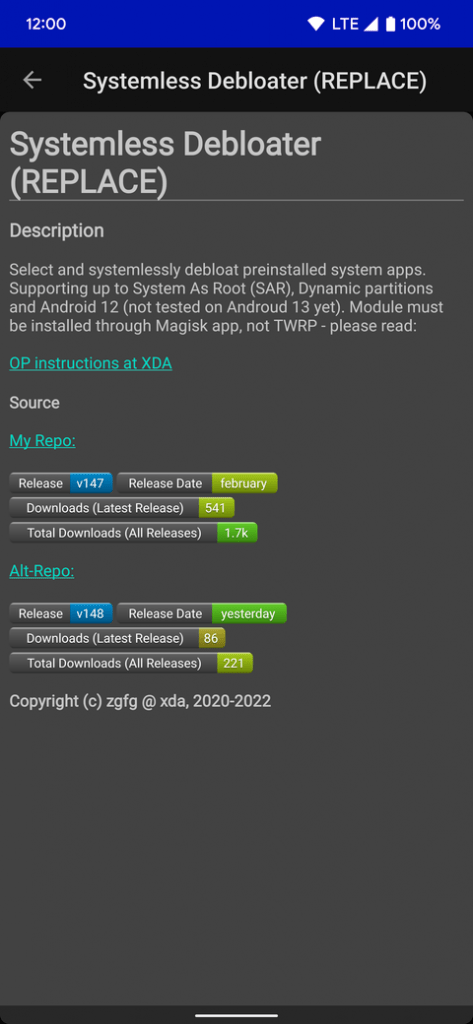
(3). Look over the description and features to get an idea of what it does.
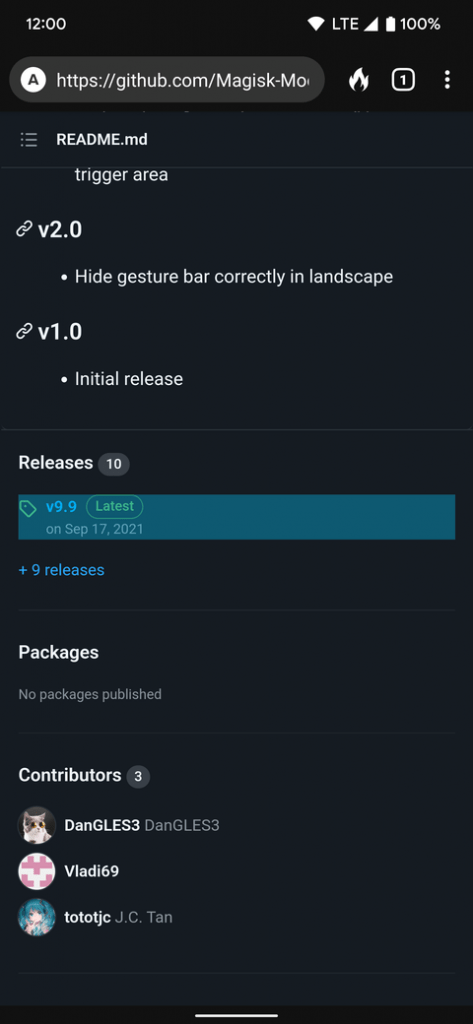
(4). Scroll down to the Releases section towards the bottom, then tap the latest version.
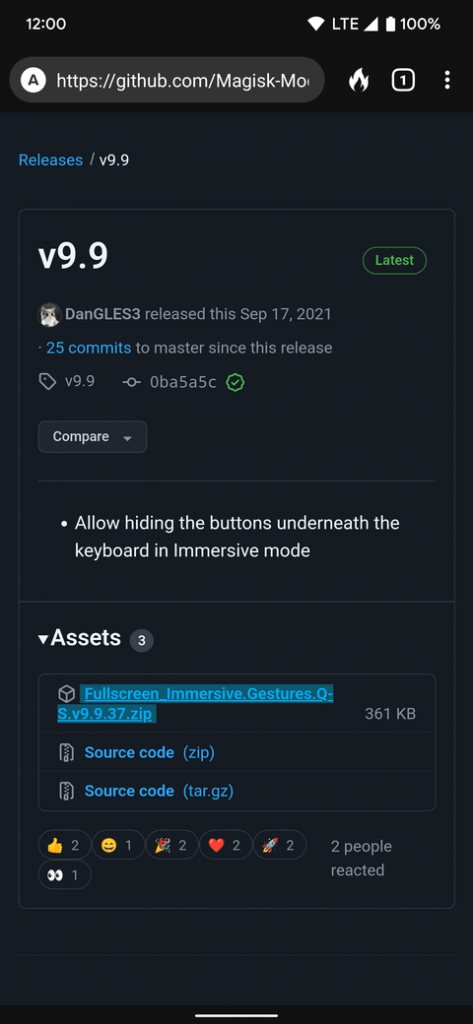
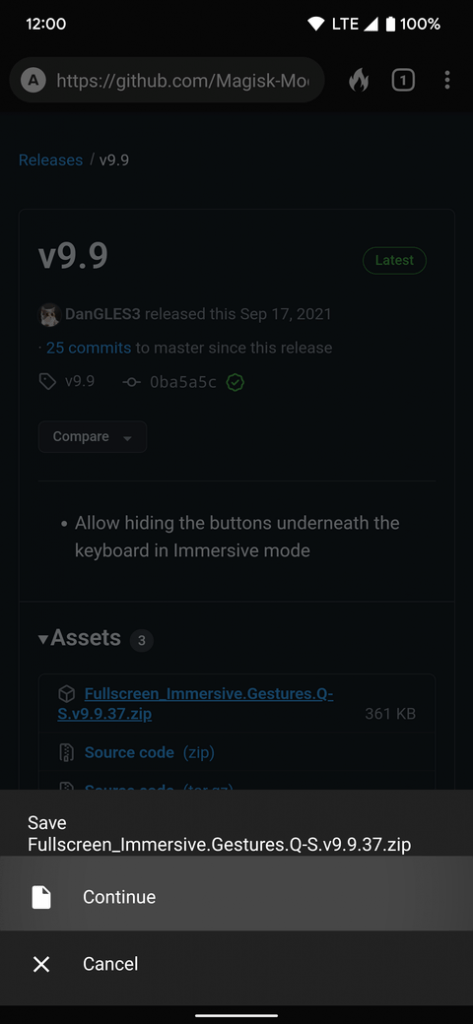
(5). Under Assets, tap the .zip file to download the Magisk module to your device.
Since the official Magisk repo is no longer accepting new module submissions, it could completely shut down at some point. However, the alternative Magisk repo is available, which will serve an unofficial replacement should that ever happen. New modules are constantly added to this repo, so it’s already a widely used source. It also uses GitHub, so the instructions for downloading modules are the same as the official repo above.
How to install Magisk modules
Now that you have a module downloaded to your device, you can install it by doing the following:
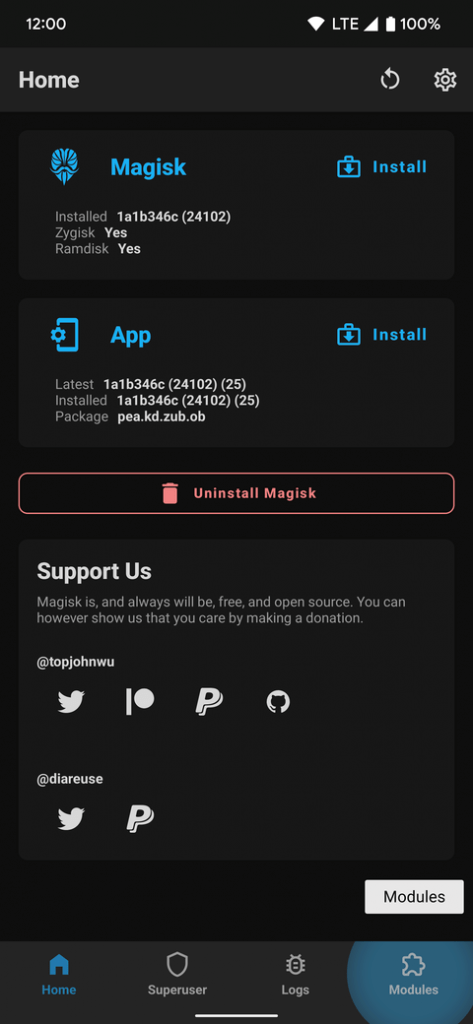
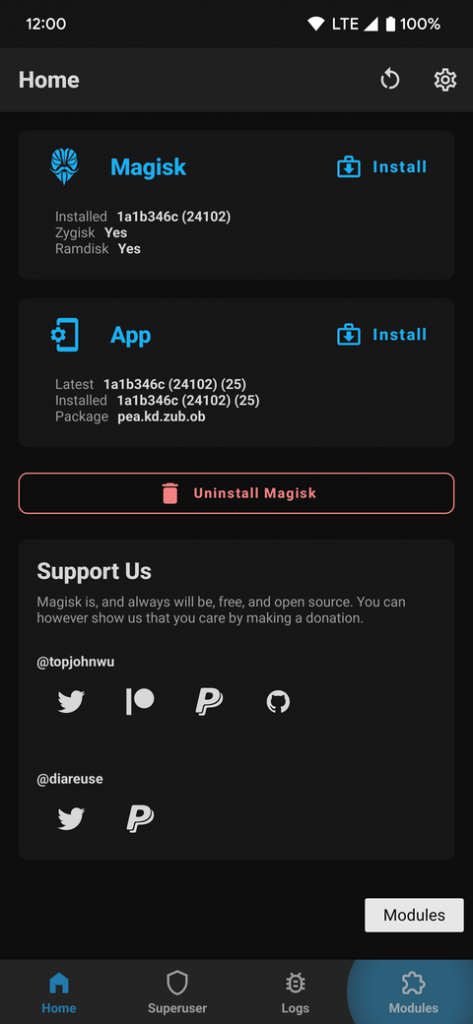
(1). Open the Magisk app to the main screen.
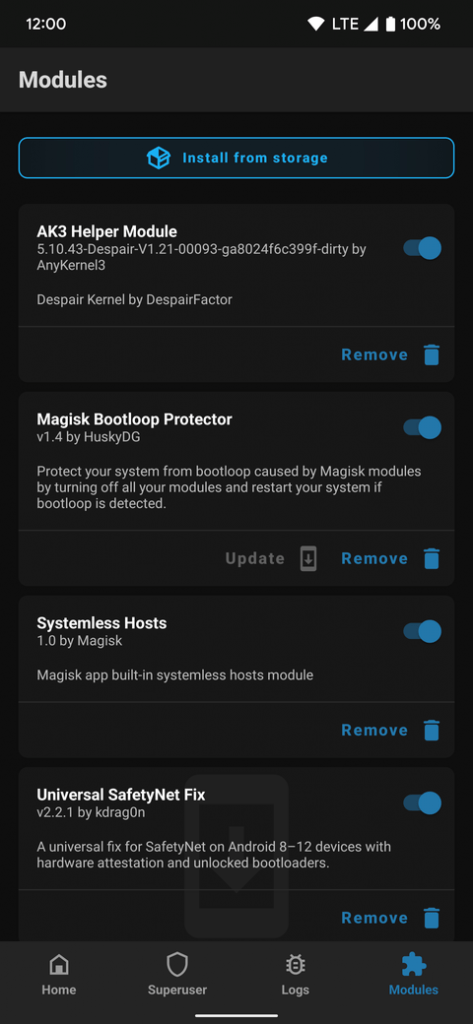
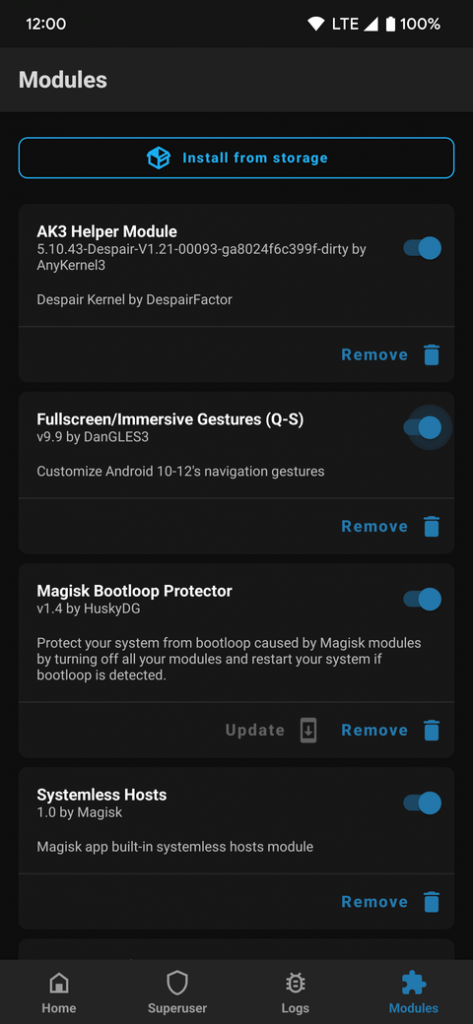
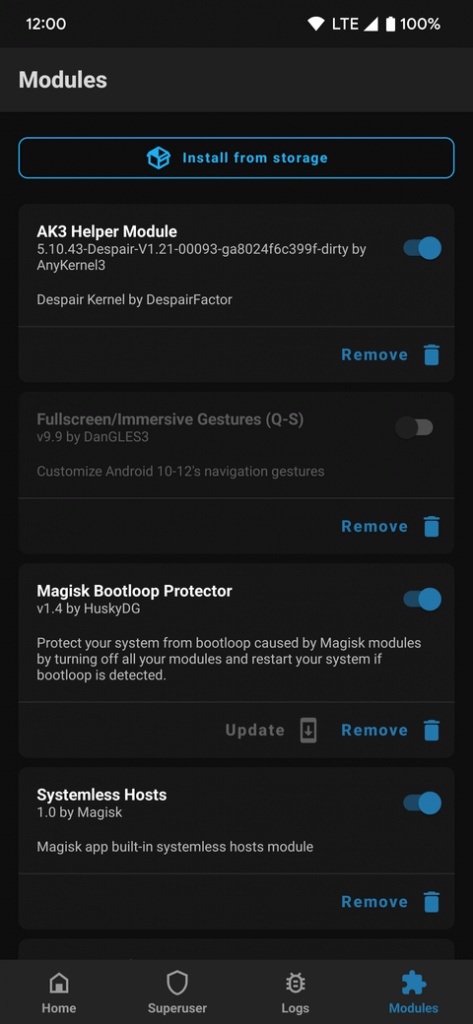
(2). Tap the Modules tab in the lower right corner.
(3). Hit the Install from Storage button at the top.
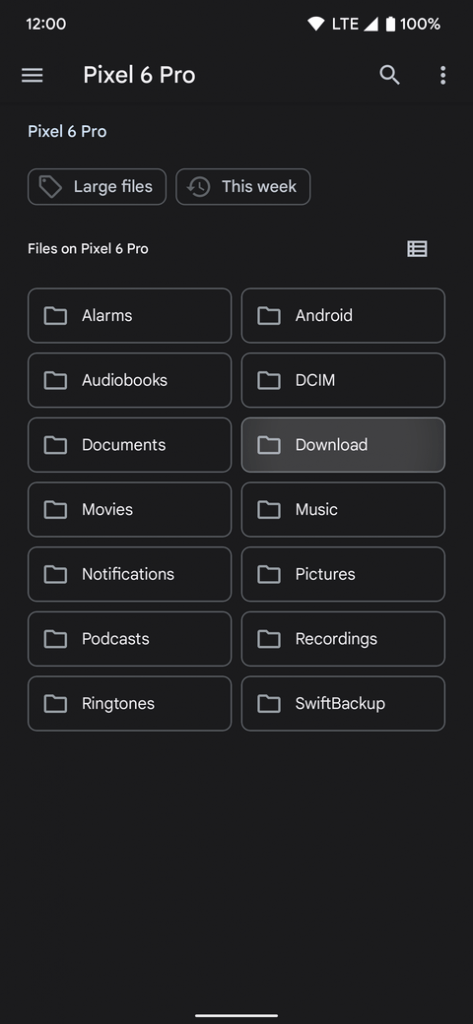
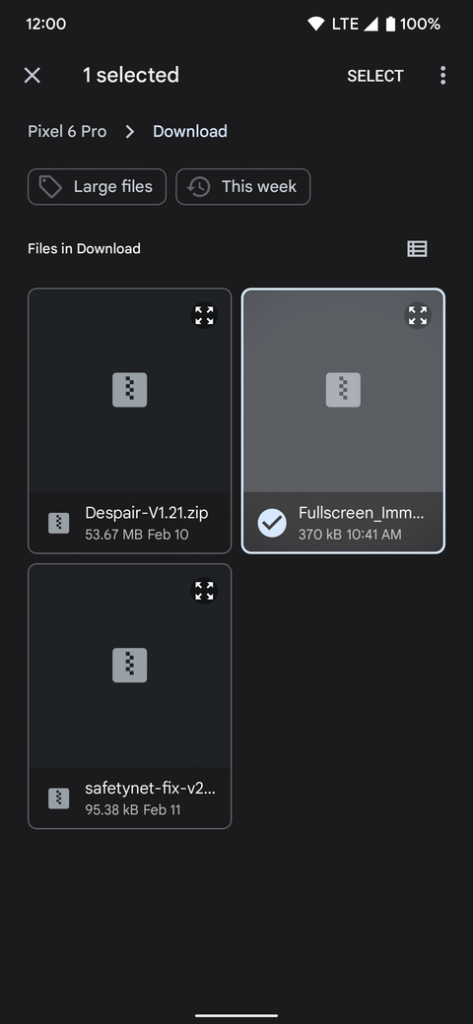
(4). Navigate to your Download folder or the location where you saved the module if needed.
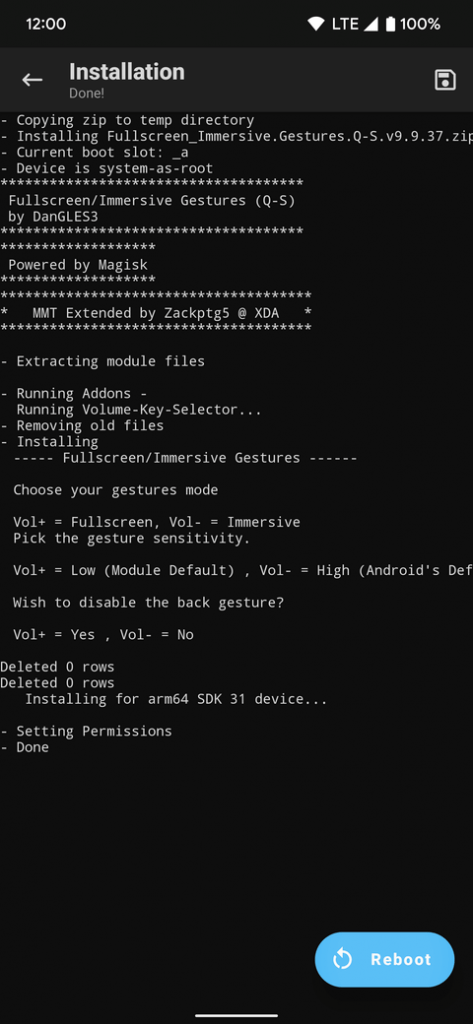
(5). Tap the module .zip file to begin the installation process, then follow any on-screen instructions as necessary.
(6). Once finished, press the Reboot button at the bottom to restart and activate the module.
Module compatibility is usually pretty high; however, not all combinations will work well together. If you’re using a wide variety of different modules, be careful with how many you install at once to avoid issues, like a potential bootloop. However, under normal circumstances, you should be able to stack multiple modules together just fine without any issues.

The left screenshot shows the default gesture navbar at the bottom on a Pixel device running Android 12, while the right shows it was removed after installing the example module.
How to uninstall Magisk modules
When you decide a module just isn’t working for you, removing it is a straightforward and easy process. To uninstall a Magisk module from your device, do the following:
(1). Open the Magisk app to the main screen.
(2). Tap the Modules tab at the bottom right.
(3). Locate the module you wish to uninstall, then hit the Remove button.
(4). The module’s section and text are grayed out to indicate it’ll be uninstalled the next time you reboot your device.

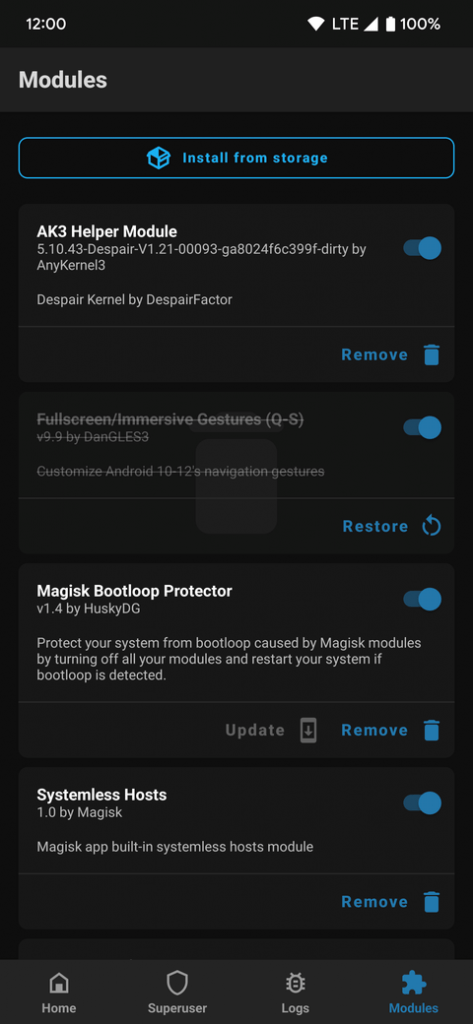
To undo this action for any reason before that, hit the Restore button, and it’ll reverse the changes instantly.
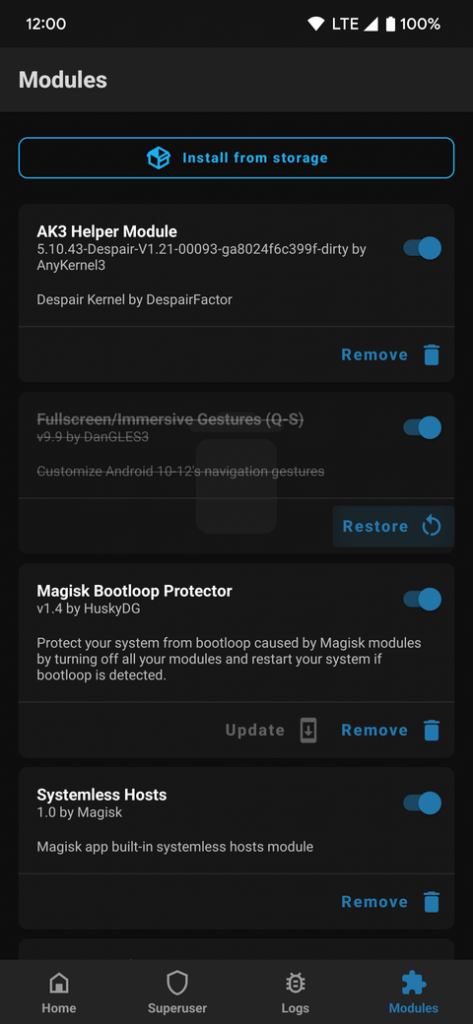

Tapping the button on the right will turn it off, but not actually uninstall it. This can help with testing module compatibility, since you can always turn it back on later. You’re still required to reboot your device if you plan on disabling and enabling modules in this manner.
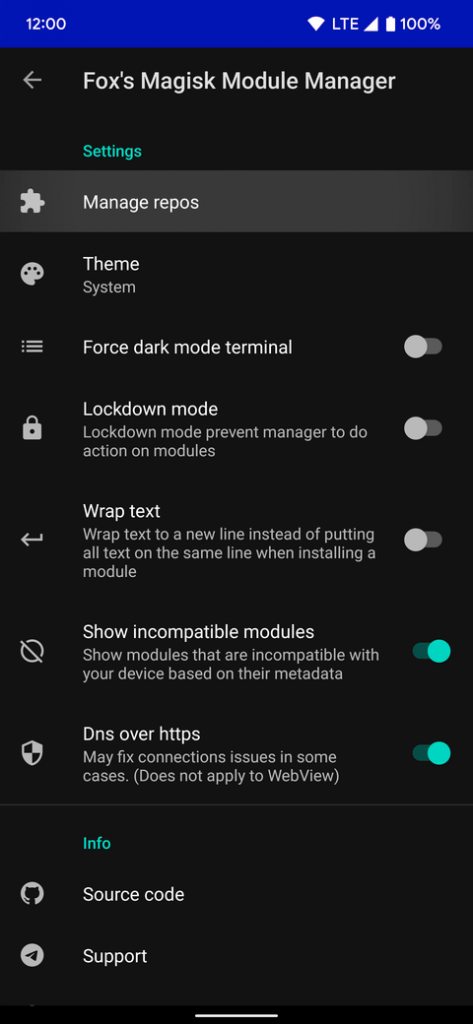
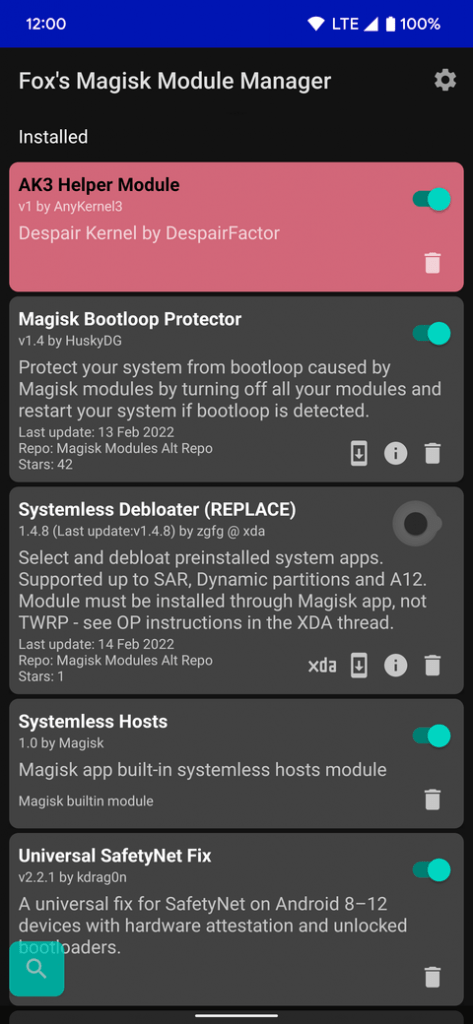
Fox’s Magisk module manager and how to use it
If you’d prefer to avoid scrolling through online repos looking for new modules, this is the method for you. Developer Fox2Code has created an app to manage your Magisk modules with relative ease. The app pulls from three different online repo sources, including the official one (for now), the unofficial alternative, and Androidacy’s. You can get started using Fox’s module manager by doing the following:
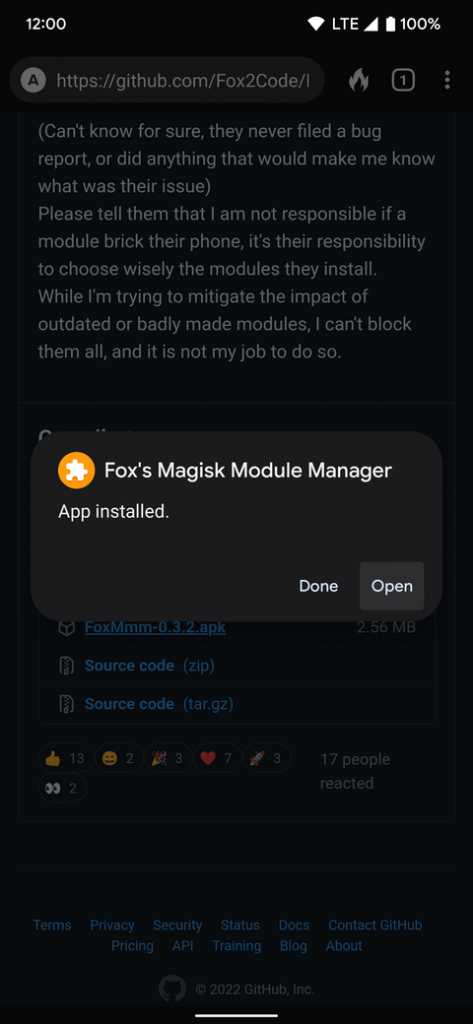
(1). Visit Fox’s module manager download page on your rooted device.
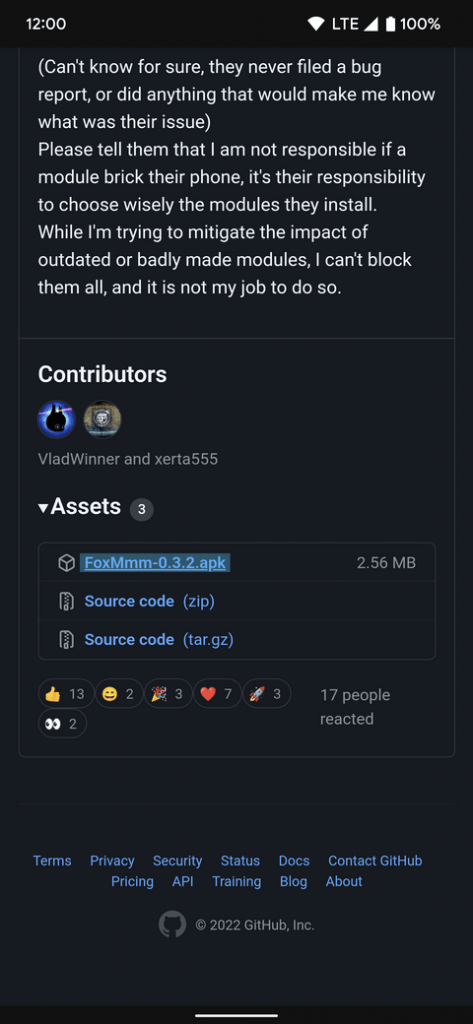
(2). Scroll down to the Releases section towards the bottom, then tap the latest version.
(3). Under the Assets section, hit the .apk file to begin the download.
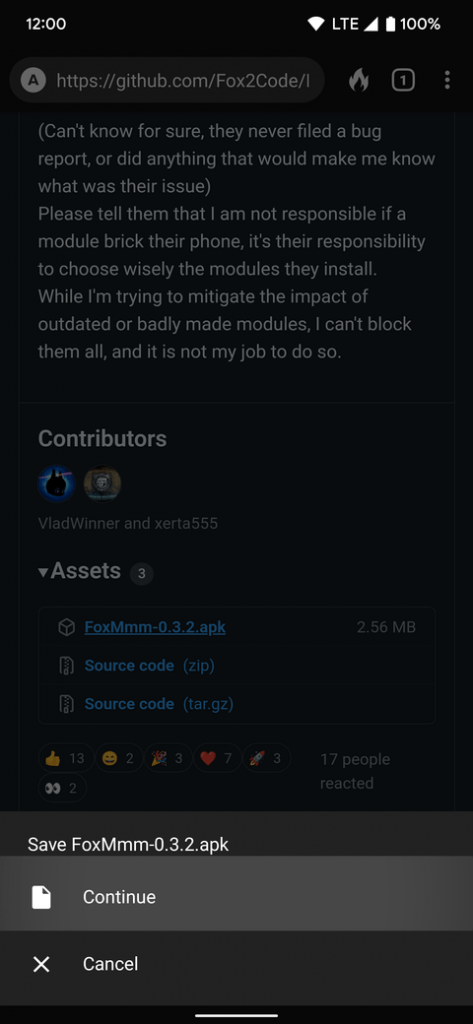
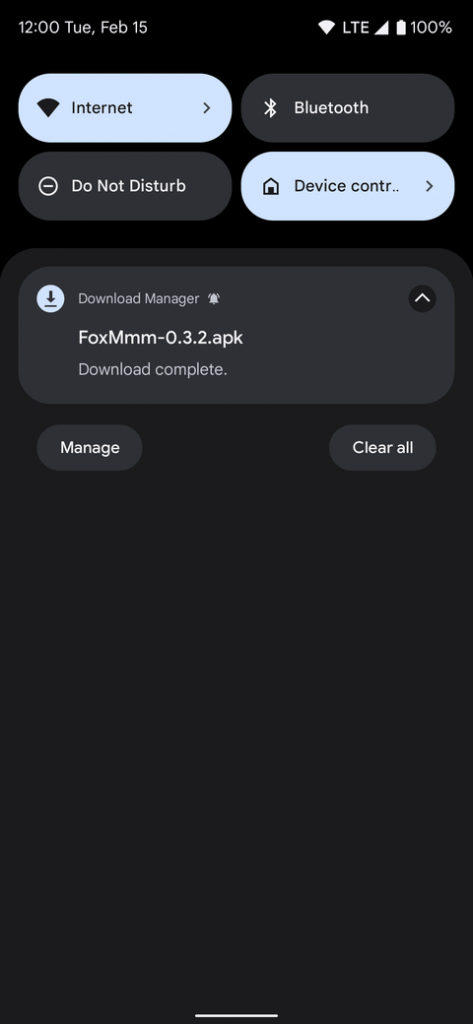
(4). Once it’s finished downloading, tap the notification in the status bar to install it.
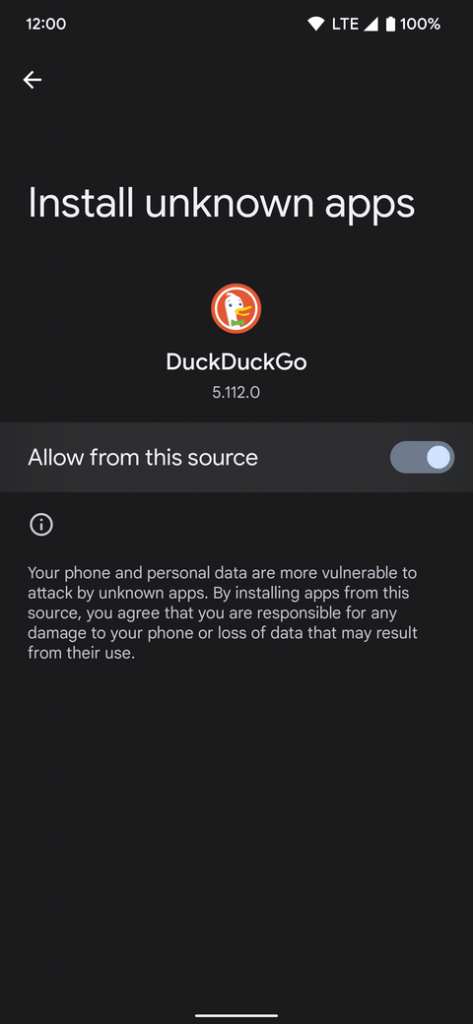
(5). If needed, enable the Install unknown apps permission to continue.
(6). Press Install to begin.
(7). Tap Open when it’s done.
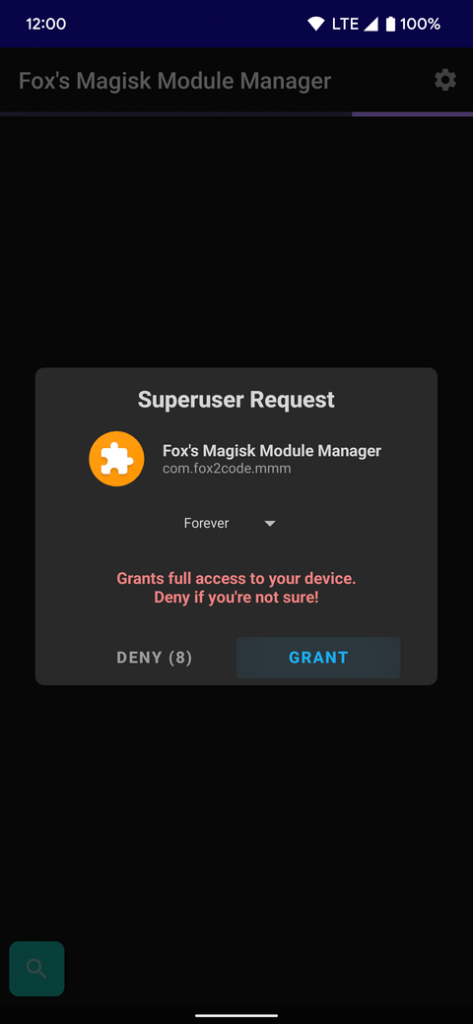
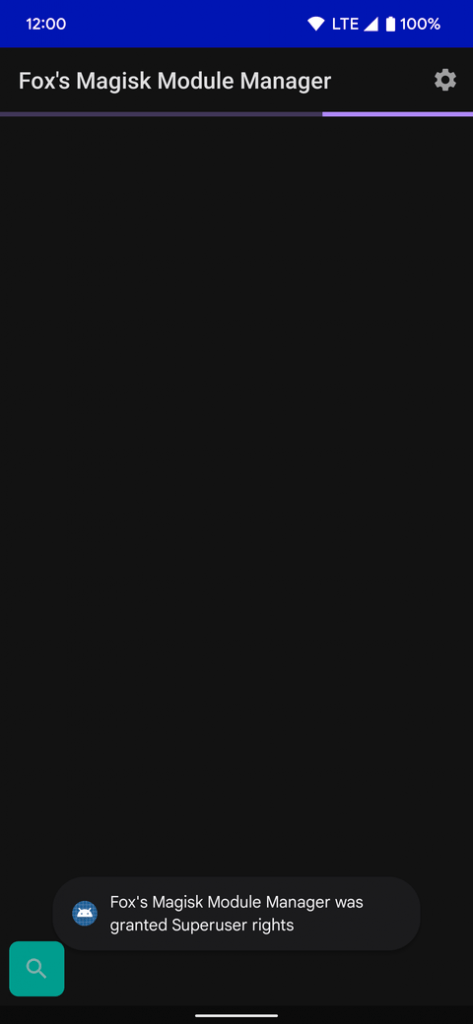
(8). You are greeted with a superuser permission request, so press Grant to confirm your choice.
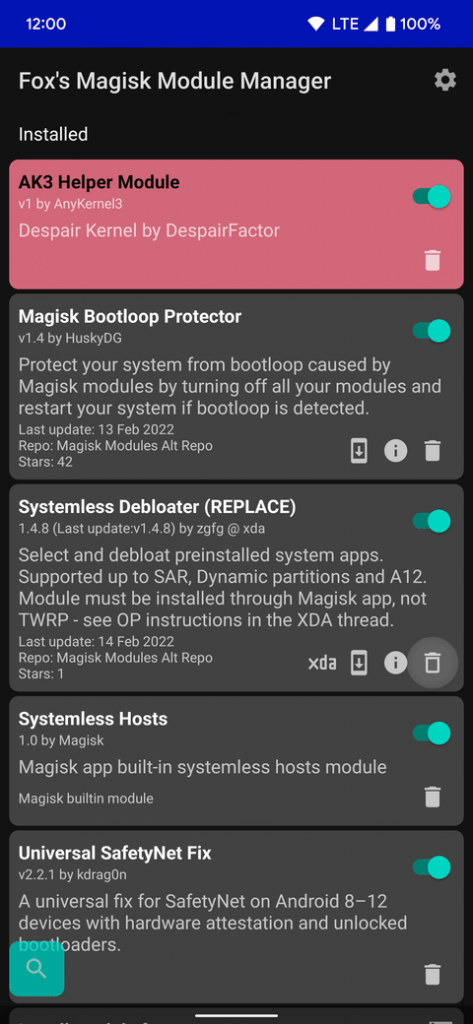
If you have any modules enabled at this time, they’ll appear on the main screen under Installed. Below that, the Online Repo section is where you will view and download all of your new modules.
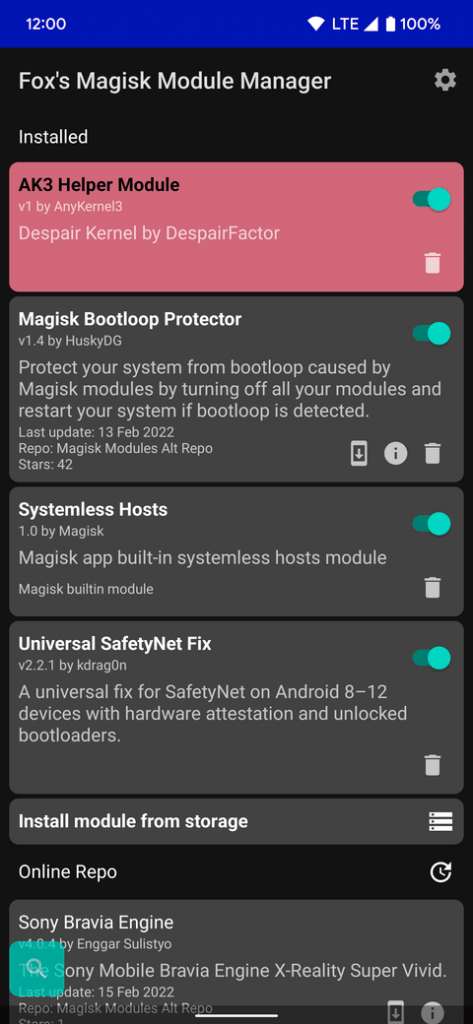
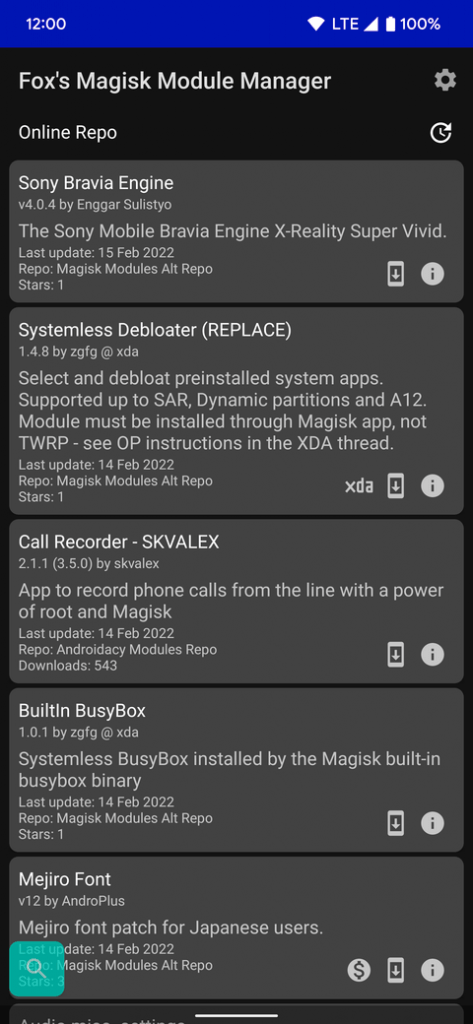
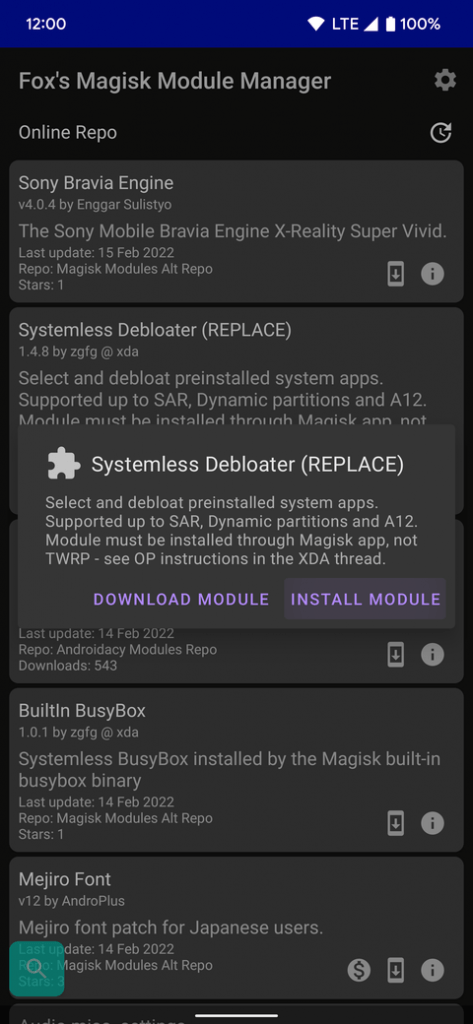
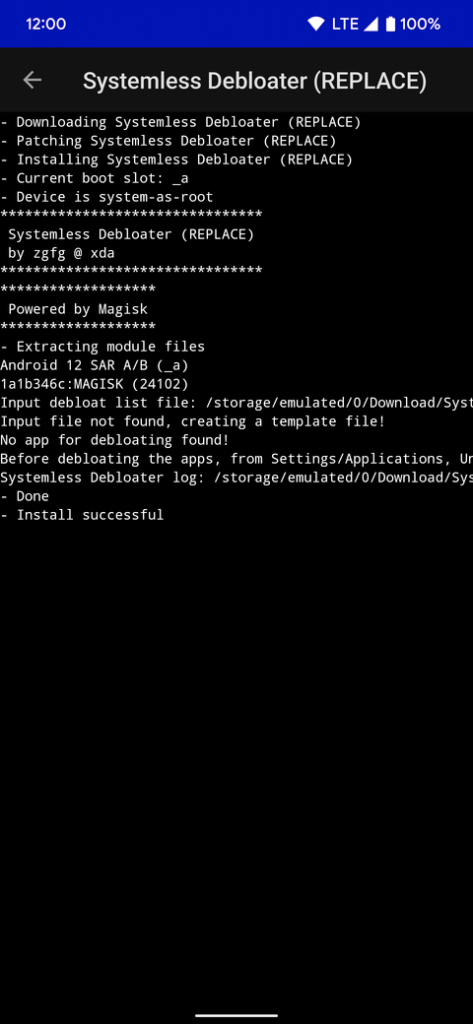
Tapping the information icon on the right takes you to the README page for each module, and hitting the download button on the left will bring up the installation option. If you want to use a particular module, just tap Install Module, then follow the on-screen instructions as needed. Once you reboot your device, the module will be activated and ready to go.
Like the Magisk app, you can disable a specific module by switching its button to the off position. If you want to uninstall it entirely from your system, tap the trash bin icon to do that. Either way, you’ll have to do a reboot to finalize the changes you made here.
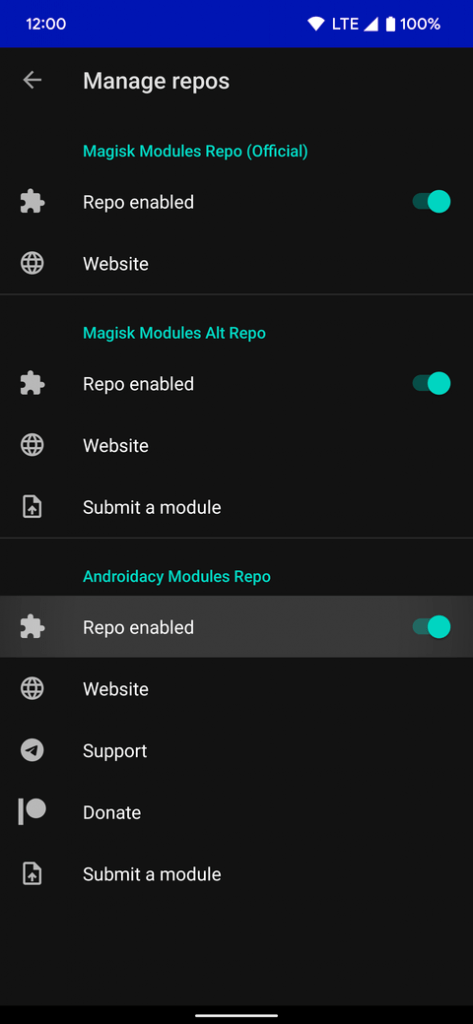
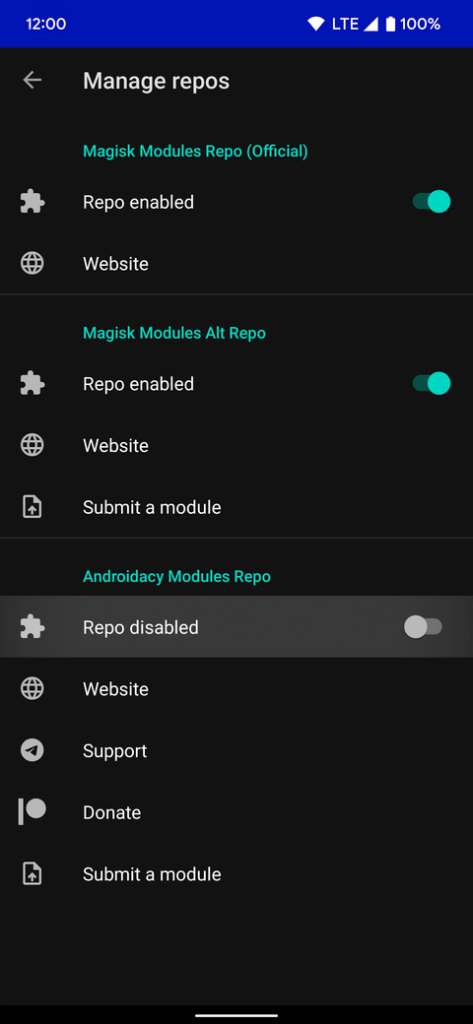
Tapping the Settings cogwheel in the upper right corner and going to Manage repos will let you pick where the modules come from. All sources are enabled by default, but you can disable any of them by pressing each switch to the off position.