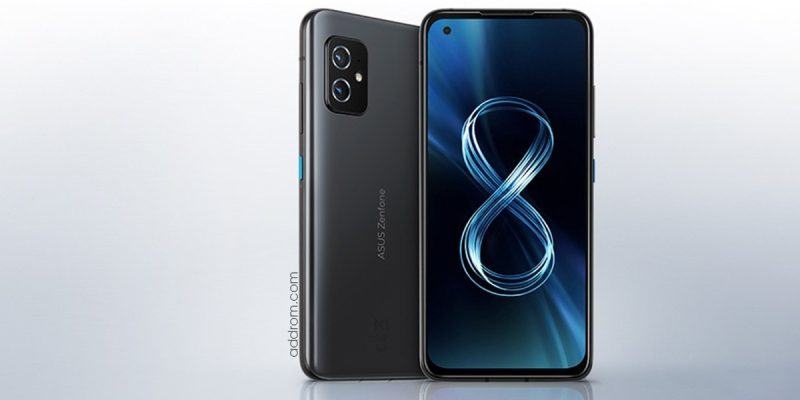
How to install Android 13 Beta on Asus Zenfone 8 (ZS590KS)
This’s the Android 13 Developer Preview Program! Joining this program gives you a chance to experience the latest Android 13 features* ahead of the launch. You can have fun with it and share your feedback, or even adapt your own apps to be compatible with the official Android 13 platform
Download
Change log
- July 8, 2022: Android 13 Beta 3 release
Known issues
- Fingerprint authentication not supported
- Face unlock feature not supported
- System stability issues
- 3rd-party apps compatibility issues
- Camera app can’t be launched from its icon on the home screen
How to opt-in to Android 13 Beta
Before installing the Android 13 Beta:
- Please back up any personal data first. All user data will be erased after installing the firmware.
- Ensure your battery’s charge level is higher than 20%.
- Make sure that no screen lock (pattern, PIN, or password) is set on your phone.
Step 1:
Turn the device off, hold down the Volume Up key and then hold down the Power key to enter Fastboot mode. After that, connect your Zenfone 8 to your PC via a USB cable.
Step 2:
Decompress the Android 13 image file, and then use the included scripts to flash your phone:
- Windows: Double click on the
update_image.batfile - Ubuntu: Execute
update_image.sh - MacOS: Execute
update_image_for_mac.sh
Caution: Do not unplug the USB cable and ensure there is a stable connection between your Zenfone 8 and PC during the flashing process.
Step 3:
When the flash update finishes, a ‘Download Complete’ message will appear on the terminal. Hit the Enter key on the keyboard to restart your Zenfone 8. If any failed message appears on the terminal, the flash was unsuccessful. In this case, please try again or report the issue.
How to opt-out and revert back to Android 12
Before reverting back to Android 12:
- Please back up any personal data first. All user data will be erased after installing the firmware.
- Ensure your battery’s charge level is higher than 20%.
Step 1:
Turn the device off, hold down the Volume Up key and then hold down Power key to enter Fastboot mode. After that, connect your Zenfone 8 to your PC via a USB cable.
Step 2:
Decompress the Android 12 image file (WW-ZS590KS-31.1010.0410.61-MR0-2204-user-20220422.zip), and then use the included scripts to flash your phone:
- Windows: Double click the
update_image.batfile - Ubuntu: Execute
update_image.sh - MacOS: Execute
update_image_for_mac.sh
Caution: Do not unplug the USB cable and ensure there is a stable connection between your Zenfone 8 and PC during the flashing process.
Step 3:
When the flash update finishes, a ‘Download Complete’ message will appear on the terminal. Hit the Enter key on the keyboard to restart your Zenfone 8. If any failed message appears on the terminal, the flash was unsuccessful. In this case, please try again or report the issue.
Update: Stock / raw ROM for Asus ZenFone 8 (ZS590KS)


