How to install Mac Software: 5 Easy Methods
Switching from a Windows PC to a Mac can seem tricky at first. The interface is very different, and it takes some time to get used to how things work on macOS. One particular area that you may find confusing is installing apps on a Mac.
There are multiple methods to install apps on a Mac, and they all are quite different from Windows. There’s no central registry, often no installer files, and uninstallers are much less common in macOS than on Windows.
So, here’s what you need to know about installing apps on your Mac.
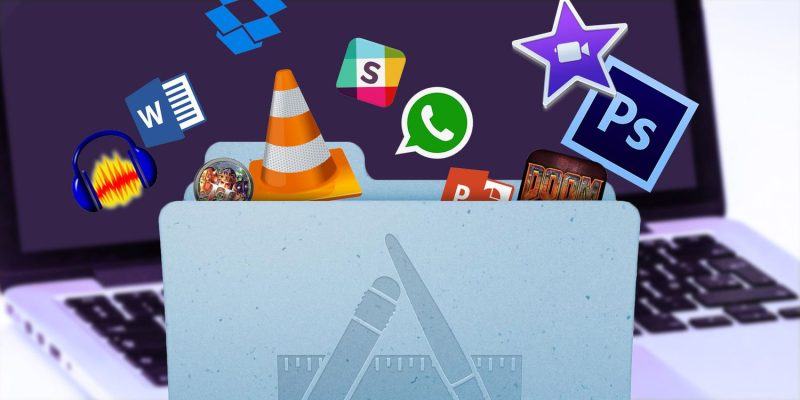
Installing Apps on Your Mac
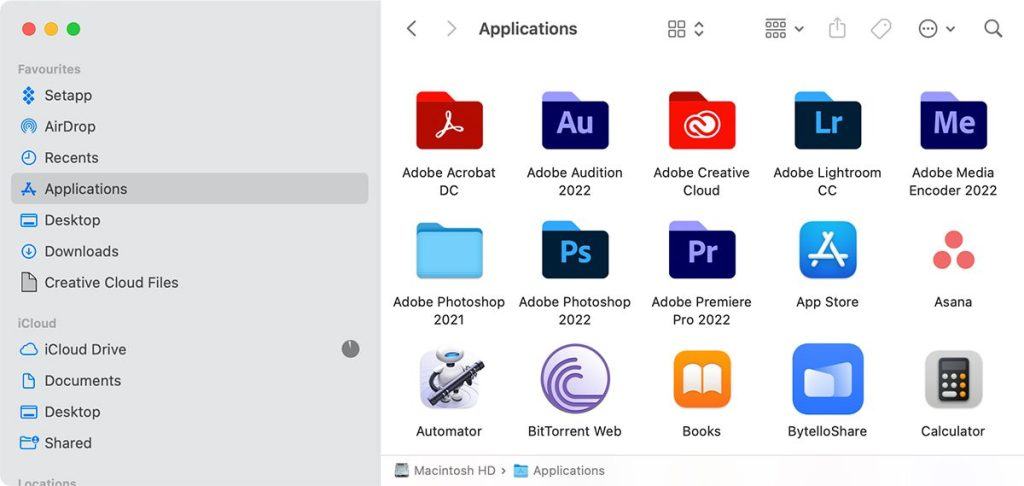
All macOS apps are stored in the Applications folder, which you can access by navigating to Finder > Go > Applications or pressing Cmd + Shift + A on your keyboard while in Finder. This is the central repository for apps on a Mac.
Installing software or applications on your Mac differs slightly from how you’d do it on Windows PCs. There are multiple methods to install apps—using the Mac App Store, DMG files, installers, Terminal, etc. We’ve covered all these methods in detail below.
1. Mac App Store
The Mac App Store is probably the easiest way to install software on macOS. The App Store features many apps that developers update regularly. Since all apps have to pass through Apple’s vetting process, this is probably the safest third-party software source.
Unfortunately, due to Apple’s sandboxing rules that restrict what developers can do, many developers choose not to release their apps on the Mac App Store. Thus, you might not find your favorite app on the App Store, so you’ll have to resort to other installation methods.
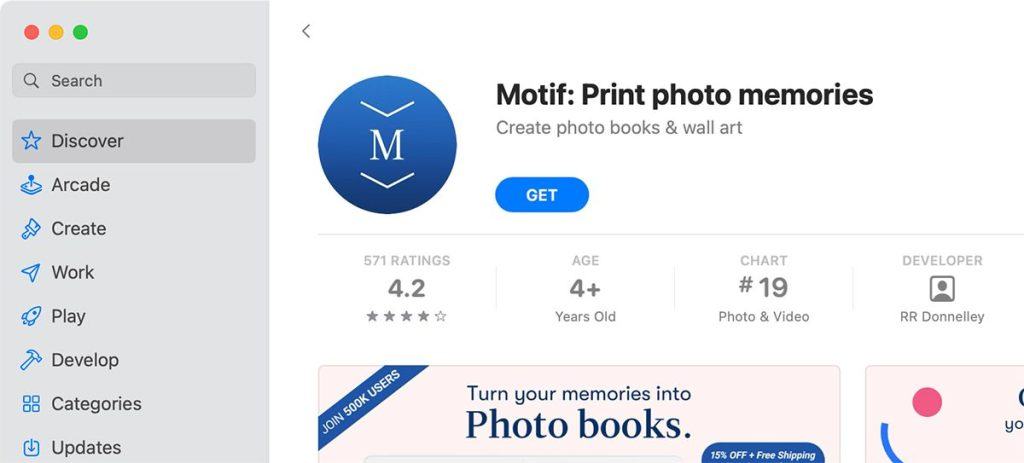
How to Install Apps From the Mac App Store
You’ll need to log in to the Mac App Store with your Apple ID before you can use it to install apps. To do this:
- Launch the App Store and click on Sign in (located in the bottom-left corner).
- Browse or search for the app you want by browsing the relevant tabs.
- Choose an app, click on Get, followed by Install, and then enter your Apple ID password to verify your identity.
- Wait for the app to download and install, and then open it by clicking Launch, searching Spotlight, or finding it in your Applications folder.
To remove an app, launch Finder and navigate to your Applications folder. Drag the app’s icon to the Trash bin to remove it.
Any apps you’ve downloaded in the past (free or paid) can be re-downloaded under the Purchased tab.
2. Drag and Drop Installs
Drag and Drop Installers are the most common way for developers to distribute apps outside the Mac App Store. These are DMG files or disc images you must double-click to mount—just like a DVD or USB drive. Once mounted, you should see it appear in your Finder sidebar under Devices.
You may also download ZIP archives, which you’ll need to extract first by double-clicking on them. To install these apps, follow these steps:
- First, mount your .dmg file and open the device in Finder (if you have a .zip file, unzip it before mounting the DMG file)
- Most installers will have the app icon and a shortcut to the Applications folder included in the installer. Simply drag the app into the Applications folder shortcut. If there’s no shortcut, drag the app to the Applications folder in Finder.
- You may need to provide an admin password for apps that require additional privileges.
- Launch the app via Spotlight (Cmd + Space bar) or find it in your Applications folder.
To uninstall an app, you can drag the app icon to the Trash to remove the app.
3. Packaged Installers
Sometimes you’ll need to install software using an installer bundled as a PKG file. This is just like installing software on Windows, where the installer usually provides a few options to choose from and often requires an admin password to make changes to your system.
For example, most Adobe programs use packaged installers to install software on your Mac.
To install a .pkg file, simply double-click it and follow the instructions. While you can often drag the app icon to the Trash like any other, apps installed via this method sometimes have packaged uninstallers or apps. You may also need to enter the admin password to make certain changes to your system.
4. Terminal Install
You can access your Mac’s command line with a bundled app called Terminal, found in Applications > Utilities, or by searching Spotlight. It’s also possible to install software via this method, which is much quicker than finding the software, unpacking it, and dragging icons into folders.
To make this simple, you’ll need a package manager called Homebrew:
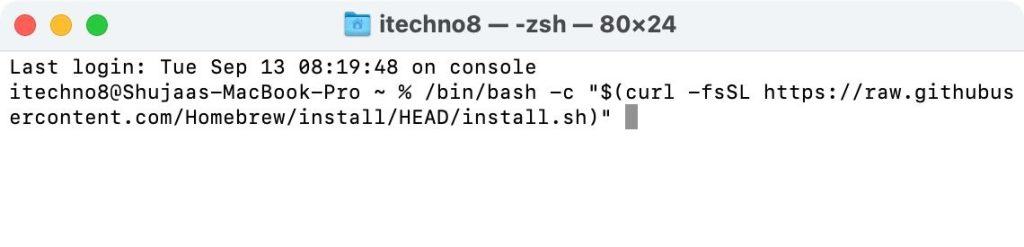
- Launch Terminal, copy and paste the command below, and hit the Return (or Enter) key:
/bin/bash -c "$(curl -fsSL https://raw.githubusercontent.com/Homebrew/install/HEAD/install.sh)"
- Enter your password to give admin rights to Terminal to install Homebrew. Now, type in your password and press Return (the text cursor will not move).
- Your Mac will install Homebrew and prompt you to install any additional packages you may need.
- Once installed, you can use the brew command in Terminal to install software, e.g.
brew install firefoxYou can use the command line to install a variety of common free apps like Dropbox, VLC, Transmission, and many more. We also have an in-depth guide on installing apps using Homebrew in Terminal available for you to read.
5. Installing Windows or DOS Software
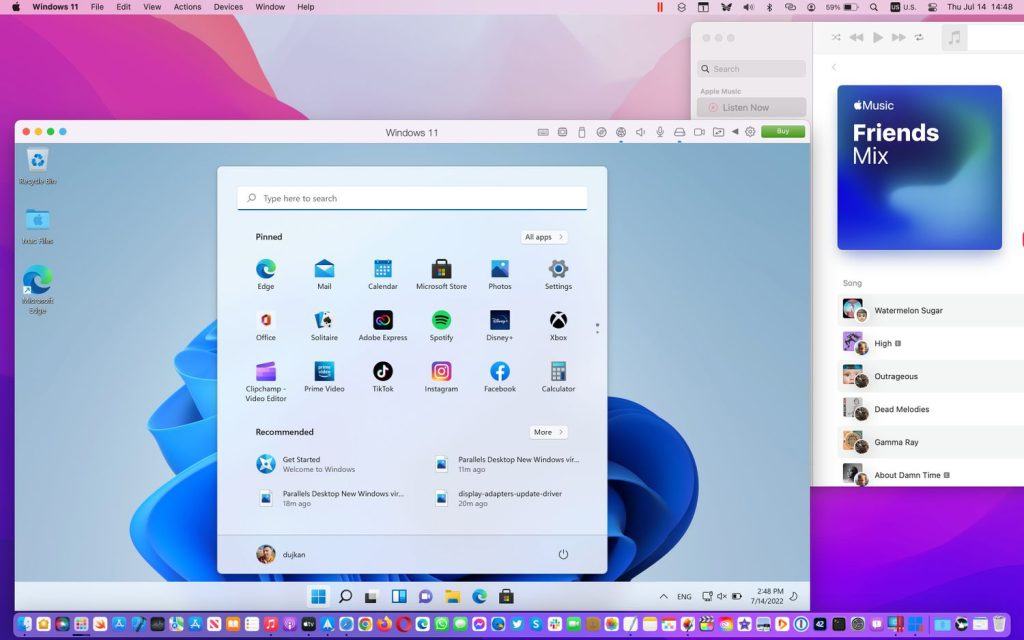
It’s a bit tricky running Windows software on Apple hardware, where no native Mac version exists. The most viable solution is to use a virtual machine app, which allows you to run a Windows app using virtualization on your Mac.
Virtualization involves using software to emulate a Windows PC and run Windows on top of macOS. While this will provide the most stable performance (the software is, after all, running on its intended OS), it’s a resource-hog that requires lots of free memory and processing power. You also may run into problems with drivers and 3D acceleration.
If possible, it might be worth finding yourself a native app to do the job instead. You’ll experience faster performance and much better stability.
Running Untrusted Software by Disabling Gatekeeper
Gatekeeper is Apple’s answer to the growing problem of Mac malware. It’s a security feature that stops your Mac from running software installed from simply anywhere.
By default, your Mac will only allow you to run apps from trusted developers and the Mac App Store, but many apps that don’t fall under this category are legitimate and pose no risk to your machine.
You can change your Gatekeeper settings under System Preferences > Security & Privacy > General. You’ll need to click the Lock icon and enter an admin password to make changes, but you can completely disable Gatekeeper to allow software from anywhere to run on your Mac.
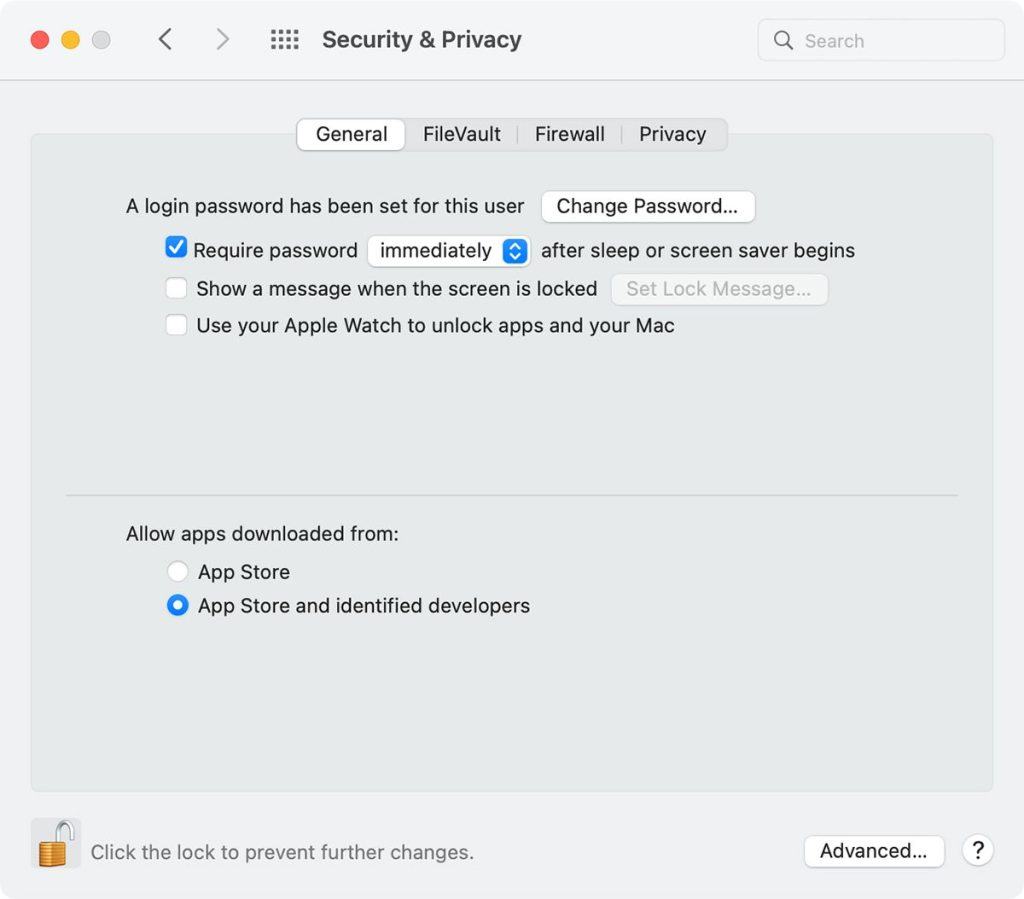
We highly recommend against disabling Gatekeeper permanently as it comes at the cost of your Mac’s security. Therefore, an alternate yet better option is to allow apps to run on a case-by-case basis, which removes the need to disable the feature completely.
After you run an app denied by Gatekeeper, head straight to System Preferences > Security > General where your Mac will report it denied an app from running. You can then click the Open Anyway button to create an exception for that particular app, which will allow it to run in the future.
Removing Software From Your Mac
As noted in most of these install methods, the easiest way to remove software usually involves finding the app in your Applications folder and dragging the icon to the Trash bin. You might also find an uninstaller package too.
There are also many third-party apps available for cleaning your Mac, all of which will help you get rid of unwanted files and folders.
Install Any Software on Your Mac Effortlessly
As you can see, there are multiple methods to install software on your Mac. While most of them are pretty straightforward, installing software using Terminal or virtualization can be a bit tricky. Fortunately, most apps now have native macOS versions, which allows for greater performance with fewer issues.
An important point to note is that if you plan to install software from outside the Mac App Store, make sure you trust the developer, as installing sketchy software can easily lead to malware problems on your Mac.