How to root Samsung Galaxy S23 (S91*B/N/0)
WARNING:
Before you root your device you must be aware that

- This will void warranty.
- As of now you will lose Samsung Pay and Samsung Pass forever if you root once, even unrooting won't help.
- There are many features stop working when you unlock bootloader other than S pay/Pass like Samsung Health, Secure Folder, Galaxy Watch pairing issue, Issue connecting old gear watch (S3 or earlier), Google Pay etc but some ROMs are patched for all these mentioned features, you can use custom ROM or patch it yourself for stock ROM. Still you may trouble using some bank apps and these may fixed by adding these apps to Magisk Hide
- There may be some knox features there which you may not able to use but I can't list those as I never used. Just Google It
- Patched featurs are working today when writing this, No idea if it may stop working next moment/tomorrow or later
- Also to note, once you root, you can't go back to "pre-rooted" state completely. It is one way!
- OTA won't work once you root device.
- ROOT with caution.
- You can unroot & Relock bootloader after flashing stock firmware, but still your warranty flag remain 0x1 and most of countries it still voids warranty. Also after unrooting & relocking bootloader, some knox features never work again.
How to Unlock Bootloader
Follow below four steps to ulock the bootloader
1. Enable Developer Option
- Open the Settings app on your Galaxy device.
- Choose About > Software Information.
- Now tap on Build Number 7 times to enable the developer option.
- You’ll get a message “You’re now a developer.”
- Now Developer option has been enabled.
2. Enable OEM Unlock
- Go to the Settings app again on your device.
- Navigate to the Developer option.
- Enable the toggle next to OEM Unlocking.
- Tap YES to turn on the confirmation dialog box.
3. Boot Your device to Download Mode
- While device is booted → Connect device to PC → Select to Restart → As soon as device screen turns off, Press and hold Volume Up + Volume Down simultaneously OR In case device is powered off Press and hold Volume Up + Volume Down simultaneously and connect your device to the PC via a USB Cable.
- You can see the warning message on your device and release the pressed keys.
- Finally, press the Volume Up key once, and you will be booted into Download Mode.
4. Unlock Bootloader
- Once device booted into Download Mode, you will see option to long press Volume up to unlock bootloader,Now, press and hold the Volume Up key for a few seconds., Here, you’ll get a confirmation whether you are sure to proceed.
- Use the Volume Up button to reply to the confirmation.
- This will erase all the data on your device and unlock the bootloader.
- Once completed, your device will automatically boot up to the OS.
Now you have successfully unlocked the bootloader
How to root Galaxy S23
Instructions for stock non rooted ROM
- Use either samfirm.js, Frija, or Samloader to download the latest firmware zip of your device directly from Samsung servers.
- Unzip the firmware and copy the AP tar file to your device. It is normally named as
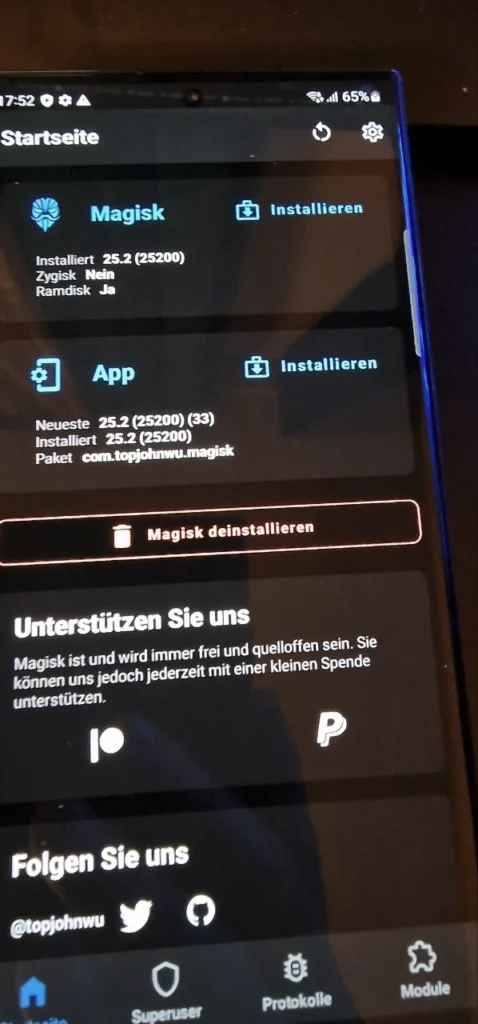
AP_[device_model_sw_ver].tar.md5 - Install Magisk apk ( IMPORTANT : Currently stable Magisk doesn’t support S23 so use from here)
- Press the Install button in the Magisk card
- Choose “Select and Patch a File” in method, and select the
APtar file - When done, copy patched file to PC
- Reboot to download mode. Open Odin on your PC, and flash magisk_patched.tar as AP, together with BL, CP, and CSC (NOT HOME_CSC because we want to wipe data) from the original firmware.
- Your device should reboot automatically once Odin finished flashing. Agree to do a factory reset if asked.
- Install the Magisk app you’ve already downloaded above and launch the app. It should show a dialog asking for additional setup.
- Let the app do its job and automatically reboot the device. Voila!
Upgrading the OS
Once you have rooted your Samsung device, you can no longer upgrade your Android OS through OTA. To upgrade your device’s OS, you have to manually download the new firmware zip file and go through the same AP patching process written in the previous section. The only difference here is in the Odin flashing step: do NOT use the CSC tar, but instead use the HOME_CSC tar as we are performing an upgrade, not the initial install.
Important Notes
- Never, ever try to restore either boot, recovery, or vbmeta partitions back to stock! You can brick your device by doing so, and the only way to recover from this is to do a full Odin restore with data wipe.
- To upgrade your device with a new firmware, NEVER directly use the stock AP tar file with reasons mentioned above. Always patch AP in the Magisk app and use that instead.
- Never just flash only AP, or else Odin may shrink your /data filesystem size. Flash AP + BL + CP + HOME_CSC when upgrading.
PS : It is strongly recommended to make EFS backup once you root device and save to safer place like on cloud or PC
Thank @dr.ketan