In today’s digital age, protecting your personal data is more important than ever. Whether you’re selling your iPhone, upgrading to a new device, or simply starting fresh, wiping your iPhone is a crucial step to ensure your sensitive information doesn’t fall into the wrong hands. But before you hit that reset button, it’s essential to back up your data to avoid losing precious photos, videos, and files. In this comprehensive guide, we’ll walk you through the easiest and safest way to erase all personal data from your iPhone, along with tips for backing up your information securely.

Why You Should Back Up Your iPhone Before Wiping It
Before diving into the process of wiping your iPhone, it’s critical to back up your data. Losing important files, cherished memories, or essential documents can be devastating, so taking the time to create a backup is a small but vital step.
There are several methods to back up your iPhone, each with its own advantages:
- iCloud Backup: Apple’s cloud-based solution is seamless and convenient. It automatically backs up your data, including photos, videos, apps, and settings, to your iCloud account.
- Mac or PC Backup: Using iTunes (on older macOS versions) or Finder (on macOS Catalina and later), you can create a local backup on your computer. This method is ideal if you prefer to keep your data offline.
- Third-Party Cloud Services: Platforms like OneDrive, Google Drive, or Dropbox offer additional options for backing up specific files, such as photos and videos.
Choosing the right backup method depends on your preferences. If you value accessibility and ease of use, iCloud is a great choice. For those who prioritize security and control, a local backup on your Mac or PC might be the better option.
Step-by-Step Guide to Backing Up Your iPhone
1. Backing Up with iCloud
- Connect your iPhone to Wi-Fi.
- Go to Settings > [Your Name] > iCloud > iCloud Backup.
- Tap Back Up Now and wait for the process to complete.
2. Backing Up with a Mac or PC
- Connect your iPhone to your computer using a USB cable.
- Open Finder (on macOS Catalina or later) or iTunes (on older macOS versions or Windows).
- Select your iPhone from the sidebar.
- Click Back Up Now and wait for the backup to finish.
3. Using Third-Party Cloud Services
- Download the app for your preferred service (e.g., OneDrive, Google Drive).
- Follow the app’s instructions to upload your photos, videos, and other files.
How to Wipe Your iPhone: A Step-by-Step Guide
Once your data is safely backed up, you’re ready to wipe your iPhone. Here’s how to do it:
1. Sign Out of iCloud and Other Accounts
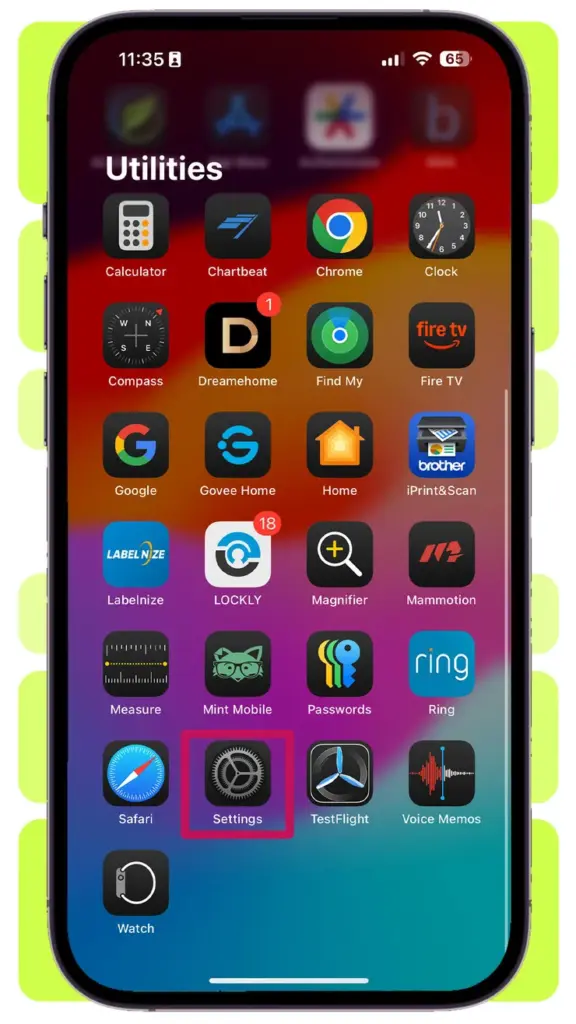
- Go to Settings > [Your Name].
- Scroll down and tap Sign Out.
- Enter your Apple ID password and tap Turn Off.
2. Erase All Content and Settings
- Go to Settings > General > Reset.
- Tap Erase All Content and Settings.
- Enter your passcode or Apple ID password if prompted.
- Confirm your decision by tapping Erase iPhone.

Your iPhone will now begin the wiping process, which may take a few minutes. Once complete, your device will restart as if it were brand new, with all personal data removed.
Tips for Ensuring Your Data Is Completely Erased
While the steps above are effective, there are additional measures you can take to ensure your data is completely erased:
- Disable Find My iPhone: Before wiping your device, make sure to turn off Find My iPhone. This feature is tied to your Apple ID and must be disabled to fully reset your device.
- Remove SIM Card: If your iPhone uses a SIM card, remove it to prevent any potential data leakage.
- Check for Encryption: Modern iPhones are encrypted by default, meaning your data is already secure. However, double-check that encryption is enabled in your settings.
What to Do After Wiping Your iPhone
After wiping your iPhone, you have a few options:
- Sell or Donate Your Device: If you’re passing your iPhone to someone else, ensure it’s in good condition and ready for its new owner.
- Recycle Responsibly: If your iPhone is no longer functional, consider recycling it through Apple’s recycling program or a certified e-waste facility.
- Set Up as New: If you’re keeping the device, you can set it up as a new iPhone or restore it from your backup.
Final Thoughts: Protecting Your Data Is Easier Than You Think
Wiping your iPhone doesn’t have to be a daunting task. By following the steps outlined in this guide, you can ensure your personal data is securely erased while preserving your important files through a reliable backup. Whether you’re upgrading to a new device or simply decluttering your digital life, taking these precautions will give you peace of mind and keep your information safe.
Remember, the key to a successful iPhone wipe is preparation. Back up your data, follow the steps carefully, and take extra measures to ensure your information is completely erased. With this guide, you’re well-equipped to handle the process like a pro.
By following this detailed guide, you’ll not only protect your personal data but also ensure a smooth transition to your next device. Don’t wait—take control of your digital security today!