The Nokia 7. 1 with a bright, high contrast 2. 5D 5. 84” full HD+ screen that create brilliant saturated colors making your photos, videos, and apps look better than ever. The 2220×1080 resolution and HDR support saturates your screen and makes everything from text to icons sharper and cleaner.
The Nokia 7. 1 is made even more powerful by taking advantage of the efficiencies of Android One. The 4GB of RAM and 64GB storage of internal storage ensures that everything works just the way you want and if you find yourself needing more space, the Nokia 7. 1 storage is up expandable up to 400GB with a micro SD card.
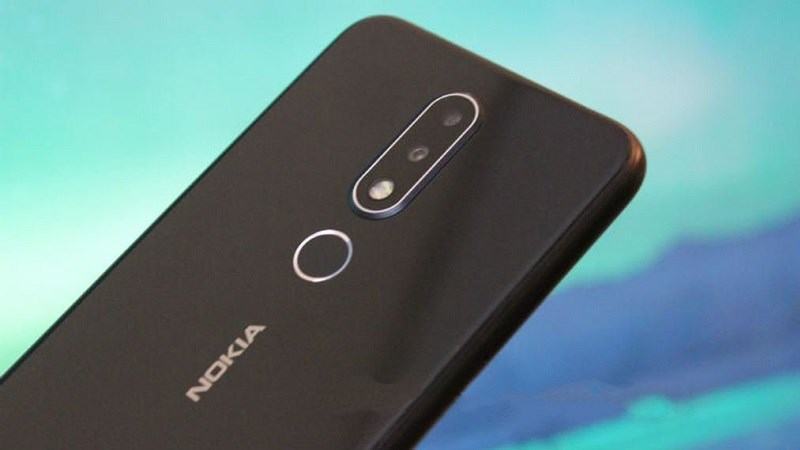
All that storage is put to use with the dual 12+5MP rear camera that creates vibrant and stunning images utilizing HDR+ technology for photos and an 8MP selfie camera with an 84 degree FOV so everyone fits in the picture every time.
The Nokia 7. 1 is made complete with all the latest connection options including NFC, Bluetooth 5. 0, OTG, a fingerprint sensor, USB Type-C fast charging that takes your phone to 50% charge in less than 30 minutes so you never have to stop for long.
Stock ROM for Nokia 7.1 [CTL] (TA-1085-95-96-97-1100)
DOWNLOAD:
- ROM & TOOL
- For QFIL
- OTA:
HOW TO
- Driver & tools: QPST_2.7.496.1.zip (60.31M) | OneDrive | MediaFire | Backup
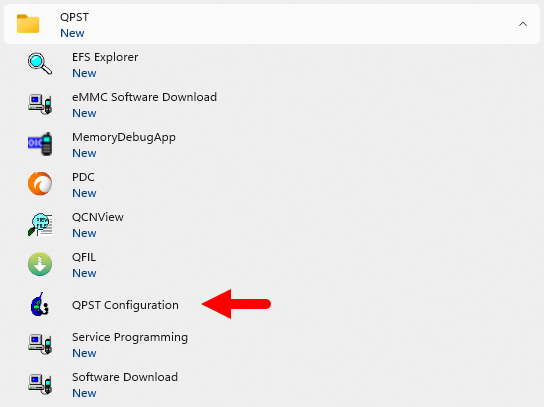
Step 1: Download and install the Driver and Tool above. Then open QPST tool in Start Menu or from the folder C:\Program Files\Qualcomm\QPST\bin

Step 2: Turn off the phone (Remove the battery if possible, then reinsert the battery), hold the VOLUME UP key and plug in the USB cable to connect to the computer (to enter EDL mode).

Step 3 : Open QPST Configuration
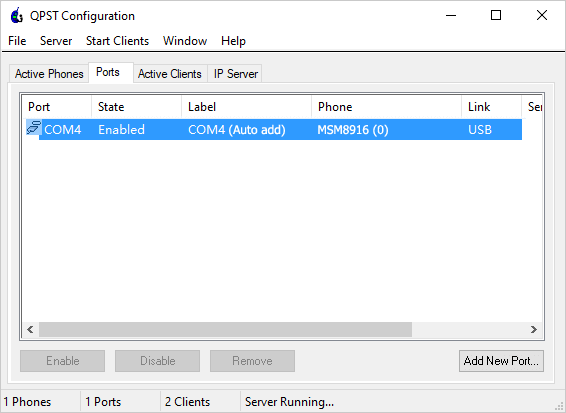
Step 4 : After opening QPST Configuration , select the “ Port ” tab and select the Port the phone is connecting to.

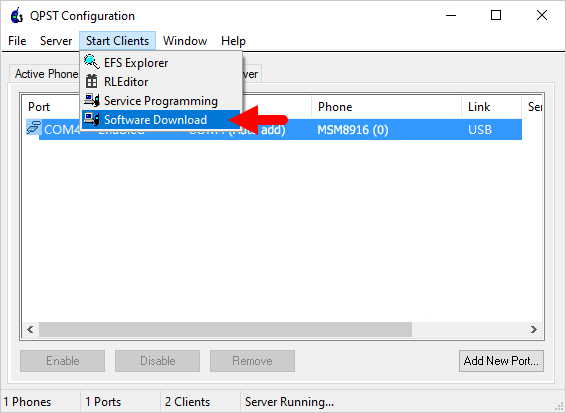
Step 5 : On the menu bar, select Start Clients > Software Download
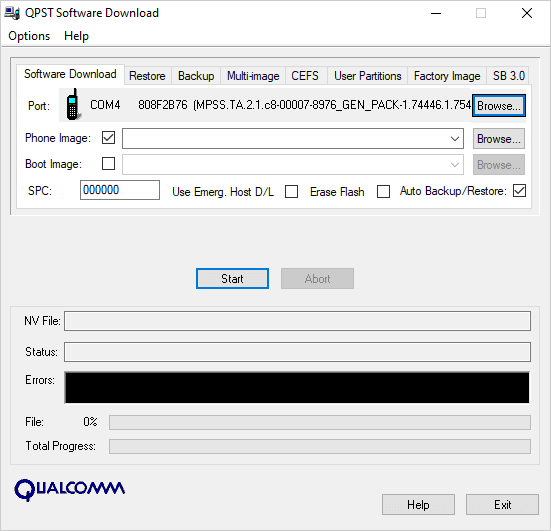
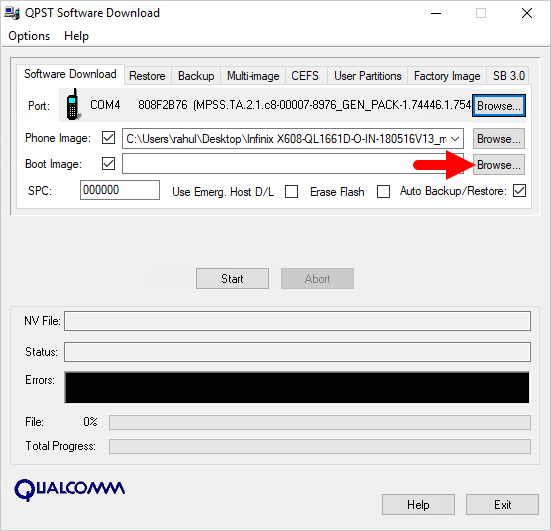
Step 6 : The QPST Software Download window appears.
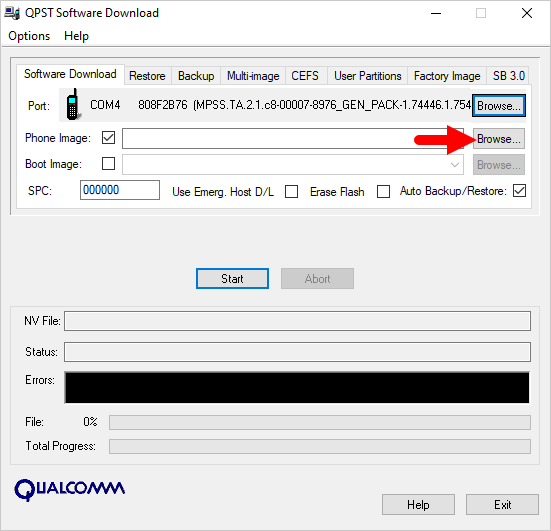
Step 7 : Click on the “ Browse… ” button in the Phone Image section and find the file (.hex) in the ROM folder (unzipped)
Step 8 : Continue to click the “ Browse… ” button in the Boot Image section and find the “ BOOT_LOADER.HEX ” file (in the ROM folder).
Step 9 : Start the ROM flash process by clicking the “ Start ” button
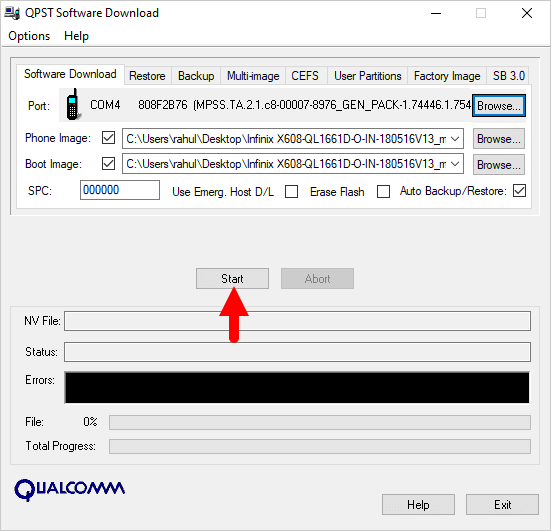
Step 10 : When the “green bar” appears below, the ROM flashing process is complete.

Disconnect your phone from your computer and open it to see the results. Thanks