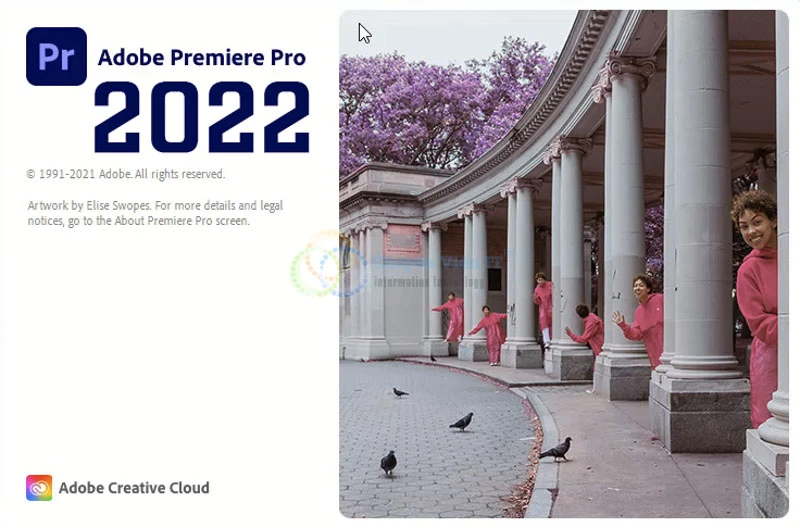
What is Adobe Premiere Pro?
Adobe Premiere Pro is a professional video editing software developed by Adobe Systems. It’s part of the Adobe Creative Cloud suite, which includes other popular software such as Photoshop, Illustrator, and After Effects. Premiere Pro is designed to be used by video editors, filmmakers, YouTubers, and anyone who wants to create high-quality videos.
Features of Adobe Premiere Pro
Adobe Premiere Pro is packed with features that make it one of the best video editing software available today. Here are some of its top features:
- Multicam editing: Premiere Pro allows you to edit footage from multiple cameras at once, making it perfect for live events or interviews.
- Color grading: With Premiere Pro, you can color grade your footage to give it a professional look. This feature allows you to adjust the color balance, saturation, and contrast of your video.
- Audio editing: Premiere Pro includes a powerful audio editor that lets you edit your audio tracks to make them sound perfect. You can remove background noise, adjust the volume, and add effects to your audio.
- Motion graphics: Premiere Pro includes tools for creating motion graphics and visual effects. You can add text, shapes, and animations to your videos.
- Integration with other Adobe software: Premiere Pro integrates seamlessly with other Adobe software such as After Effects and Photoshop, allowing you to create stunning visual effects and graphics.
Benefits of Adobe Premiere Pro
There are many benefits to using Adobe Premiere Pro for your video editing needs. Here are some of the top benefits:
- Professional-quality videos: With Premiere Pro, you can create videos that look like they were made by a professional. Its advanced features and tools make it easy to create high-quality videos that stand out.
- Fast rendering: Premiere Pro uses a powerful rendering engine that allows you to render your videos quickly. This means you can spend more time editing and less time waiting for your videos to render.
- Easy collaboration: Premiere Pro makes it easy to collaborate with other editors and team members. You can share your project files and work on them together, no matter where you are in the world.
- Customizable interface: Premiere Pro has a customizable interface that allows you to arrange your tools and panels in a way that works best for you.
- Cross-platform compatibility: Premiere Pro is compatible with both MacOS and Windows, so you can work on your videos no matter what operating system you prefer.
How to use Adobe Premiere Pro
If you’re new to Adobe Premiere Pro, here are some basic steps to help you get started:
- Import your footage: To start editing, you’ll need to import your footage into Premiere Pro. You can do this by clicking on File > Import or by dragging and dropping your files into the program.
- Edit your footage: Once your footage is imported, you can start editing it. Use the tools and features of Premiere Pro to cut, trim, and adjust your footage until it looks the way you want it to.
- Add effects and graphics: If you want to add visual effects or graphics to your video, you can use the tools and features of Premiere Pro to do so.
- Export your video: Once you’re finished editing your video, you can export it in a variety of formats. Premiere Pro includes presets for popular platforms like YouTube and Vimeo, making it easy to export your video in the right format.
In addition, Adobe Premiere Pro also provides seamless integration with other Adobe products, such as After Effects, Photoshop, and Illustrator. This integration allows you to add even more creative elements to your videos, including advanced animations, special effects, and graphic design. With this integration, you can easily import and export files between these software programs, streamlining your workflow and saving you valuable time.
Download:
Installation instructions:
(You still have to turn off Gatekeeper first)
Step 1: Download the installation file (recommended to use the latest version in the above links)
Step 2 (Important): Go to the following link to download and install Adobe Creative Cloud on the Adobe homepage first (If yes, then only) or if you don’t want to install Creative Cloud, run the file AntiCC
Download Creative Cloud Or AntiCC (OneDirve)
Step 3: Right-click Install file and choose Show package contents.
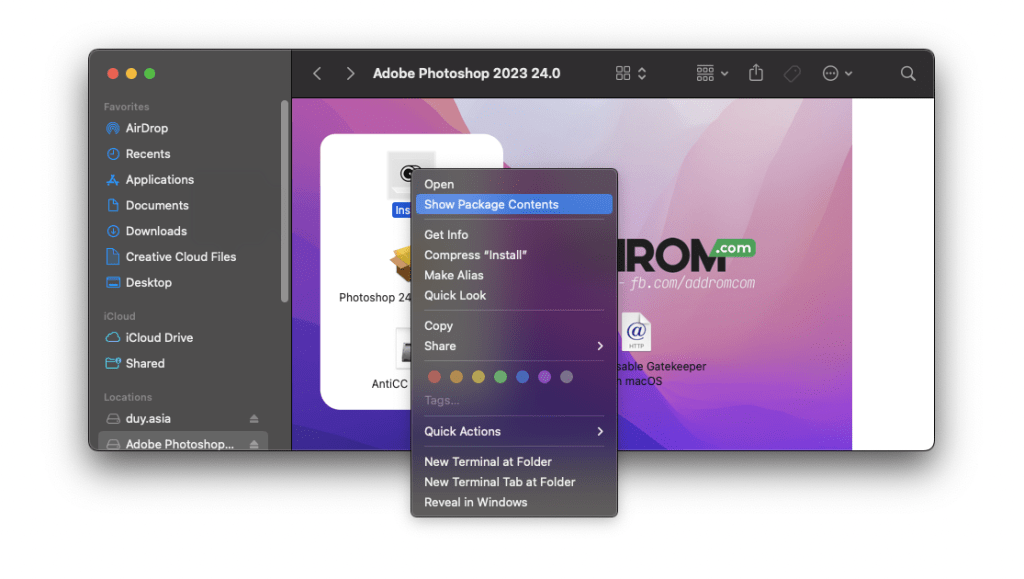
Step 4: Then select to Contents > MacOS > run Install.
Step 5: Type password of macOS and Continue.

Step 6: Finally, run the Patch file next to it.
Note: Premiere has an error that does not show the Home Screen when starting, you just go to File > New > Project to use it, or open the previous Project normally.