How to install the Android 13 Developer Preview on your Pixel
It’s been barely a month since the first Android 13 Developer Preview dropped, but Google is already fixing problems and showing of new features in the new Android 13 Developer Preview 2 release. Getting your hands on a copy is not as simple as tapping the download button, since developer previews are made with a specific audience in mind (hint: developers). If you’re the type who prefers to have a phone that just works, you’ll probably want to wait for the upcoming beta version. But, if you’re willing to take the risk—and not get upset if and when things go wrong—here’s how you can install Android 13 on your Google Pixel.
Developer previews are not meant for the average user. We urge most of our readers not to install them. Even if you’re comfortable taking the risk, do not install them on your “daily driver” or any device where you need to have full functionality.
You should be willing and able to provide quality feedback to Google if you run into any issues, with detailed steps to reproduce any problems, paired with system logs. You should also have the skills to troubleshoot general Android problems ranging from simple app crashes or deleted app data to fixing a soft brick — or have the will to work through those issues on your own when you run into problems. If you’re worried you won’t be able to fix issues you may encounter on a developer preview, hold off for now.
The Android for Developers website has been updated with a whole host of Android 13-related details, and among them are a pair of download pages for full factory images and sideloadable OTA files. In a few months, installing Android 13 will be simple: You’ll just need to register for the Android Beta Program. But right now, you’ll need to manually install the files on your Pixel to try out Android 13.
Unlocking your bootloader and install flashing the full factory image is one way to get Android 13 on your phone, but it’s not one that we recommend. Not only is it a pain, but it also wipes your phone and can break SafetyNet attestation. Sideloading the OTA file for your Pixel is a better choice, since it doesn’t require an unlocked bootloader, and you don’t have to wipe your phone. However, you still need to do a bit of prep work if you aren’t set up for it.
Google’s stock OTA images site walks you through the process, and the same details apply to Android previews. If you’re unfamiliar with the process, consider reviewing a detailed walkthrough for your computer platform before you get started. Installing the required software and drivers is an easier process on some operating systems than it is on others.
Prerequisites:
- A computer running Linux, macOS, or Windows. The truly adventurous can also use another Android phone with USB OTG functionality.
- A supported device for the Android 13 Developer Preview. Right now that list is limited to the Pixel 4 series, Pixel 4a series, Pixel 5, Pixel 5a, and Pixel 6 series.
- A good cable to connect your computer (or phone with USB OTG) to your phone.
- A supported web browser, such as Google Chrome or Microsoft Edge. The Android Flash Tool relies on WebUSB to connect your computer to your phone, so it won’t work without this feature.
Install Android 13 with the Android Flash Tool
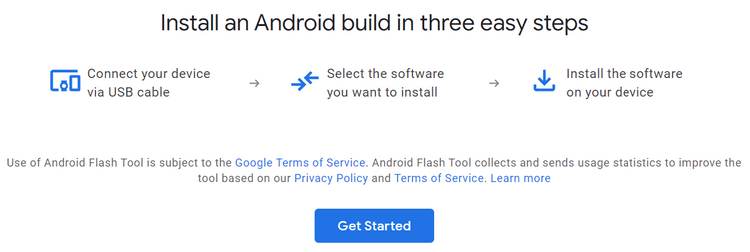
Google has made DP 2 available through the Android Flash Tool, which makes the process fairly simple since you won’t need any tools for the installation. The tool has built-in steps and tips to guide you through the process. To install the latest Android 13 preview or beta using the Android Flash Tool, follow these steps:
(1). Plug your Google Pixel into a USB port on your computer.
(2). Visit the official Android Flash Tool website on your computer and click the Get Started button.
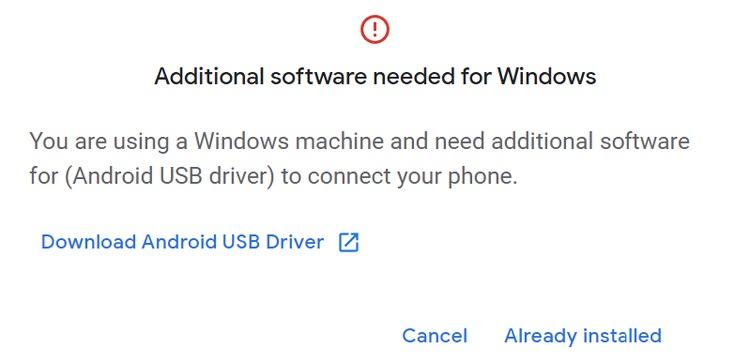
(3). Tap Download Android USB Driver and follow the instructions if needed; otherwise, press Already installed to continue.
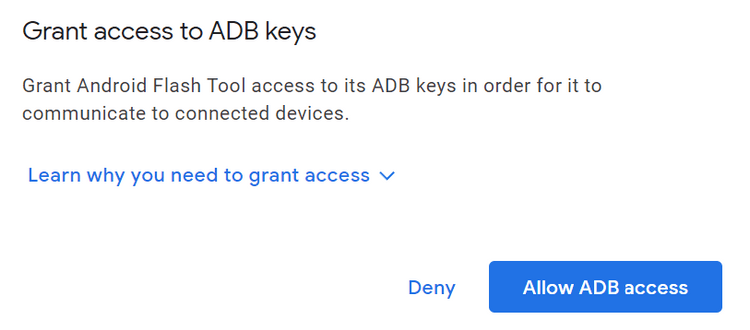
(4). Click the Allow ADB access button so your computer and phone can share information bidirectionally.
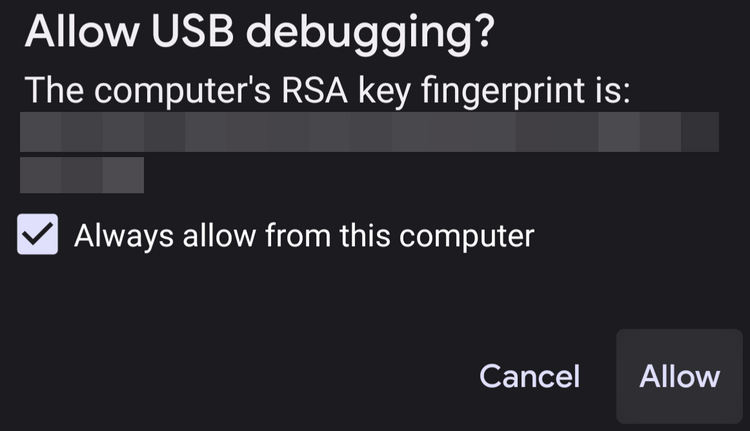
(5). On your Pixel phone, confirm the fingerprint key for the computer by pressing Allow when required.
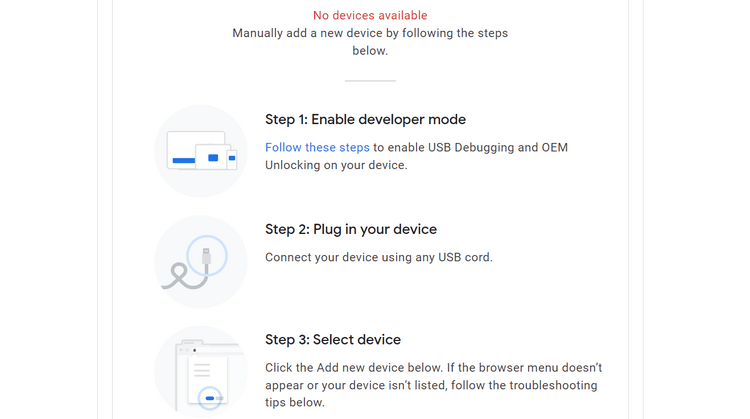
(6). If you get the No devices available message on the Flash Tool, follow the on-screen steps to prepare your device for the installation process.
(7). Press the Add new device button after your device has been set up correctly.
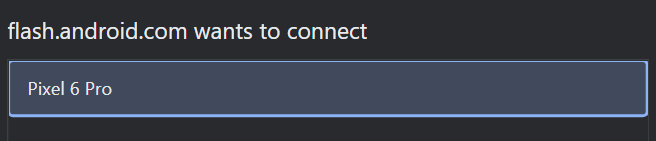
(8). Select your Pixel in the menu popup, then press the Connect button.
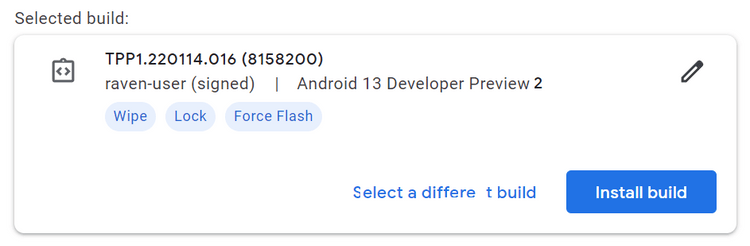
Once your Pixel phone is connected to your computer, you can search for the specific build you want to install in the Android Flash Tool. In this case, you should find the Android 13 preview under the Popular builds section.
Click the latest version, then it’ll take you to the overview screen for that build. By default, installing a preview build will factory reset your device, relock the bootloader, and replace all of your previous system files with the new ones.
This is fine for most users, but you can also change these settings by pressing the pencil icon on the right. Hovering over the question mark for each option explains what it does, so you can disable or enable any of them as needed.
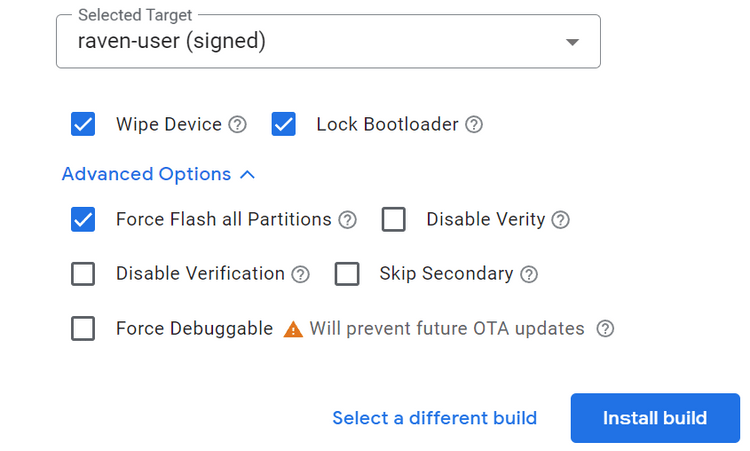
Once you’ve made your selections and are ready to install the Android 13 preview, simply press the Install build button to begin the process. It’ll take some time to complete, so be patient while it works its magic. Once the installation is finished, your phone should automatically reboot and bring you to the Pixel welcome screen. Once you go through the initial setup you’ll be ready to test the shiny new preview build for Android 13.
We recommend the Android Flash Tool for most users because it’s straightforward and requires little effort. If you’d rather install the update manually, follow the steps below.
How to manually install an Android 13 preview or beta
(1). Install the Android SDK platform tools (i.e., ADB) and USB drivers (if you’re using Windows).
(2). Download the Developer Preview OTA image for your device.
(3). Connect your phone to your computer.
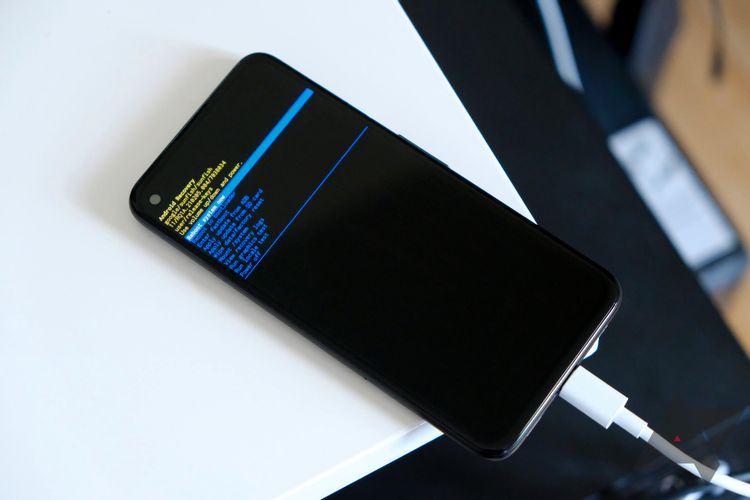
(4). Reboot into recovery (via ADB/USB debugging or the key combination) and enter sideloading mode. Power+volume up opens the Recovery menu, scroll via the volume keys to “apply update from ADB,” and select it with a tap of the power button.
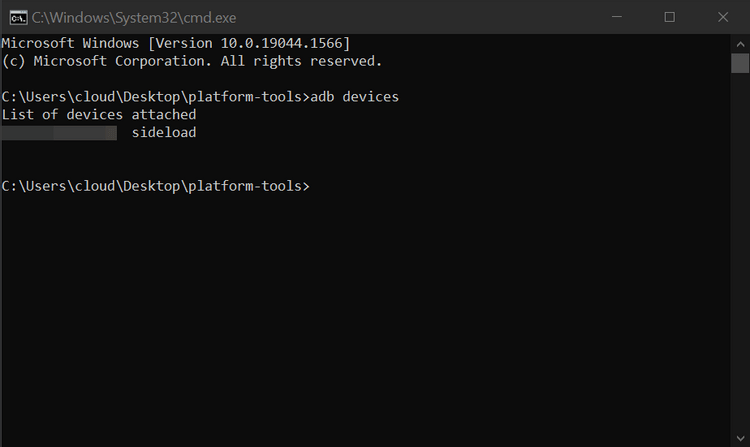
Check that prior steps worked by entering “adb devices” (no quotes) in a shell or command prompt. If ADB is installed and your phone is in the correct mode, you should see an identifier for your phone and a “sideload” state reported.
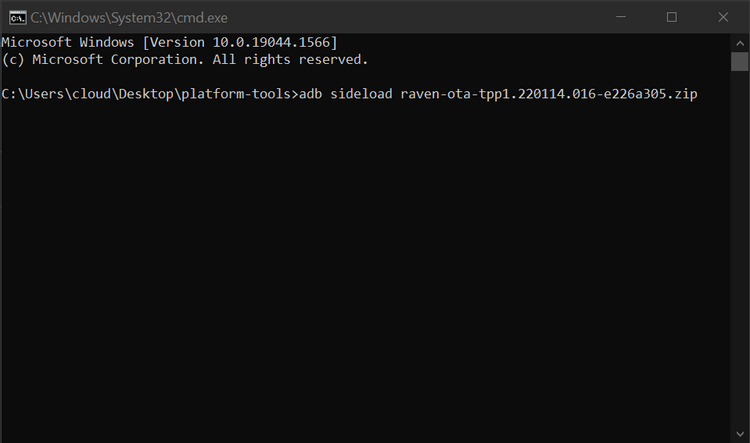
(5). Flash the OTA via a shell or command prompt, using “adb sideload your_file_name_here.zip” with no quotes, where the filename is the name of the OTA image you downloaded earlier. On some platforms, you’ll need to precede adb commands with “./” for them to work correctly.
(6). Stare anxiously at your phone while it slowly installs.
(7). Reboot when done.
After you type the “adb sideload” part without the quotes and hit the space bar, you can drag and drop the OTA file onto the command window. Doing so will automatically generate the correct file name for you. This allows you to quickly install the OTA onto your device without typing out more than you absolutely have to.
Once you have the preview installed, future Android 13 updates and releases will be delivered like any other normal system update, without requiring you to hit all these steps again, and your phone will automatically end up in the beta track later. If you’re not loving the Developer Preview life, reverting to Android 12 is relatively simple.