When Google announced Chrome OS 90 back in April, the company added a brand new Diagnostics app. As expected, the app makes it easy to analyze the best Chromebooks to identify any potential problems that you may be experiencing.
How to use the Diagnostics app on a Chromebook
Performing a diagnostics test was available before Chrome OS 90 was announced, but it required you to view an internal system page. Now, you have a dedicated app that presents diffrent bits of information regarding the battery, CPU, and Memory. Here’s how you can access the Diagnostics app:
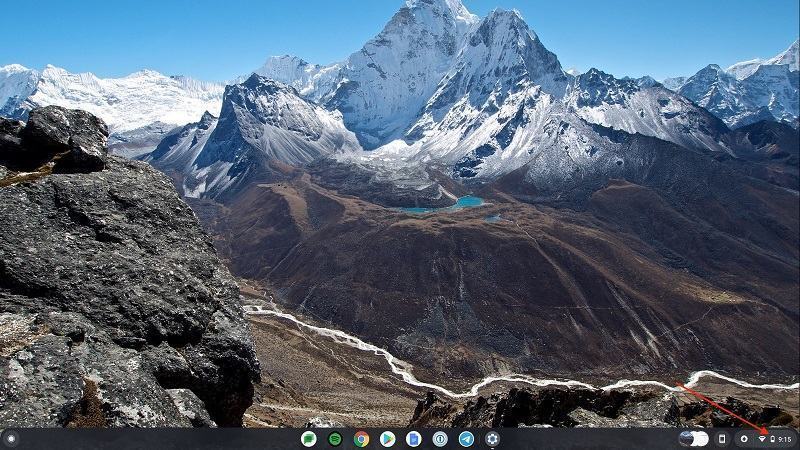

- With your Chromebook unlocked, click the Time in the bottom right corner.
- Select Settings.
- Click About Chrome OS.
- Select Diagnostics.


Another way that you can access the Diagnostics app is by pressing the launcher key on your keyboard and typing Diagnostics in the search bar. Press the Enter key, and it’ll take you right to the Diagnostics page.
As we stated above, there are three different areas in the Diagnostics app that Chrome OS focuses on. These are your battery, CPU, and Memory (or RAM), and you can actually perform a series of tests to ensure your Chromebook is running in tip-top shape.
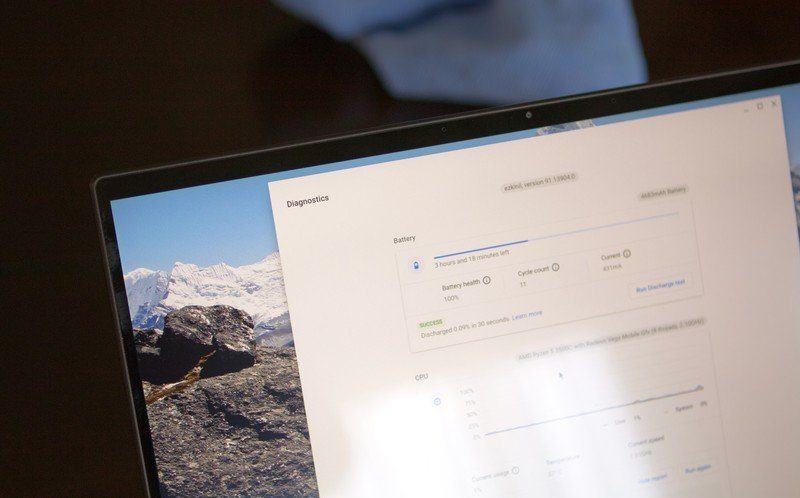
Test your battery
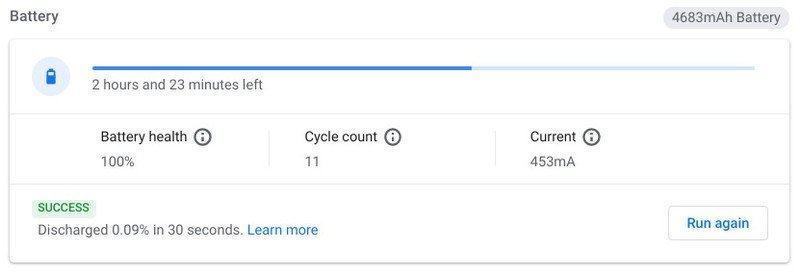
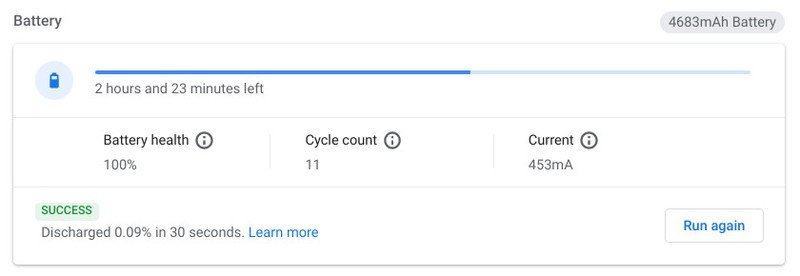
Under the Battery section, you’ll find three different pieces of information for your Chromebook. These are as follows:
- Battery health: Battery capacity declines with usage
- Cycle count: The number of times your battery has gone through a full charging cycle
- Current: The rate at which the device is currently charging or discharging
Below those three sections, there’s a Run Discharge test button. Clicking on that will run a quick battery test, presenting some quick results along with a “Learn More” link. Navigating to this link takes you to the Chrome Help page explaining why a discharge test is useful.
If you have trouble keeping the battery charged, Google suggests there may be an issue with the battery itself or the charging port. And if the problems persist, you’ll have to reach out to either the store that you bought the Chromebook from or the manufacturer directly.
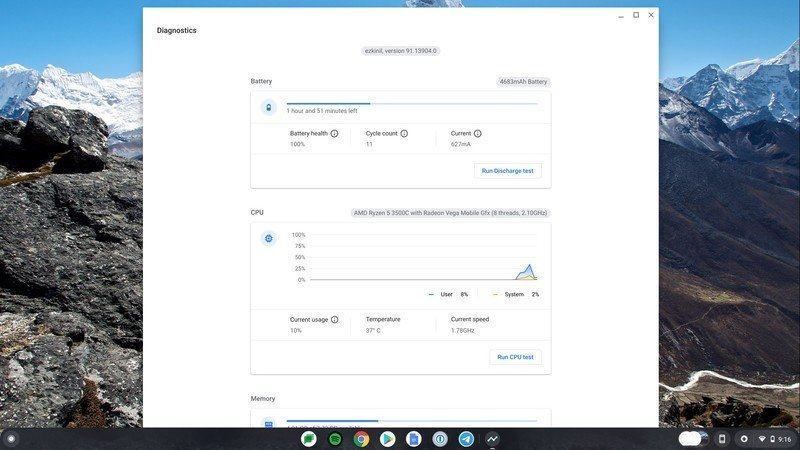
Test the CPU
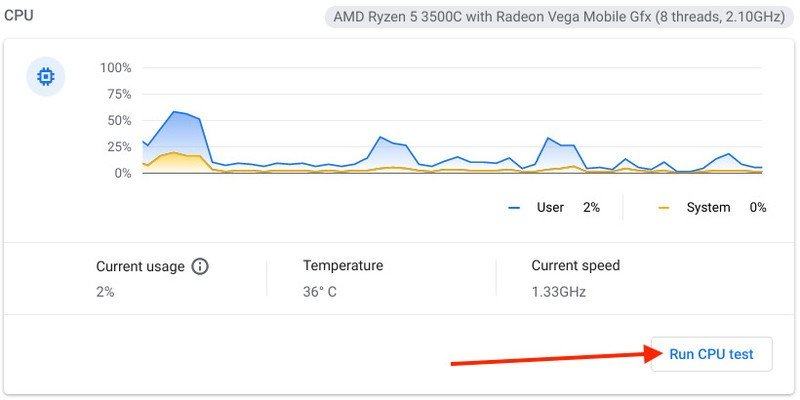
The next step in this series of diagnostic tests is the CPU. At a glance, you’re shown a moving bar graph based on how much processing power your Chromebook has while the Diagnostics app is open. There are three different pieces of information shown, and they are as such:
- Current usage: This is an aggregation of all cores
- Temperature
- Current speed
It’s not often that you’ll really need to test the CPU, but if things are bogged down, you can run a test. Click the Run CPU test button, and then watch as all of your bars ramp up as the test proceeds. This test also takes the longest out of the bunch, so you’ll want to step away from your Chromebook and grab something to drink. By running this test, the Diagnostics app performs the following tests:
- Stress
- Cache
- Floating-point accuracy
- Prime search
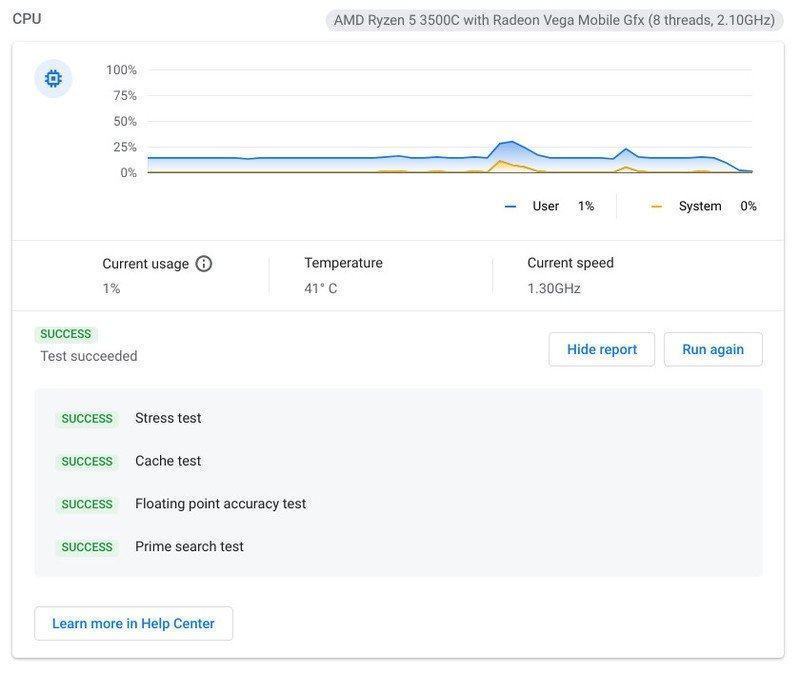
Provided that everything goes off without a hitch, you’ll see a series of green SUCCESS messages next to each test. If not, you can head over to the Chromebook Help page to learn more.
Run a memory test
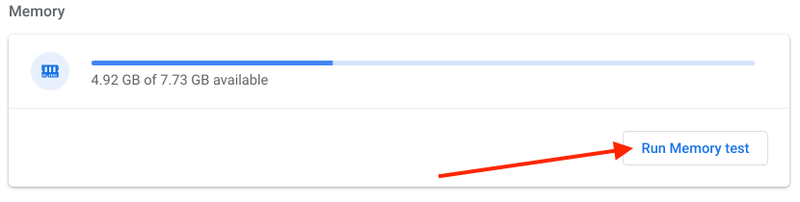
Last but certainly not least, the Diagnostics app allows you to keep an eye on the memory or RAM in your Chromebook. You’ll see a basic line graph with a little RAM logo to the left and the amount of RAM being used below the graph.
Just like the CPU and Battery sections, Google has made it possible to run a stress test on the memory. There aren’t any specific results displayed once the testing is completed, other than a “Test succeeded” message at the bottom.
Keep a record of your tests
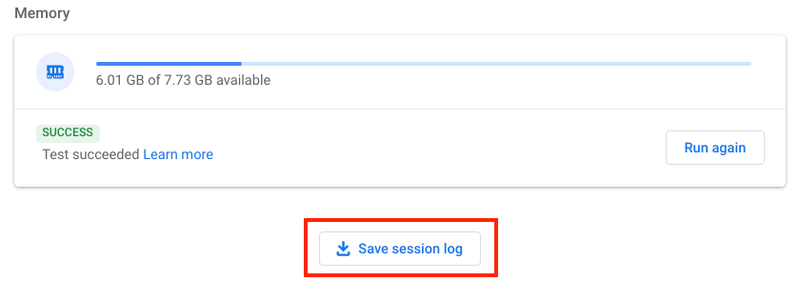
The Diagnostics app has another nifty tool if you’re trying to nail down and keep track of what’s going on with your Chromebook. Scrolling to the very bottom of the page reveals a “Save session log” button. Clicking on this will provide a basic .txt file, asking you where you want it to be saved.
As you can likely surmise at this point, the Session Log contains the results and information gathered by performing these tests. If you ever need to reach out to your manufacturer, a Session Log may be requested, and this is how you can provide one if needed.