Parallels Desktop 18 – The best virtual Windows installation tool on macOS
Parallel Desktop 18 has launched with some notable improvements such as:
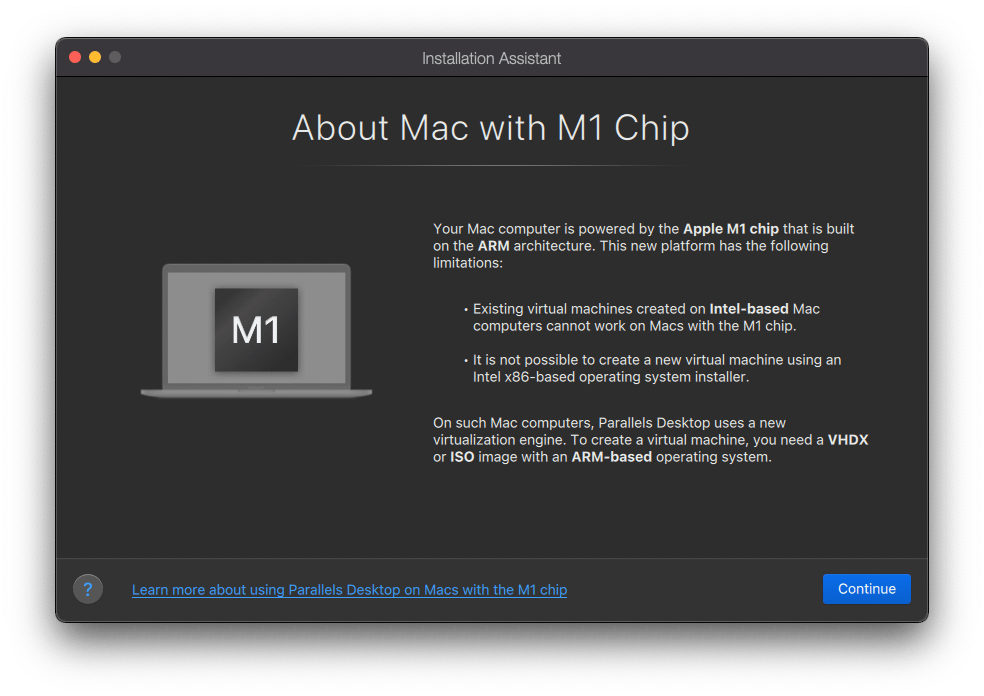
- Better optimization for macOS Ventura, especially Apple Silicon devices using the new M chip
- Optimized, better compatible with Apple hardware, specifically machines using screens with ProMotion technology.
- Better support for Game, automatically recognize devices like Xbox, Dualshock… for better gaming experience
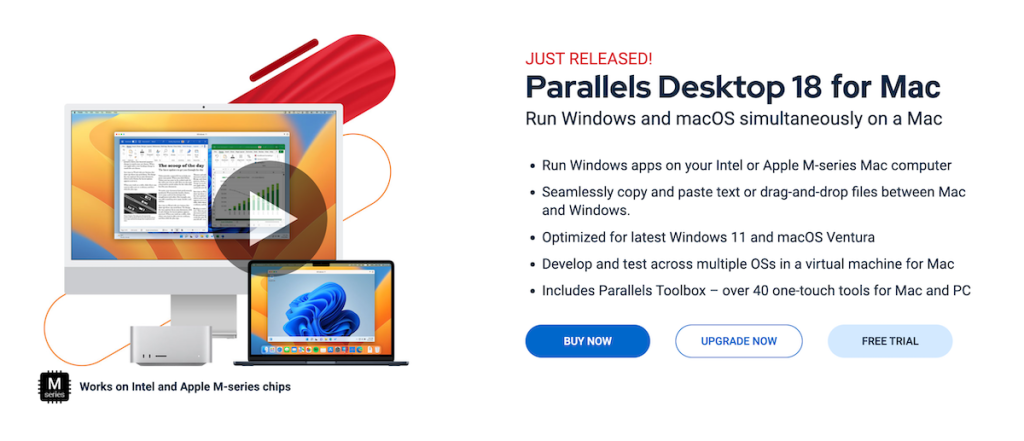
And many other upgrades, please refer to the details here: www.parallels.com/products/desktop/whats-new/
Download
- Parallels Desktop 18.3.1.dmg
- Parallels Desktop 18.1.1 53328.dmg | OneDrive | Backup
- Parallels Desktop 18.1.0-53311.dmg | Google Drive
- Parallels Desktop 18.0.3-53079.dmg | Google Drive
- Parallels Desktop 18.0.2-53077.dmg | Google Drive
- Parallels Desktop 18.0.1-53056.dmg | Google Drive
- ParallelsDesktop-18 | OneDrive
How to use
Step 1. Select and download Parallel Desktop 18 with genuine medicine at the link above
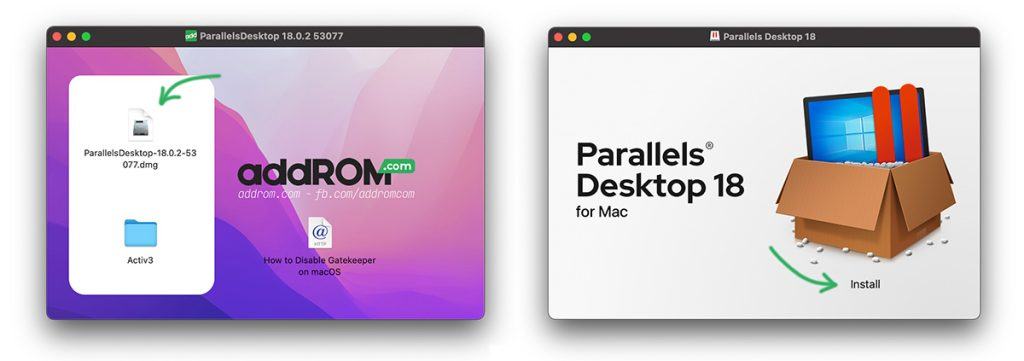
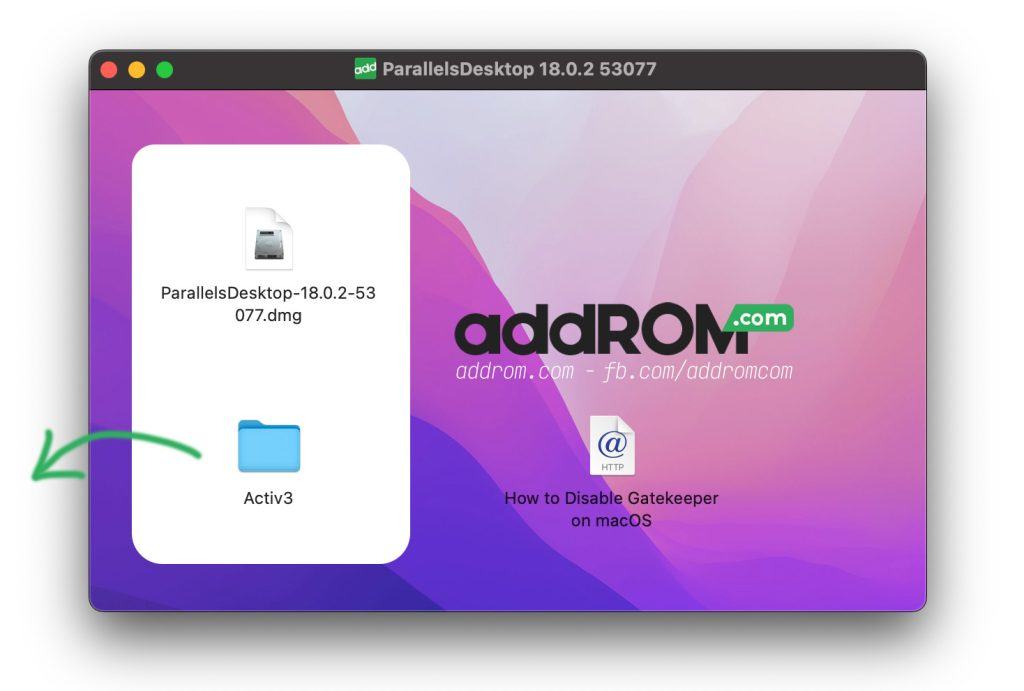
Step 2: Open the downloaded file, open the Parallel Desktop 18.x.dmg file. Then click Install to install as usual.
Note: If you see a screen asking for an update, choose like this
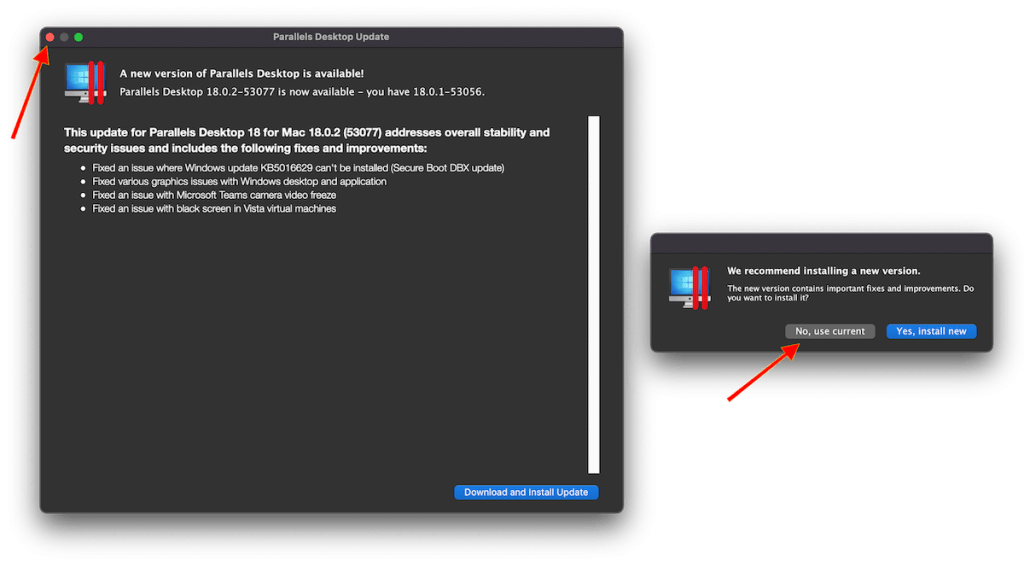
After the installation is complete, you will see the screen below, leave it alone, go to step 3
Step 3: Open the downloaded file again in step 1 . Copy Activ3 folder to the Desktop
Step 4. Open Terminal and run the following 2 commands in turn:
cd desktop/Activ3chmod +x ./install.sh && sudo ./install.sh
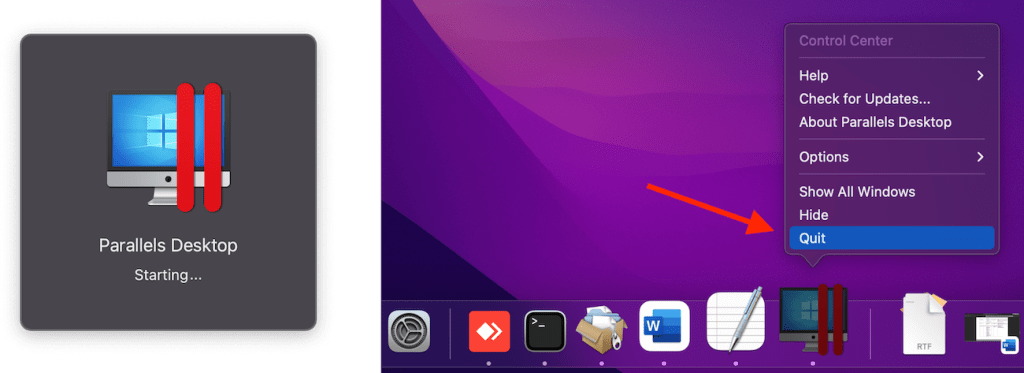
Note: There is a high possibility that after the drug is finished, opening it for the first time will hang at the Starting screen, you just need to Quit and open it again.
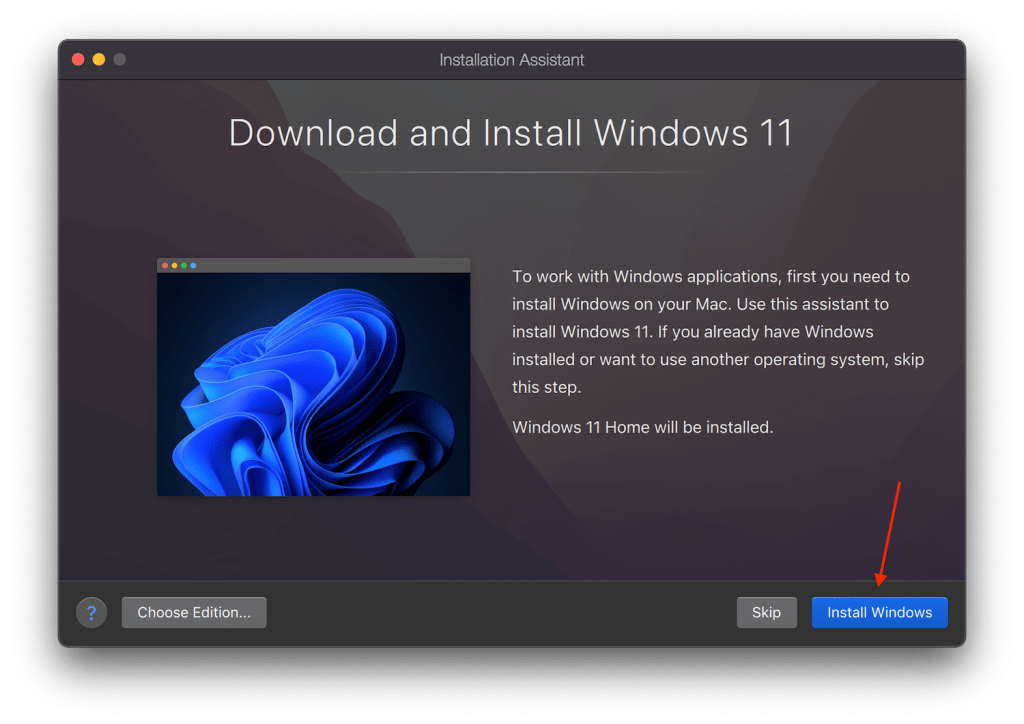
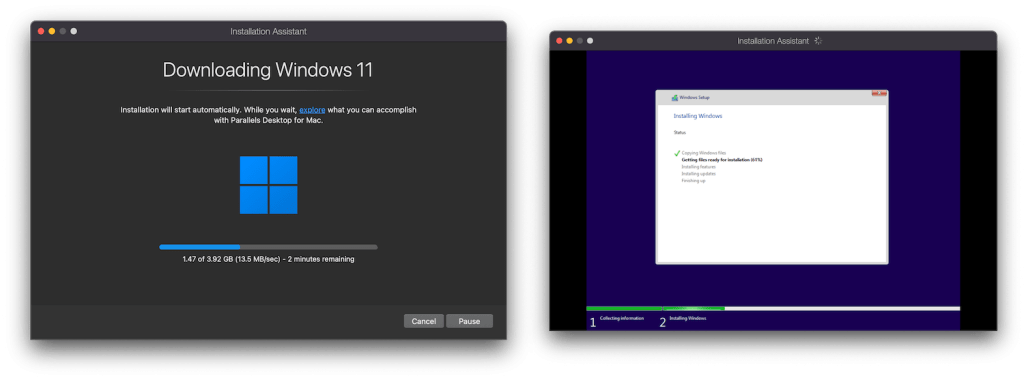
Step 5: On this screen, you can use Parallel’s built-in Windows 11 auto-download feature or use an ISO file depending on you. In this HD article, click on the word Intall Windows to install it for easy.
Wait about 10-15 minutes depending on the network speed
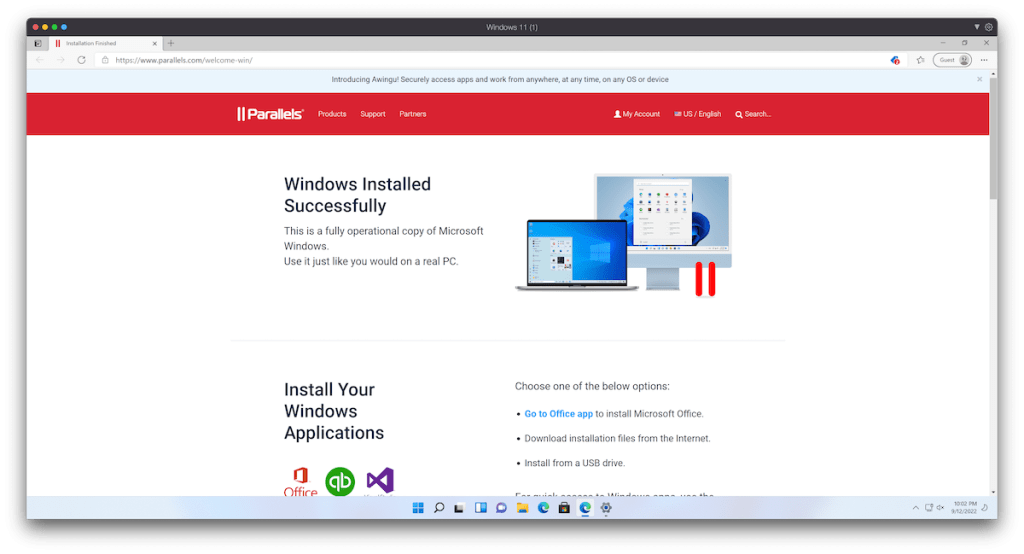
Wait for a while for the installation to complete. Showing a screen like this is done, the rest to do with Windows is up to you.
READ MORE: Parallels Toolbox – The utility bundled with Parallels Desktop