What does Factory Reset Protection (FRP) mean?
FRP is a security feature that was introduced in Android 5.1 Lollipop and has been a standard feature on all Android devices since then. Its primary purpose is to prevent unauthorized access to your device and protect your personal data in case your device gets lost or stolen.
So, how does it work? When you enable FRP on your device, it binds your Google account to your device. This means that if someone tries to reset your device to its factory settings, they won’t be able to access it without entering your Google account credentials first. This helps ensure that your device and personal data stay secure, even if it falls into the wrong hands.
However, it’s essential to note that FRP can be a double-edged sword. If you forget your Google account credentials or lose access to them, you may end up locked out of your device. In such cases, you’ll need to go through a complicated process to regain access to your device, which can be frustrating and time-consuming.
To avoid such scenarios, it’s crucial to keep your Google account credentials safe and secure. Additionally, if you plan to sell or give away your device, make sure to disable FRP first. Otherwise, the new owner may face difficulties accessing the device.
Overall, FRP is an essential security feature that every Android user should keep enabled on their device. It provides an extra layer of protection against unauthorized access and helps keep your personal data safe and secure.
In case you don’t remember your Google account information, here’s how you can bypass FRP.
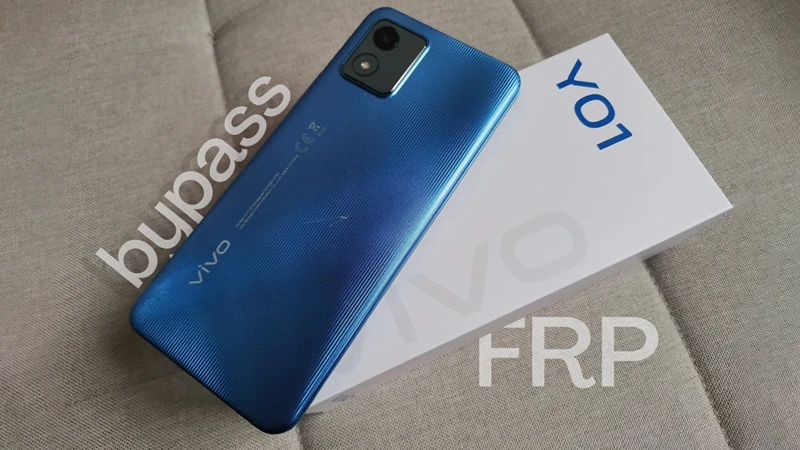
How to bypass bypass FRP on Vivo Y01 (v2118)
I will guide the steps to perform FRP bypass on Vivo Y01 (v2118) phone, all operations are done on the phone without the need for a PC. Watch the whole video to learn more about how to do it. Wishing you a productive day.
- Activate the device and connect to wifi as usual
- Then your phone will ask to log in with your previous Google account to activate the device.
- Return to the first setup screen (language selection screen)
- Turn on TalkBack mode by pressing and holding the Volume Up + Volume Down key combination.
- Release and press the above key combination again to confirm “Turn on” TalkBack mode when there is a popup “Enable TalkBack shortcut?“
- After about 3 seconds the phone will switch to the “Welcome to TalkBack” screen
- On the screen, swipe in an “L” shape to allow Android Accessibility Suite to record audio.
- Tap once on “WHILE USING THE APP” to select and Tap twice in succession to confirm. From now on use this action to select and confirm for common one-touch actions.
- Do the same with “Use voice commands” for final confirmation.
- Now that your phone has allowed audio recording, say “Google Assistant” to open the virtual assistant.
- A popup will appear, select “Use without Google account” > Next > English / English > Done
- Go again, on the screen swipe in an “L” shape and say “Google Assistant” again.
- Say “Settings” to go to your phone’s Settings.
- At this point, you can turn off TalkBack mode for easier operation by holding down the Volume Up + Volume Down key combination.
- Then, under Settings, scroll down and select “System” > Reset Options > Reset All Settings. Now your phone will reboot, wait a bit until it displays the initial language selection screen.
- Go Next and connect to wifi again. Then return to the language selection screen.
- Repeat steps 4, 5, 6 and 7 to enable TalkBack mode.
- Select “ALLOW” if a popup appears.
- Continue, swipe on the “L” shaped pig screen to use voice commands to control TalkBack > select “Use voice commands“.
- At this point, say “Google Assistant” to open the virtual assistant.
- After Google Assistant is open, turn off TalkBack mode with the Volume Up + Volume Down key combination.
- Touch the microphone icon and say “Open Youtube“
- When Youtube is open, select the humanoid icon in the upper right corner of the screen > select Settings > About > Youtube Terms of Service.
- The Chrome app will now open
- Agree to some confirmations and go to addrom.com/bypass to use specialized tools and applications to bypass FPR.
- After entering addrom.com/bypass, select “Open Screen Smartlock” to access your phone’s password-protected settings. Set screen password at PIN> enter any password to complete the setup.
- Then try to turn off the screen and turn it back on, enter the password you just set up to test. Next, click back to return to the original language selection screen.
- And now you can activate the phone according to the suggested steps and just enter the PIN you just set up above to easily bypass the FRP.


Gouro