Download macOS Ventura DMG file for clean installation (macOS 13)
In this article, we will share the direct links to Download macOS Ventura DMG File for Clean Installation.
Apple introduced macOS 13 Ventura at the WWDC conference.
The Stage Manager function has been added to the system. It moves inactive windows to the side, leaving only the active application on the desktop. In some ways, this is similar to the Dock, but only for windows.
The system automatically groups windows by application, but users can create their own groups.
Stage Manager works in conjunction with Mission Control and Spaces.
For details, please refer to Apple’s website: www.apple.com/macos/macos-ventura-preview/
Compatible devices for macOS Ventura
Unlike macOS Monterey, which supported many Mac computers, Apple shortened this list. For example, everyone’s favorite Mac Pro in the form of a trash can will not support macOS 13 Ventura. Here’s a complete list of compatible Macs:
- 2017 iMac and later
- 2017 iMac Pro and later
- MacBook Air 2018 and later
- MacBook Pro 2017 and later
- Mac Pro 2019 and later
- Mac mini and later 2018 models
Download:
- Google Drive:
- macOS Ventura v13.6.4.dmg | OneDrive | Backup2
- macOS Ventura v13.5.2.dmg | OneDrive | Backup | Backup2
- macOS Ventura v13.5.1.dmg | OneDrive | Backup | Backup2
- macOS Ventura v13.5.dmg | OneDrive | Backup | Backup2
- macOS Ventura v13.4.0.dmg | OneDrive | Backup | Backup2
- macOS Ventura v13.3.1.dmg | OneDrive | Backup | Backup2
- macOS Ventura v13.2.1.dmg | OneDrive | Backup | Backup2
- macOS Ventura v13.2.dmg | OneDrive | Backup | Backup2
- macOS Ventura v13.1.dmg | OneDrive | Backup | Backup2
- macOS Ventura v13.0.1.dmg | OneDrive | Backup | Backup2
- macOS Ventura v13.0.dmg | OneDrive | Backup | Backup2
- Apple Server:
DOWNLOAD MORE: Download macOS Monterey DMG file for clean installation (macOS 12)Create a bootable installer for macOS
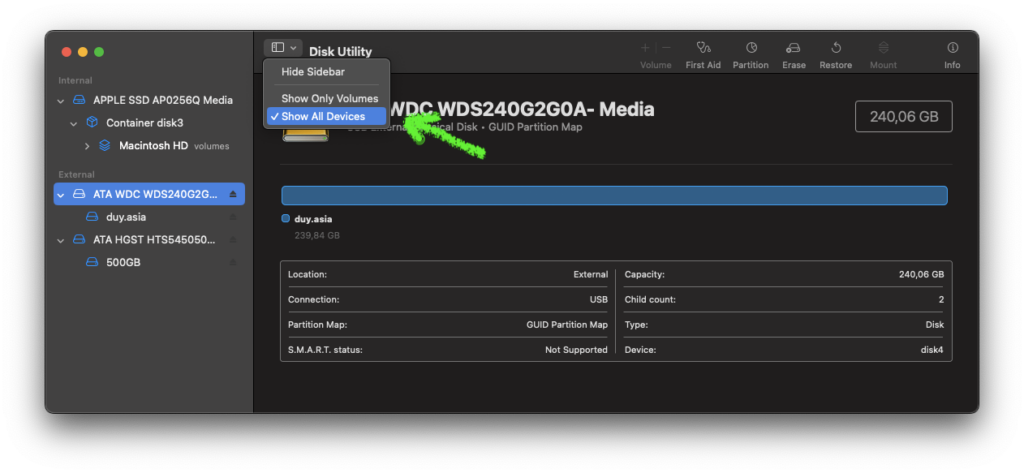
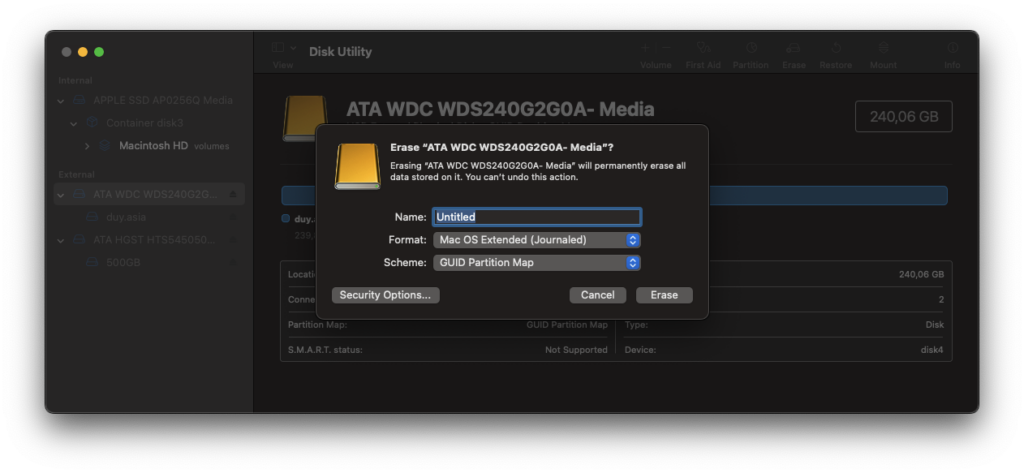
Step 1: Format the USB
Go to Disk Utility (Click on Launchpad > Other > Disk Utility). Then Format the USB with the following information:
- Name: Untitled (This name is optional, subject to change)
- Format: MacOS Extended (Journaled)
- Scheme: GUID Partion Map
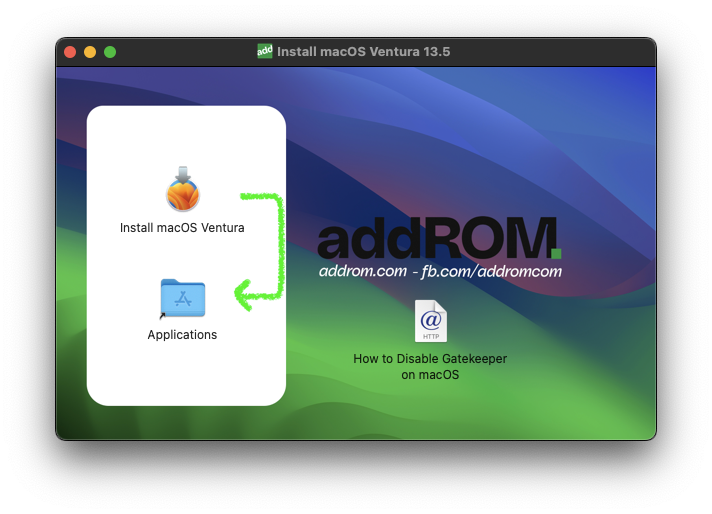
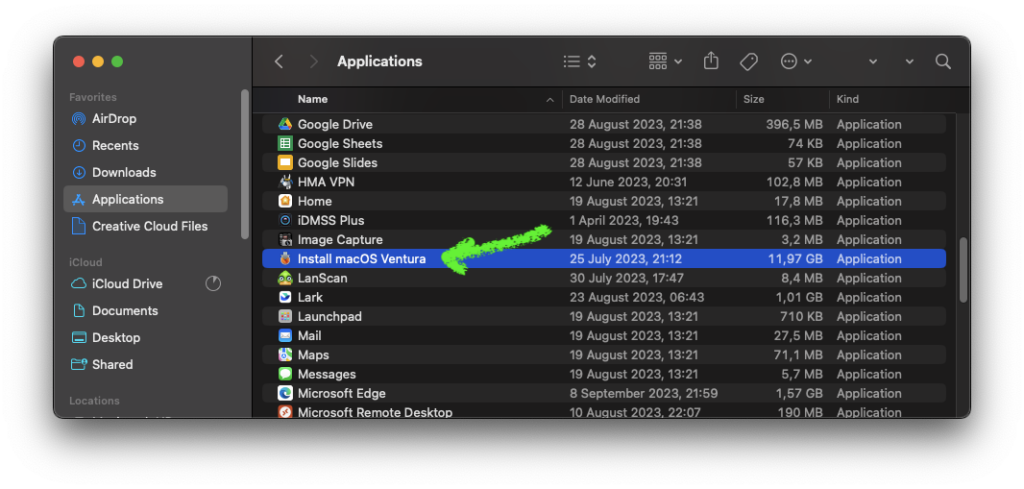
Step 2: Copy the installation file to the Application folder
After downloading, if the .DMG, double-click to mount, then drag the installation file to the Application folder. If it is InstallAssistant.pkg file, double-click to install.
Step 3: Plug in the USB flash drive or other volume that you’re using for the bootable installer.
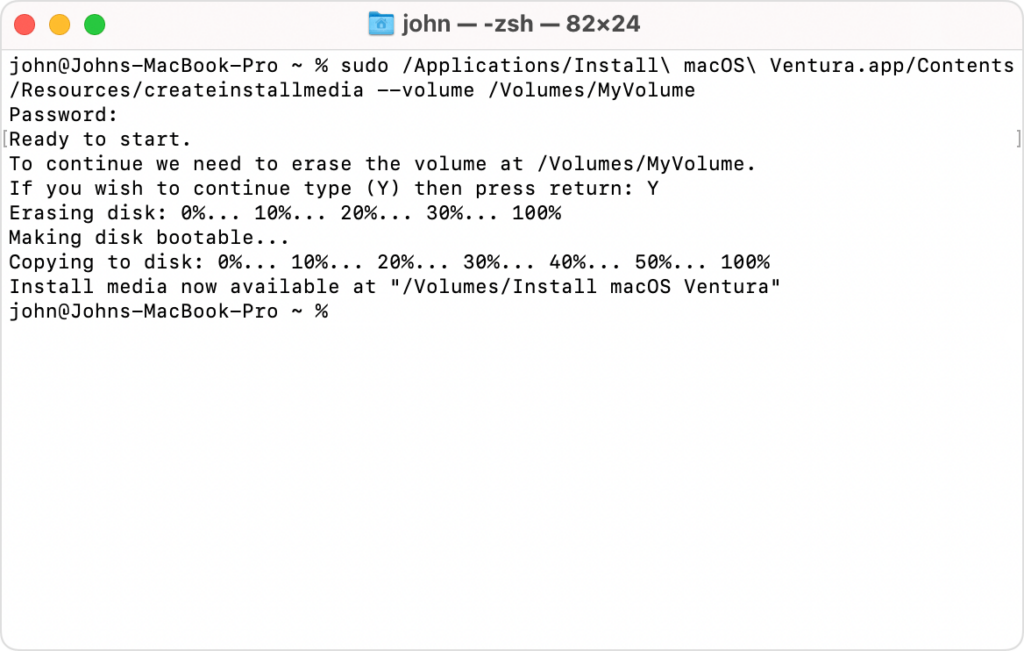
Step 4: Open Terminal, which is in the Utilities folder of your Applications folder.
Step 5: Type or paste one of the commands below into Terminal, then press Return to enter the command. Each command assumes that the installer is in your Applications folder, and Untitled is the name of the USB flash drive or other volume you’re using. If the volume has a different name, replace Untitled in the command with the name of your volume.
sudo /Applications/Install\ macOS\ Ventura.app/Contents/Resources/createinstallmedia --volume /Volumes/UntitledStep 6: When prompted, type your administrator password. Terminal doesn’t show any characters as you type. Then press Return.
Step 7:When prompted, type Y to confirm that you want to erase the volume, then press Return. Terminal shows the progress as the volume is erased.
Step 8: After the volume is erased, you may see an alert that Terminal would like to access files on a removable volume. Click OK to allow the copy to proceed.
Step 7:When Terminal says that it’s done, the volume will have the same name as the installer you downloaded, such as Install macOS Ventura. You can now quit Terminal and eject the volume.