A few months ago, Google released Android 12 officially and recently it also launched beta versions of Android 12L (Android version for devices with large screens). Continuously developing and perfecting, while there are still many Android devices that have not been upgraded to Android 12, Google is ready to send developers the first version of Android 13 (First Developer Preview) called Android for short. 13 DP1.
Currently, the new Android 13 DP1 is only available on Pixel devices from Pixel 4/4a and above. If you have the right Pixel devices, you can upgrade to experience this latest version of Android. However, it should be noted, because it is the first version of Android 13, this version may contain a lot of bugs, especially those that can turn your phone completely into a ‘bum’. Therefore, before upgrading, you need to think carefully about the risks. If you’ve thought it through and are ready, let’s get started. There will be two ways to update, you will choose which way is easiest and most suitable for you to do.
Update via OTA
Preparation phase
This is one of the important stages, it’s very easy to do, but many users skip it, please read it all and read it carefully to avoid affecting other processes.
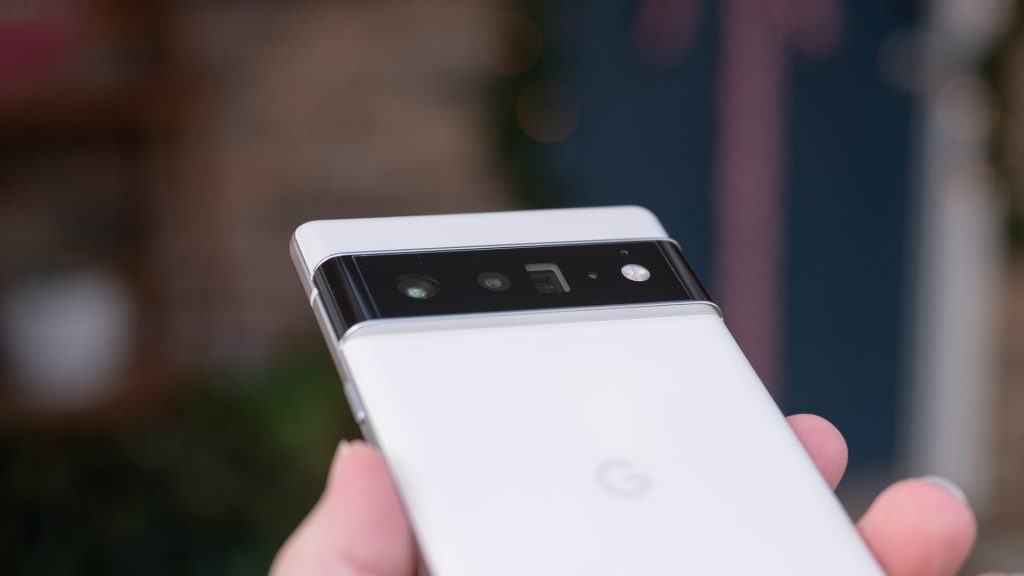
- A device on the list is compatible with Android 13 DP1, namely Pixel 4, Pixel 4 XL, Pixel 4a, Pixel 4a 5G, Pixel 5, Pixel 5a, Pixel 6 or Pixel 6 Pro devices.
- A USB Type C cable to connect the phone to the computer. Note to use standard cable, do not use externally purchased cable that is not guaranteed. There are very flickering Type C cables, using them can cause the upgrade process to malfunction, even turn your device into a “brick”.
- Pre-install Android Studio (Android SDK) on your computer according to the instructions at the following address. With the Android SDK you will be able to run ADB and Fastboot commands to copy the update file from your computer to your phone.
Download the necessary files
After you have prepared the above, you need to download some additional files necessary for installing (flashing) Android 13 on your phone. You will download the appropriate OTA for your phone here . You should update OTA because this version will not erase all the data already on your phone. Furthermore, when you install via an OTA update file, you will automatically receive developer previews of new betas.
Put your phone into Recovery Mode
Once you have prepared everything necessary, you need to restart the phone and put it in recovery mode to install the OTA update file. Here are the detailed steps:
- Step 1 : Power off the phone.
- Step 2 : Press and hold the Power button and the volume down button simultaneously.
- Step 3 : Use the volume up/down buttons to move the selection cursor to the Recovery mode option.
- Step 4: Press the power button to select the Recovery mode option.
- Step 5 : When you see the Android logo with an exclamation mark appear, you need to press the power and volume up buttons simultaneously and hold for about 1 second.
- Step 6 : Release the volume up button to let the phone reboot into recovery mode.
- Step 7 : Next, use the volume buttons to move to the Apply update from ADB section and press the power button to select it.
- Step 8 : You will see a screen instructing you how to copy (sideload) the OTA update file from your computer to your phone.
Copy the downloaded OTA file from the computer to the phone
At this step, you will transfer the update file downloaded from the preparation step from your computer to your phone. Follow these steps:
- Step 1: Connect your phone to the computer using the USB cable that came with the device. Note, double check that you have the Android SDK submission tool installed.
- Step 2: On Windows, open Command Prompt (CMD). On a Linux or Mac computer, open Terminal. For Windows, you need to navigate to the folder containing the downloaded OTA update file.
- Step 3: Next, you need to enter the command adb sideload for Windows or ./adb sideload for Linux/Mac.
- Step 4: Then you need to enter the name of the folder containing the . zip before pressing the Enter key.
- Step 5: When done, the phone will go back to recovery mode and you can unplug the USB cable.
- Step 6: Select the Reboot now option to reboot the device.
That’s it, if everything went well, your device has Android 13 DP1 installed.
Install with Android Flash
Google also provides an additional utility to install Android 13 DP1 onto your device using a computer. This method is quite easy to do, everything is quite automatic, however your data will be gone after installing using this method. If you’re ready, let’s get started
Preparation phase
This is one of the important stages, it’s very easy to do, but many users skip it, please read it all and read it carefully to avoid affecting other processes.
- A device on the list is compatible with Android 13 DP1, namely Pixel 4, Pixel 4 XL, Pixel 4a, Pixel 4a 5G, Pixel 5, Pixel 5a, Pixel 6 or Pixel 6 Pro devices.
- A USB Type C cable to connect the phone to the computer. Note to use standard cable, do not use externally purchased cable that is not guaranteed. There are Type C cables that are very fickle, using them can cause the upgrade process to malfunction, even turn your device into a brick.
- Install Android USB driver for Windows PC here
- Make sure your computer has at least 10GB of internal memory free.
Action on the phone
Before connecting your phone to your computer, you need to work through the developer options, unlock the OEM and enable USB debugging. The operations are as follows:
- Go to Settings (Settings) select About phone (About phone)
- Scroll to the Build Number section and tap until it says you’ve become a developer.
- Next you go to Settings (Settings) > System ( system ) > Developer options ( Developer options ) and unlock OEM ( Developer options ) and USB debugging ( USB debugging ).
Manipulation on the computer
- Step 1 : Make sure you have installed Android USB Driver for Windows PC.
- Step 2 : Connect your phone to the computer.
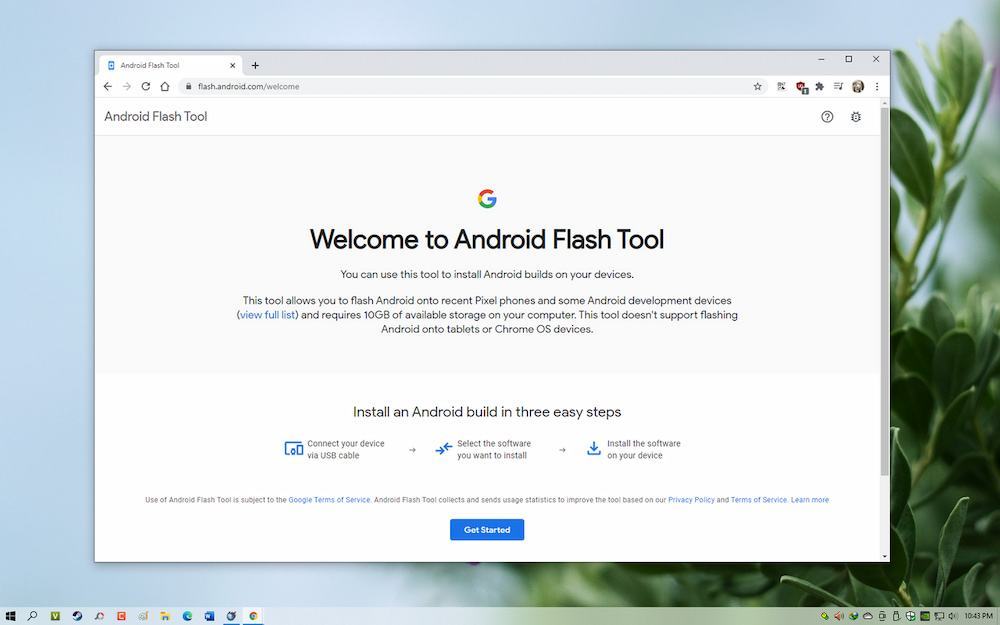
- Step 3 : Go to flash.android.com
- Step 4 : Grant ADB access to flash.android.com website
- Step 5 : Select add new device, another window will open and show your device. Please click on it.
- Step 6 : You will see a prompt related to USB debugging appear on your smartphone. Select Always allow from this computer and click OK.
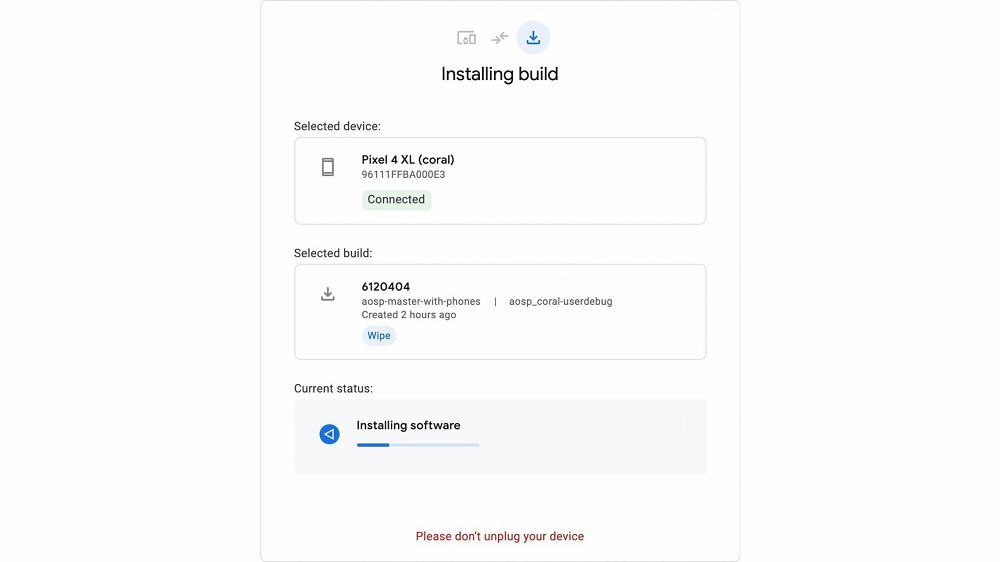
- Step 7 : Next, on your computer and the website will manipulate again select your phone and then select the desired Android software that you want to install. Please select Android 13 DP1 and then select install version.
- Step 8 : You will then be prompted that your phone will be factory reset. Press confirm and the process will begin. Your phone’s bootloader will also be unlocked if it hasn’t been unlocked before. You will need to use the volume and power keys to unlock the bootloader when prompted.
- Step 9 : Then, Android 13 DP1 will be downloaded to your computer and automatically installed on your phone. You do not need to interact with your phone during this time. Your computer’s USB connection and disconnection sound will sound several times during this process – that’s normal.
- Step 10 : The website will then inform that your phone’s bootloader will need to be locked to complete the process. Select start and use the volume and power keys to lock the bootloader when prompted.
- Step 11 : Once the installation site is complete, you can disconnect your phone from the USB cable. And now your device is running Android 13 DP1.
Good luck!!!