
Apple has a Migration Assistant app to help you move your data to a new Mac, except it isn’t always smooth, isn’t always easy — and isn’t your only choice.
If only Macs were as easy to transition between as iPhones. When you upgrade an iPhone, you put the new one next to the old and it practically transfers itself.
With the Mac, it can be close to that, because of Setup Assistant and Migration Assistant. In theory, you run these on both the new and the old Mac, and the only difference is that Setup Assistant appears when you first switch on the new Mac.
If you ignore it and then later decide you want all of your old Mac’s data, you need to run Migration Assistant. Either way, it takes a long time.

That’s only reasonable, though, since your old MacBook Pro might have a couple of terabytes of data to transfer. But it does take a long time, there are things you can do to speed it up, and unfortunately it isn’t always the best option.
Deciding whether to migrate or not
If you are actually switching to a new MacBook Pro, it’s not that you’re planning to keep two Macs running, then you should look at Migration Assistant. As long as you’re happy with your old Mac and everything seems to be working fine, you could use this to make the new Mac be exactly the same.
There’s an opportunity here, though, to start afresh. You’ll still need to log into your new MacBook Pro with your Apple ID, but you don’t actually have to move anything else over at all.
Not at first.
You could start with a completely fresh, empty MacBook Pro and only load the applications or documents that you need, as and when and if you need them.
The advantage to starting afresh
You may have apps you’ve not used in years and which are just taking up space. Starting afresh means you end up with just the apps that you really want, because you’ve had to go get them exactly as you need to.
That is also a disadvantage, in that you tend to only realise you need an app in the moment that you do. So it’s an extra step downloading the app from iCloud or, worse, finding the ancient installation disk images.
But you can end up with a leaner Mac, and even one that is faster because it doesn’t have so much software debris on it.
Unfortunately, though, every app you install fresh is indeed installed fresh. You will never believe quite how many tiny changes you’ve made to preferences and settings over the years — until they’re all gone.
Setting all of those up again from the start is rarely a quick job. It’s always a dissatisfying job, too, because the best result for all your effort is that you’re back where you started.
So it can be extremely tempting to just use Apple’s Migration Assistant and be done with it.
The disadvantage to Migration Assistant
Apart from how Migration Assistant moves pretty much everything over from your old Mac to the new one, including years of files you’ve long forgotten, there is another small disadvantage.
It doesn’t always work.
It is always a little irritating, but it can also be full-on infuriating as you have your two Macs side by side and they will not see each other. The only solution, other than giving up, wiping the new Mac’s drive and starting again, is to keep looping through the steps.
The steps to use Migration Assistant over Wi-Fi
- Make sure both Macs are updated to the latest macOS
- Place the two Macs close together, and on the same Wi-Fi network
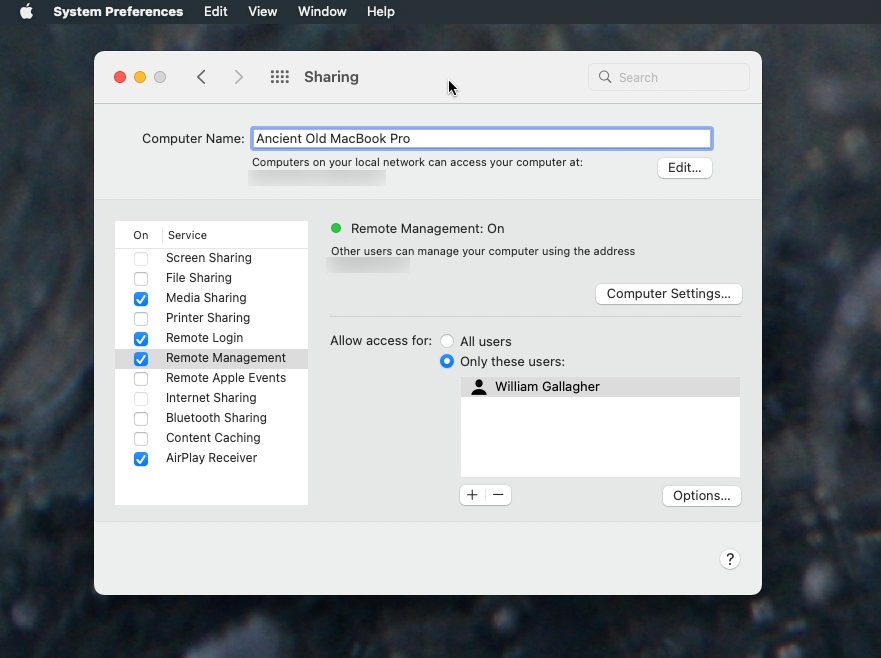
- On the old Mac, open System Preferences and click Sharing
- Check that the heading Computer name has a name next to it
- If it doesn’t, give it one
- On the new Mac, open the Applications folder, then Utilities
- Launch Migration Assistant and click Continue
- From the options shown, choose to transfer from a Mac, the click Continue
- Back on the old Mac, launch Migration Assistant the same way
- This time choose that you want to transfer To another Mac
- Now return to the new Mac and you should see the Sharing name of your old one listed
- If you don’t, wait while it is Looking for other sources
- You may be prompted for a code on your old Mac. Make sure it’s the same shown on the new
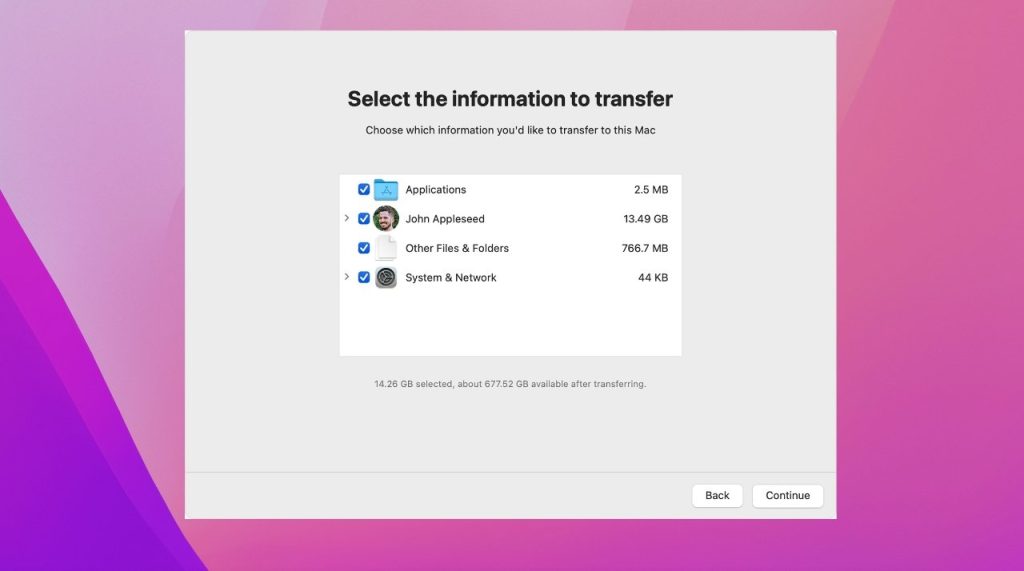
You now need to decide just what exactly you want transferred from the old Mac. It can be just your applications, just your user documents, or everything.
Make the choice and then click Continue. You would be best advised to do this early in the evening, too, and then walk away until the morning.
This is going to take a very long time. The good thing is that if it’s going to go wrong, it already will, and you won’t be able to get this far.
What tends to go wrong during these steps is that for some reason, one of the Macs can’t see the other. There is no clear pattern to that, and there’s no great solution. You just have to keep restarting both Macs and trying again.
How to speed up Migration Assistant
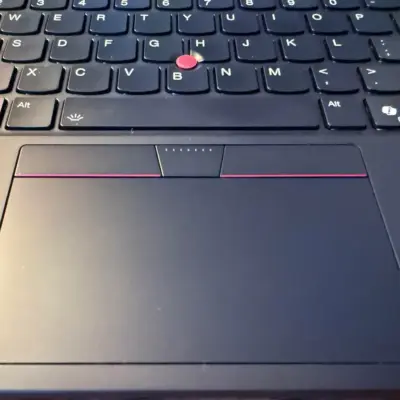
By far the fastest way to move to a new Mac is to use a Thunderbolt 3 cable. This is one time when it’s important to have the right cable, and a pain that Thunderbolt and USB-C ones look identical.
With the correct Thunderbolt 3 cable connecting the two Macs, Migration Assistant will see that connection and use it. It will use it very quickly.
You could also connect your two Macs together using Ethernet, though you may have to buy adaptors to allow that. Even so, the process remains the same, with Migration Assistant recognizing the name of the older Mac via Ethernet instead of Wi-Fi.
Doing this via a cable is unquestionably faster than over Wi-Fi. Yet unless you’re using Thunderbolt 3, it’s not actually all that fast.
You will still need to leave the Macs alone to get this done. So it’s better to start the process at the end of the working day.


Mera account frp lock hai kripya ise khol dijiye