How to restore your iPhone or iPad from a backup
It’s always a good idea to take a backup of your iPhone or iPad’s data to keep it safe. But knowing what to do when something goes wrong with your iPhone or iPad is also essential.
Fortunately, you can quickly restore your iPhone and iPad from a backup when the time comes using three methods: iTunes, Finder, and iCloud. So, here’s how you can restore the data on your iPhone or iPad.
Update your iPhone and iPad Before Restoring
Before you start, updating your software is always a good idea. Having the latest version of iTunes, macOS, iPadOS, or iOS ensures that nothing goes wrong during the restoration process. It’s also easier to update your new iPhone immediately without worrying about losing any of its data if the update process fails.
Note: You can restore old versions of backups to new versions of iOS/iPadOS, but you can't restore backups made on the latest version of iOS/iPadOS to an outdated device.- Update Your Mac: Go to System Preferences > Software Update, click on Check for Updates and follow the on-screen instructions.
- Update iTunes for Windows: Launch iTunes for Windows, then click on Help > Check for Updates and follow the instructions.
- Update your iPhone/iPad: On your device, head to Settings > General > Software Update and tap on Install when prompted.
Restore Your iPhone or iPad From an iTunes Backup
If your Mac is running macOS Mojave or an earlier version, or if you use a Windows PC, you can use your local iTunes backup to restore the data.
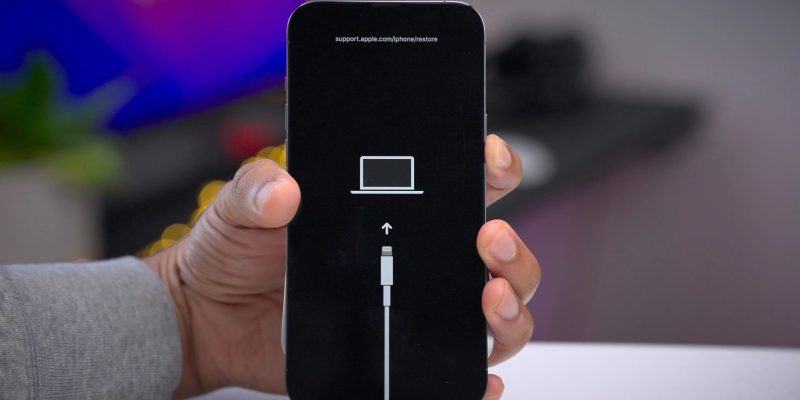
- Connect your iPhone or iPad to your computer using the included Lightning to USB cable.
- Tap Trust This Computer on your iPhone/iPad.
- Enter your Passcode to continue.


- Launch iTunes on your computer.
- Click the phone icon in iTunes.
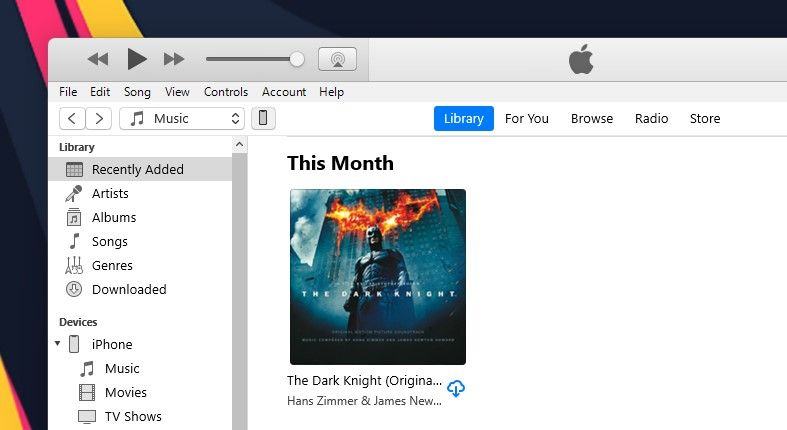
- Select Restore Backup in the Summary section.

Wait for your iPhone or iPad to restore the local backup completely before you unplug it from your PC.
Restore Your iPad or iPhone Using a Mac Backup
Newer versions of macOS, starting from macOS Catalina, replace iTunes with Finder for syncing and local backups. Hence, the restore process differs slightly from the iTunes method. Here’s what you need to do:
- Connect your iPhone or iPad to your Mac via Lightning or USB Type-C cable.
- Select Trust This Computer on your iPhone or iPad.
- Enter your Passcode when prompted


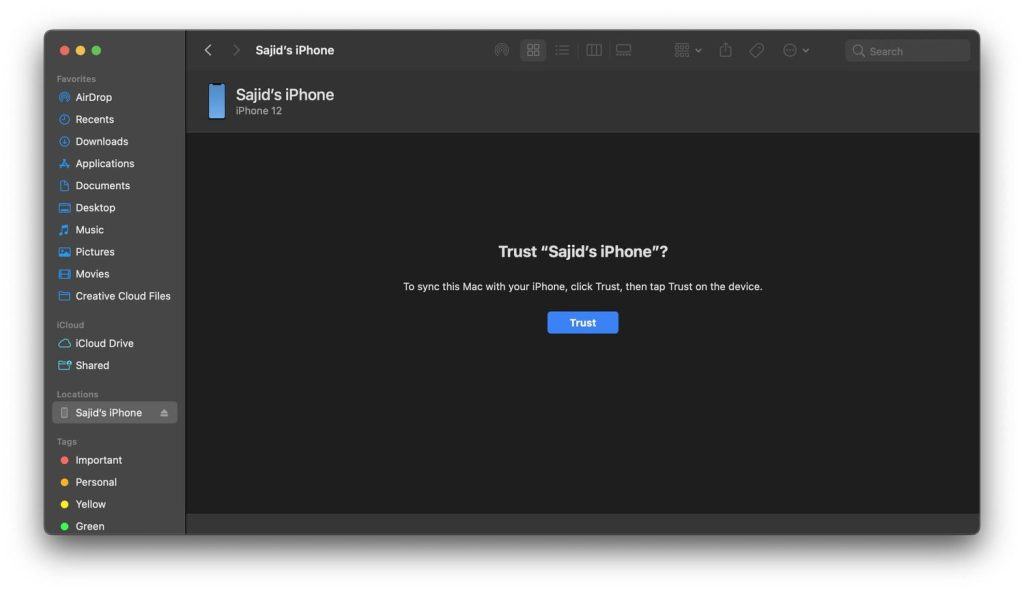
- Next, open Finder on your Mac.
- Select your iPhone or iPad from the sidebar, and then Trust when prompted.
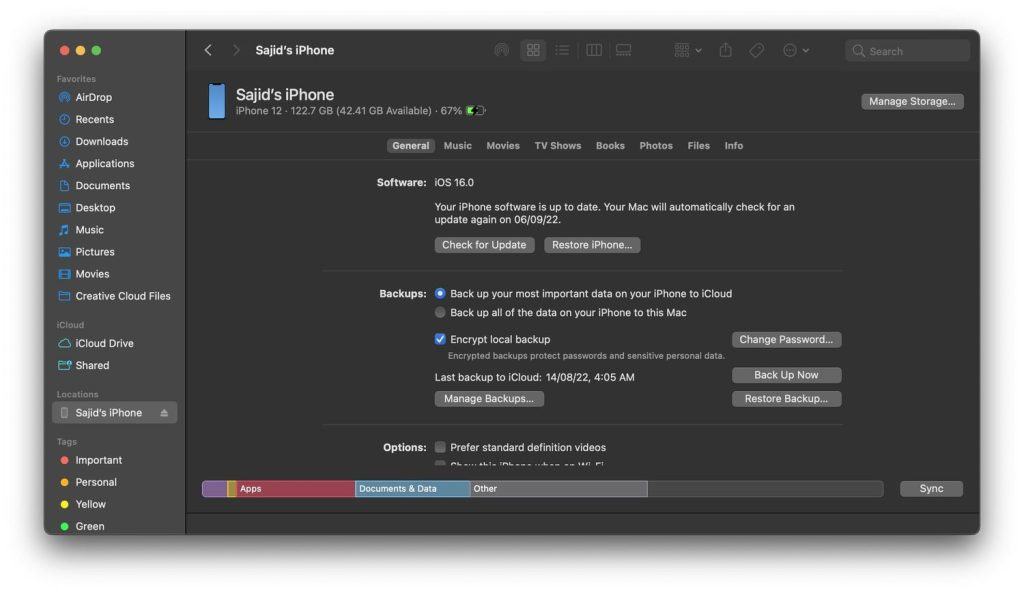
- Now, click Restore Backup under the General tab.
Restore Your iPhone or iPad Using iCloud Backup
If you don’t have any access to a Mac or Windows PC, you can use iCloud to restore the backup. Before proceeding, ensure you don’t have any essential data or photos left on your device, and then factory reset your iPhone or iPad.
Once you pass the initial steps in the setup screen, you’ll reach the Apps & Data page, where you’ll need to do the following:
- Select Restore from iCloud Backup on the Apps & Data page.
- Enter your Apple ID credentials when prompted.
- Select the most recent iCloud backup and follow the instructions.


Wait for your iPhone or iPad to restore entirely. Ensure you don’t disconnect your Wi-Fi during the process; nevertheless, it’ll resume the restoration process when you connect to your Wi-Fi network again.
When you see the Lock Screen, you can start using your iPhone. However, the restoration process will presumably continue after your device is usable.
How Long Does It Take to Restore Your iPhone and iPad?

It depends on which method you use. Restoring an iPhone from your PC will be significantly quicker since it is a local backup, and your internet speed doesn’t affect it. Depending on the size of your backup, your iPhone may restore within 30 minutes. In some cases, it could take longer than an hour.
Once you’ve restored your iPhone from your PC, your apps and other iCloud data will still need to download, which can take longer depending on the number of apps you have on your iPhone. That’s because your apps don’t back up locally; instead, the list of apps you’ve installed (and your Home Screen configuration) gets saved.
If you opt to restore from iCloud, you could wait significantly longer. The initial restore procedure will take as long as your internet connection needs to download the backup, plus the time it takes your iPhone to unpack and restore the backup.
Once your iPhone restarts, your iPhone will download other iCloud information and apps list. The iCloud information includes your contacts, bookmarks, notes, Health data, and Photo Library. Apps will download automatically, though you can tap on placeholder icons to prioritize some apps over others.
Backing Up Your iPhone or iPad to Your Computer or iCloud
You can enable iCloud backups under Settings > [Your Name] > iCloud > iCloud Backup. These backups happen when your iPhone is plugged in, connected to Wi-Fi, and on standby mode. You’ll be able to restore these backups when your iPhone has an active internet connection since iCloud saves these backups online.
You’ll have to manually create a local backup when you sync your iPhone to iTunes on Windows. To do this, you can connect your iPhone to a Windows PC or macOS Mojave and earlier versions, open iTunes, click the Summary tab, and choose Back Up Now.
If you’re on macOS Catalina or a newer version, you can connect your iPhone to your Mac, open Finder, select your iPhone, and click Back Up Now under the General tab. These backups get stored locally on your computer, taking up much storage space.
Ultimately, your most recent backup is the best bet. When upgrading to a new iPhone or iPad, you’ll want to connect the old device to iTunes, perform a full backup, and restore your new one with the backup you just made. Feel free to check out our in-depth guide on backing up your iPhone or iPad before you proceed.
Restoring Your iPhone and iPad Is Easy
You must be calm and patient to restore your device in times like these. It’s also important to take frequent backups to your iCloud or PC before updating or granting permissions to unknown apps to your iPhone or iPad.
If you’re on the free 5GB iCloud storage tier, upgrading to a paid iCloud+ plan to accommodate your iPhone backup is best. The Apple One subscription is one way to get more iCloud storage and reap other excellent benefits, including Apple Music.