(EFI) Gigabyte B460M DS3H V2, i5 10600 3.2gHz, Sapphire RX 580 4GB
Hello friends;
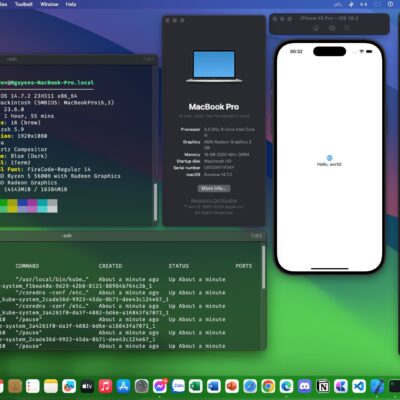
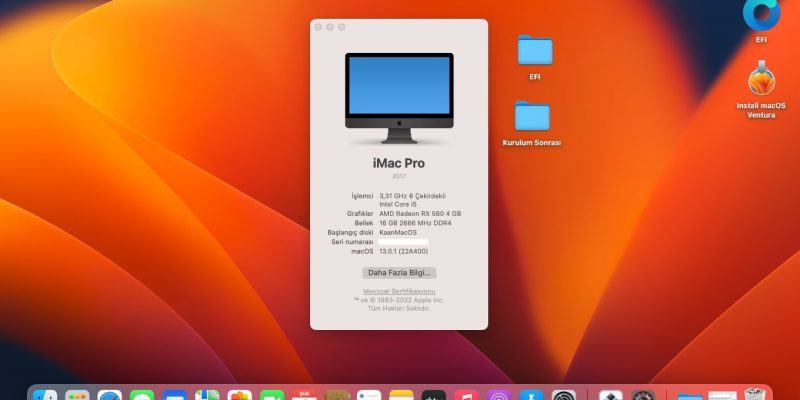
I have successfully run Ventura version 13.0.1 with OpenCore 0.8.8 on my new Desktop PC.
I’m adding the last updated EFI that I actively use Apple Services, with all kext files running smoothly, no internet connection and no sound problems.
In addition, there is a bios setting that the guides skipped, and this extended my installation by 8 hours and allowed me to stare at a black screen for 4 hours. Since there are not many solutions in foreign and Turkish sources, I add it and I specify what you need to do in the Bios Settings section to avoid encountering it. (CSM Black screen bug)
My system:
Mainboard: Gigabyte B460M DS3H v2
Processor: Intel Core i5 10600 CPU 3.20Ghz
Graphics Card: Sapphire RX580 Gaming OC 4GB
RAM: 16GB DDR4 3600 MHz
SSD: 480GB SSD (contains UEFI Windows) + 280GB SSD(INCLUDES UEFI HACKINTOSH)
Wifi: Intel(R) Ethernet Connection (11) I219-V
Download:
Bios settings:
(Starts assuming you load the Defaults and turn the bios on and off.)
[MIT]
- Advanced Frequency Settings
- CPU Upgrade: Default
- Advanced Memory Settings
- Extreme Memory Profile (XMP): Profile 1
- Advanced Voltage Settings
- PC Health Status
- Miscellaneous Settings
[BIOS]
- Fast Boot: Disabled
- Windows 8/10 Features: Windows 8/10
- CSM Support: Enabled <—- (I recommend this setting to be Enabled! If the options at the bottom are removed when the Disabled option is checked and the bios does not open when you reset it, but it jumps to the system, open the case and reset the bios on the motherboard and definitely keep it Enabled. With Efi, CSM is Enabled . I installed it the way I did. You don’t need to remove the motherboard ALSO, pull the power supply cable and find the pin or battery from inside the case. Don’t bother with plugging and disassembling, if your motherboard is visible of course. Also, you need to apply a little pressure with a screwdriver for ten seconds between the 2 small pin bars It will be enough.) <—- This was the source of my whole problem.
- Secure Boot Enable: Disabled Not Active
- LAN PXE Boot Option ROM: Disabled
- Storage Boot Option Control: UEFI
- Other PCI devices: UEFI
[Peripherals]
- Initial Display Output: PCIe 1 Slot
- Intel Platform Trust Technologies (PTT): Disabled
- Serial IO Configuration:
- Serial Port: Disabled
- Parallel Port: Enabled
- USB Configuration:
- Legacy USB Support: Enabled
- XHCI Hand-off: Enabled
- USB Mass Storage Driver Support: Enabled
- Port 60/64 Emulation: Disabled
- Trusted Computing
- Security Device Support: Disabled
- Intel(R) Bios Guard Technology
- Intel Bios Guard Support: Disabled
- Network Stack Configuration
- Network Stack: Disabled
- SATA And RST Configuration
- SATA Mode Selection: AHCI
[Chipset]
- VT-d: Disabled
- Internal Graphics: Auto
- Audio Controller: Enabled
- Above 4G Decoding: Enabled (Don’t turn on the reSizabled-bar option below it either.)
- PCH Lan Controller: Enabled
- Wake on LAN Enable: Enabled
- IOAPIC 24-119 Entries: Enabled
[Power]
- Platform Power Management: Disabled
- AC BACK: Always Off
- Power Loading: Auto
- CEC 2019 Ready: Disabled
- RC6(Render Standby): Enabled
Thank justkaanssen