How to Create macOS Sonoma Bootable USB
If you want to install or upgrade to macOS Sonoma, you can create a USB Installer Boot disk! This will allow you to quickly install the OS on Intel and M1/M2 Macs.
The instructions below will show you how to Create macOS Sonoma Bootable USB
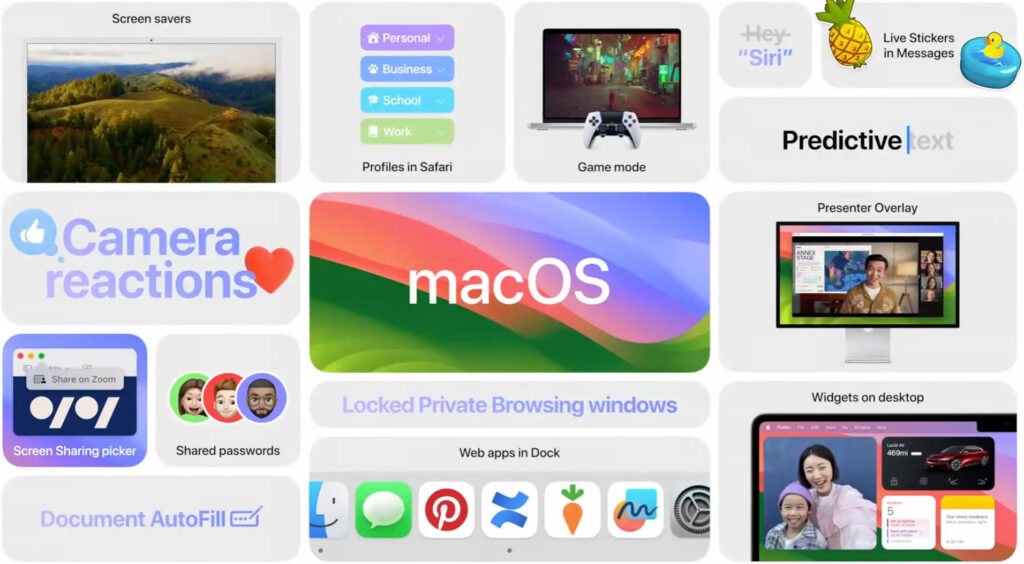
Step 1: Download macOS Sonoma
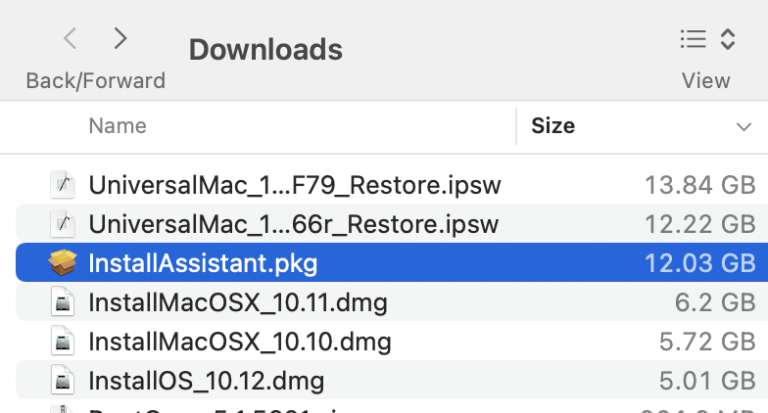
An Apple package called InstallAssistant.pkg will download. When finished it will be in your Downloads folder.
NOTE: this package is just a link to Apple’s own software update server.This what the link looks like if you right click on it.
- macOS Sonoma Public Beta 1 (23A5286i)
- macOS Sonoma DevV3 (23A5286g)
- macOS Sonoma Beta3
- macOS Sonoma Beta2
Notice how the file is coming directly from apple.com
DOWNLOAD MORE: Download macOS Sonoma DMG file for clean installation (macOS 14)Step 2: Install InstallAssistant.pkg
Now we need to install the InstallAssistant.pkg that is located in your Downloads folder.
Double click to install it.
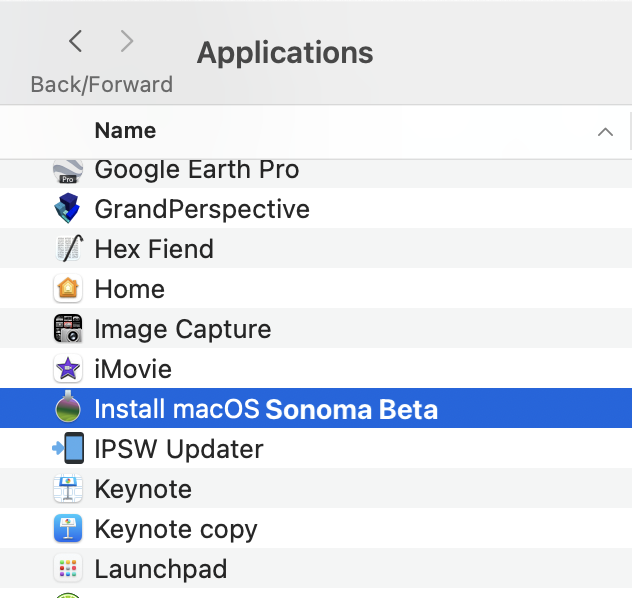
This Apple package installer will just move the “Install macOS Sonoma Beta app” into your Applications folder.
Step 3: Erase & Format your USB Flash Drive
Now that you have the Install macOS Sonoma app in your /Applications folder you can create your USB Installer! The USB Flash Drive needs to be at least 16GB because the Sonoma installer is about 12-14GB.
Plug in your USB Flash Drive
Open up Disk Utility and then click the “View” button. Select “Show All Volumes” and click the top level USB drive name.
The “Top level drive” is usually the name of the USB Drive. In this example my drive is called “KINGSTON SA400S37120“.
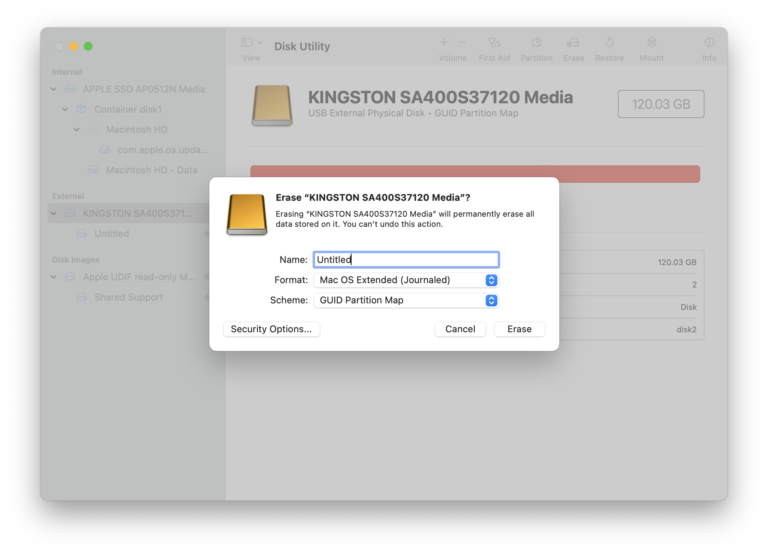
Click the Erase button to erase your USB Flash drive.
NOTE:
The name can be anything but be sure to use Mac OS Extended (Journaled) format & GUID Partition Map.
Step 4: Create macOS Sonoma USB Boot Disk
- Open up the Terminal.app from
/Applications/Utilities - type in
sudothen space - Drag your macOS Sonoma installer app to the terminal window
- The full path is
sudo /Applications/Install\ macOS\ 14\ Beta.app/Contents/Resources/createinstallmedia - Add the –volume option then drag your USB Flash Drive to the terminal window.
The final full path will look like this:
sudo /Applications/Install\ macOS\ 14\ Beta.app/Contents/Resources/createinstallmedia --volume /Volumes/UntitledHit enter and then enter your account password.

From here the files will start to copy to your USB flash Drive. The total time should be about 5-10 min depending on your USB Flash drive speed.
Step 5: How to boot to your new Sonoma USB Installer.
To boot to the USB Installer: (steps for 2016-2023 Macs below)
Apple Silicon M1 Mac = Power down your Mac. Turn it back on but continue to hold the power button until you see the Boot Picker. From here your USB installer drive will show up. All you need to do is click on it to boot.
2018-2020 Intel T2 Mac = You will need to first boot to internal recovery by holding down Command R. You need to enable “External Boot“. Once you are in recovery go to the top menu bar and select Utilities > Startup Security Utility.

Click on “Allow booting from external media” and reboot. Hold down option and then select your USB installer. You can now install macOS from your usb drive!
2016-2017 Intel Mac = Power down your Mac. Turn it back on but hold down the Option key. You will see the boot picker. Your USB drive will load, select the USB installer and click the arrow. The Mac will now boot to your USB installer.