

Parallels Desktop 19 – Install Windows on Mac
Parallels Desktop 19 for Mac – Power up your Mac to run Windows on a virtual desktop, plus get access to more than 200,000 of its apps to work, develop, study, test, and play. Authorized by Microsoft.
Parallels Desktop 19 is optimized for macOS Sonoma, offering enhanced printing options through the Internet Printing Protocol (IPP). This optimization provides a more immersive experience when running macOS virtual machines on Mac computers with Apple silicon, including improved shared printing on those devices.
With Parallels Desktop, you can effortlessly set up your system; there’s no need to source a Windows image or grapple with installation and configuration. It’s simplicity at its finest.
Use your Mac camera, microphone, trackpad, sound, display, keyboard, and mouse with Windows. Enable USB Windows-only devices like printers and scanners; connect your Android phone and many other devices.
Download
- ParallelsDesktop-19.4.1-54985.dmg | OneDrive | Backup | Backup2 (SIP ON or OFF)
- ParallelsDesktop-19.3.0-54924.dmg | OneDrive | Backup | Backup2 (SIP ON)
- Older version (on page 2)
How to install & activate
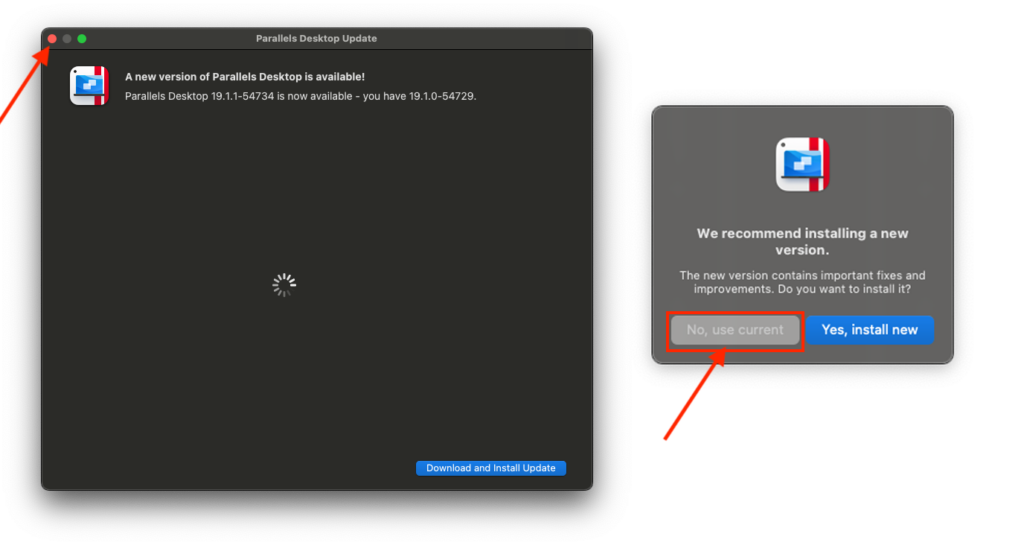
Step 1: Run the Install file to install as usual. During installation, if there is an update, remember to close it and select use current as shown.
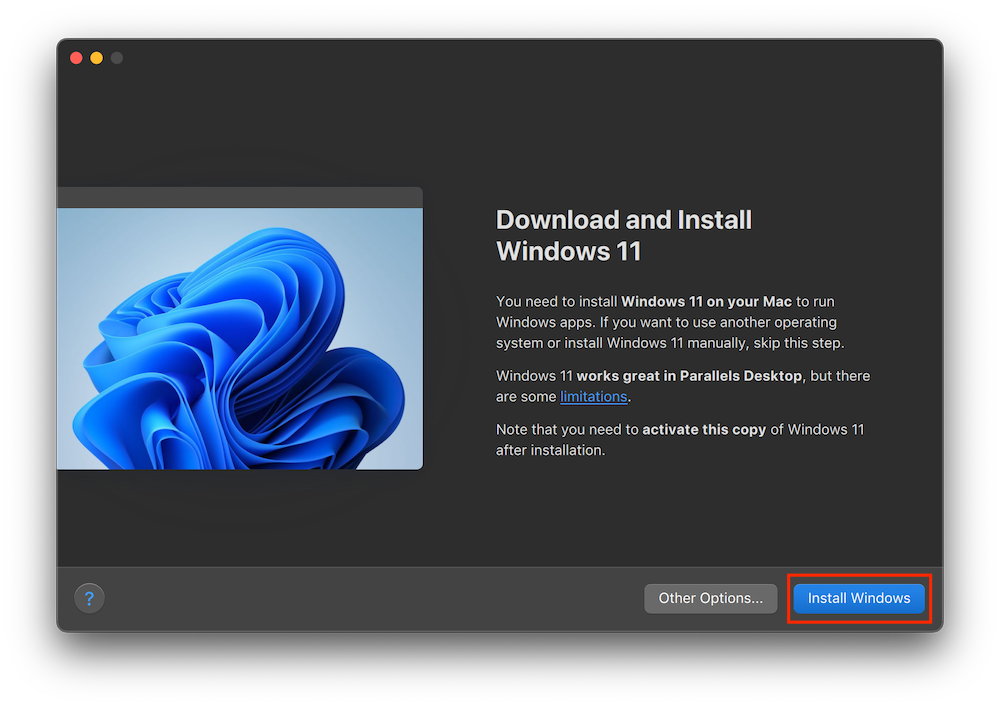
After installation is complete, when you see the Install Windows screen, select Install Windows to install immediately.
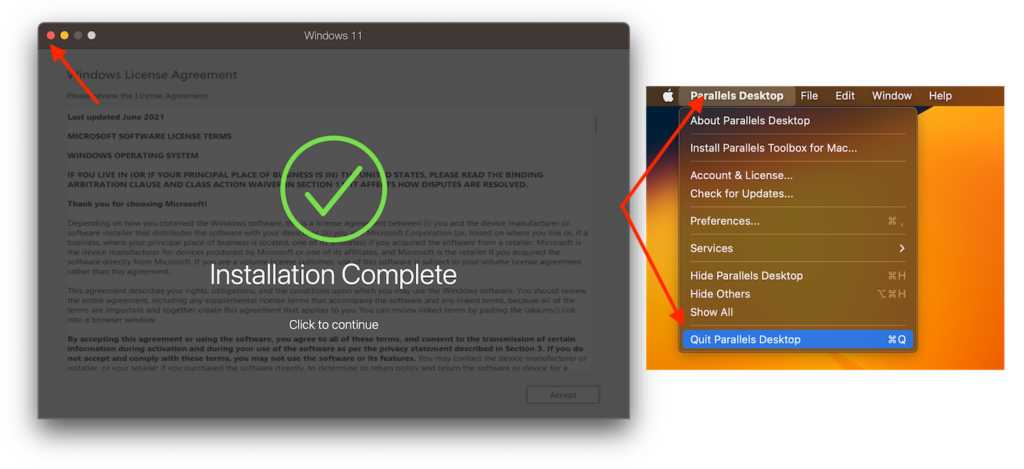
Step 2: After Completed appears, click on the red circle in the corner to exit, select Parallel Desktop again in the Menubar, look up and select Quit.
Step 3. Open the Activation Tool file (Depending on whether SIP is on or off, choose the appropriate version). How to disable and enable System Integrity Protection
Drag the Parallels Desktop Activation Tool file into Application> Then run the Parallels Desktop Activation Tool file in Application
Select Install as shown

Then enter the password to log in to the your Mac. Wait for it to run Patch. Then select Edit to exit.
Then open Parallel Desktop again, if anyone is stuck at the Starting screen, go to Application > Right click on Parallel Destkop and select Open to reopen it for the first time to run.
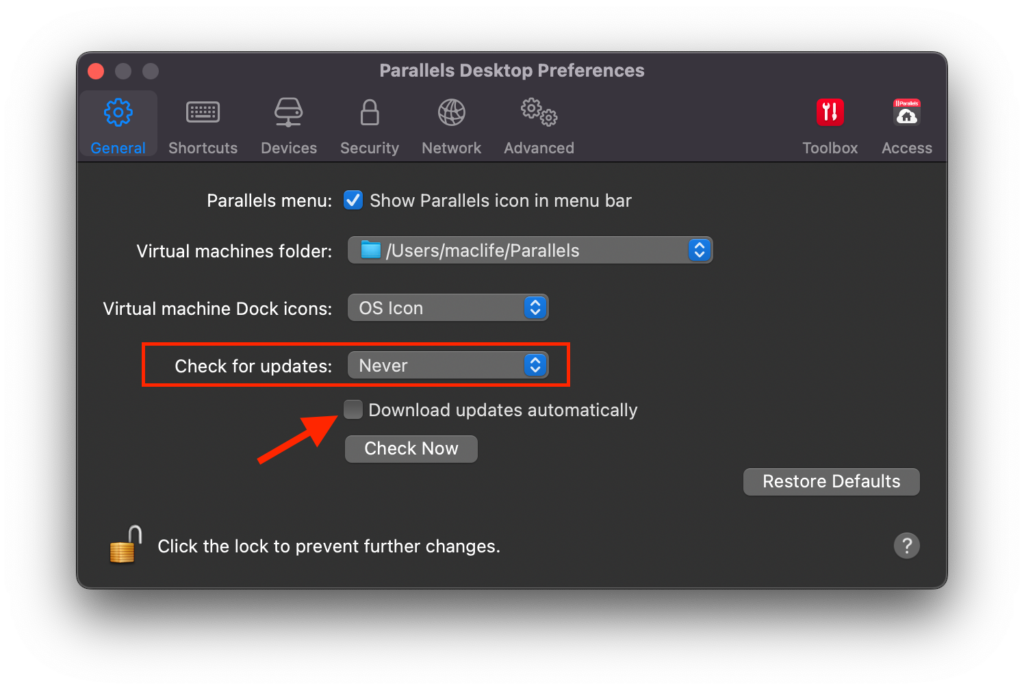
After running, remember to turn off Update.


Unfortunately this one didn’t work for me. Downloaded ParallelsDesktop 19.1.0-54729 Update.dmg (296M) and followed the process but ended up with a notification from Parallels regarding being unable to activate.
Thank you for clear detailed instruction of installation.
Thank you