Key Takeaways: Astryx is Meta’s open‑source, AI‑ready React design system that gives human developers and AI coding agents a shared, machine‑readable contract for building consistent, production‑grade interfaces.
What is Astryx?
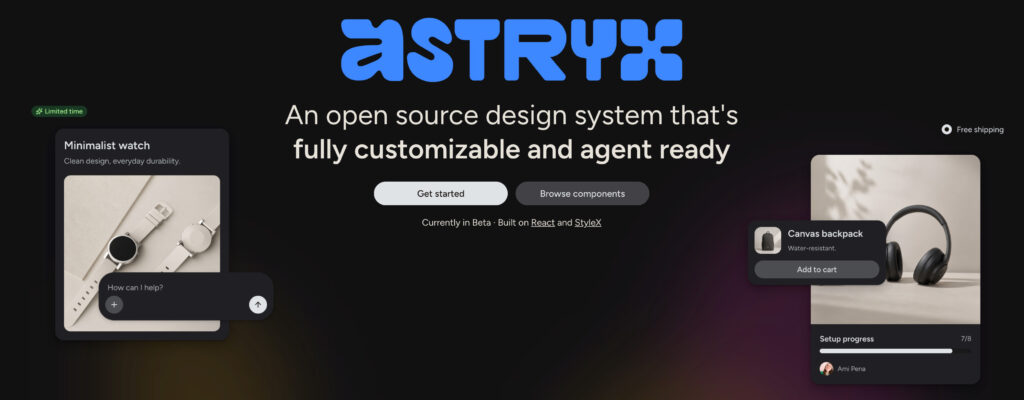
Astryx is an open‑source React design system created by Meta and released under the MIT license. It has evolved over eight years inside Meta, powering thousands of internal and consumer‑facing experiences on Facebook, Instagram, Threads, and more.
The key differentiator is that Astryx is explicitly designed to be AI‑readable: it ships a JSON manifest that describes each component, its props, behaviors, and CLI commands in a way that AI coding agents can reliably understand and follow, similar to how backend APIs use OpenAPI.
Why Astryx matters for AI‑assisted frontend development
Most design systems today are optimized for human developers reading docs and manually wiring props. As soon as you ask an AI coding assistant to help, it often guesses import paths, misuses components, or bypasses your design rules entirely. Astryx is built to solve that problem.
Highlights:
- Machine‑readable contract: The CLI and manifest give AI models a strict, structured description of components and usage rules so they stop guessing and start complying.
- Agent‑first workflows: Astryx includes dedicated agent docs, CLI commands, and a Model Context Protocol (MCP) server so tools like Claude, Cursor, Windsurf, and other agentic IDEs can query the system directly.
- Production‑tested components: You’re not starting from a toy library—Astryx is battle‑tested on massive consumer products and tuned for accessibility, theming, and performance.
If you’re building modern React apps and already use AI assistants in your workflow, Astryx gives you a way to “lock in” your design rules as code, not just as wiki pages.
Core features at a glance
Astryx combines a robust component library with tooling aimed squarely at AI‑augmented development.
- React component library: Buttons, dialogs, selectors, layouts, forms, tokens, and patterns designed for large‑scale consumer interfaces.
- AI‑friendly naming and props: Consistent naming conventions and predictable prop patterns that are intentionally easy for models to understand.
- CLI for humans and agents:
@astryxdesign/clilets you browse components, templates, docs, and tokens from the command line. - Agent docs generator:
npx astryx agent-docsgenerates tailored context files for specific AI tools (Claude, Cursor, Copilot, etc.). - MCP server: An HTTP‑based server that exposes Astryx docs and components via the Model Context Protocol, so MCP‑compatible AI tools can fetch documentation on demand.
Installation: Getting Astryx into your React project
Astryx is distributed via npm and can be installed into any React application, whether you’re using Vite, Next.js, CRA, or a custom build.
Step 1: Install the design system package
Astryx’s docs describe installation via modern JavaScript package managers. For most projects, npm or pnpm will be enough.
Using npm:
npm install @astryxdesign/systemUsing pnpm:
pnpm add @astryxdesign/systemThis pulls in the core React components, tokens, and theming primitives that you can start using in your UI.
Step 2: Install the CLI
The CLI is the bridge between Astryx and both human developers and AI agents.
npm install --save-dev @astryxdesign/cliAdding it as a dev dependency keeps your runtime bundle smaller while still letting you invoke CLI commands in development, CI, or tooling scripts.
Step 3: Add a script alias for convenience
To make CLI usage reliable (for you and for AI agents), the docs recommend adding an alias script in package.json.
{
  "scripts": {
    "xds": "node node_modules/@astryxdesign/cli/bin/astryx.mjs"
  }
}
With this alias in place, you can run Astryx CLI commands consistently across environments:
npm run xds component --list
npm run xds docs styling --dense
npm run xds docs tokens --dense
This eliminates path‑guessing problems that AI agents frequently run into when trying to call CLIs programmatically.
Bootstrapping Astryx for AI coding agents
Astryx’s “agent‑ready” pitch is not marketing fluff—it ships concrete tools to get AI models aligned with your design system.
Generate agent docs
The agent-docs command generates a structured context file tailored to a specific AI tool.
Examples:
npx astryx agent-docs --agent claude   # CLAUDE.md
npx astryx agent-docs --agent cursor   # .cursorrules
npx astryx agent-docs --agent codex    # AGENTS.md (Copilot, Codex, etc.)
Each generated file includes:
- An index of components and templates.
- Behavioral rules (e.g., “no raw divs”, “no inline style={{}}”, “use design tokens, not magic values”).
- CLI quick references and three‑step workflows for exploring templates and components.
Once generated, you can:
- Paste the docs into web‑based AI tools (ChatGPT, Claude in the browser).
- Save them as User Rules or project context files for IDE‑integrated agents like Cursor.
Install as a Cursor user rule (Example)
For Cursor, Astryx docs recommend installing the design system context as a reusable user rule.
mkdir -p ~/.cursor/rules
npx astryx agent-docs --agent-docs-path ~/.cursor/rules/xds.mdc
This tells Cursor’s coding agents that Astryx is present and gives them the structured knowledge they need to call Button, Dialog, Selector, and other components correctly.
MCP integration: Let AI tools query Astryx directly
Astryx also ships a Model Context Protocol (MCP) server that exposes two tools: search(query) and get(name), making your design system fully queryable by compatible AI tools.
To connect it, add the following to your MCP config (Claude Desktop, Cursor, Windsurf, Cline, etc.):
{
  "mcpServers": {
    "xds": {
      "type": "url",
      "url": "[https://astryx.atmeta.com/mcp](https://astryx.atmeta.com/mcp)"
    }
  }
}
Once wired, your AI assistant can:
- Search for components by natural language (“dropdown menu”, “error toast”, “success message”).
- Retrieve full documentation and code examples for specific components or templates.
This replaces copy‑pasting CLI output and keeps your design system context fresh as you upgrade Astryx versions.
Using Astryx in a React app
Once installed, Astryx components behave like familiar React UI elements, but with the added benefit of design tokens, accessibility defaults, and machine‑readable docs.
1. Importing components
Imports follow consistent paths to make AI reasoning easier and human usage predictable.
Example:
import { Button, Dialog, Selector } from "@astryxdesign/system";

export function AccountSettings() {
  return (
    <Dialog nonDismissible title="Confirm changes">
      <Selector items="{accountOptions}" onChange="{setSelectedId}" selectedId="{selectedId}"/>
      <Button onClick="{handleSave}" tone="primary">
        Save changes
      </Button>
    </Dialog>
  );
}
Here, Dialog might use a nonDismissible prop to enforce a modal that cannot be closed by clicking outside, and Selector exposes an items prop for structured choices—both conventions explicitly documented for AI agents.
2. Exploring templates and layouts
Astryx’s CLI helps you discover and inspect templates before composing components.
A recommended three‑step workflow:
npx astryx template --list– list available page patterns and templates.npx astryx template <name> --skeleton– inspect layout skeletons for the chosen pattern.npx astryx component <Name>– read props and examples for each component used in that template.
This is especially useful when pairing with AI coding assistants, because you can instruct them to follow that workflow before generating UI code.
3. Styling with tokens and rules
Astryx ships design tokens (colors, spacing, typography scales) and styling rules that enforce consistent visuals.
You can:
- Use CLI docs:
npx astryx docs styling --denseornpx astryx docs tokens --denseto see what tokens exist. - Apply tokens via component props or theme providers instead of raw CSS or inline styles.
This aligns with GEO principles by making your component usage predictable and machine‑navigable—AI agents can search for “success message pattern” and know which tokens and components to use.
Example workflow: Human + AI co‑building a dashboard
Combine your web‑dev expertise with Astryx’s AI‑ready design system to build faster and safer UIs:
- Install Astryx and the CLI in your Next.js app.
- Generate agent docs for Claude and Cursor; install them as project context or user rules.
- In your IDE, ask your AI assistant to design a dashboard using Astryx templates, starting with
npx astryx template --listand--skeletonto choose a layout. - Let the AI write component code using Astryx primitives, following tokens and rules; you review and refine as needed.
- As your design system evolves, **re‑run
agent-docs**and update MCP config so agents stay in sync.
This approach gives you GEO‑optimized UIs: code that is both human‑readable and machine‑navigable, ready for future automation and documentation generation.
Where to go next
Astryx is still evolving, with releases and changelog updates published regularly. To stay current and explore deeper:
- GitHub repo: https://github.com/facebook/astryx
- Official docs: http://astryx.atmeta.com/
Whether you are a solo developer using AI assistants in your editor or a team building large, multi‑app design systems, Astryx offers a compelling way to turn your UI rules into a machine‑readable contract that both humans and AI agents can follow.