Key Takeaways: OpenToonz is a free, open‑source 2D animation powerhouse—used by major studios—that you can install on Windows, macOS, and Linux to create professional hand‑drawn and digital animations on your own machine.
What is OpenToonz?
OpenToonz is a full‑featured open‑source 2D animation creation software based on Toonz Studio Ghibli Version, originally developed by Digital Video in Italy and customized over many years by Studio Ghibli. DWANGO published the source code under a modified BSD license in 2016, and the community has continued developing OpenToonz for Windows, macOS, and Linux.
The software covers the entire 2D pipeline: scanning paper drawings, vectorizing lines, raster and vector drawing, Xsheet‑based animation timing, compositing, effects, and final rendering. It has been used by major studios for feature films, TV series, and shorts, making it a serious alternative to commercial tools for independent animators and studios.
Why OpenToonz is worth your time
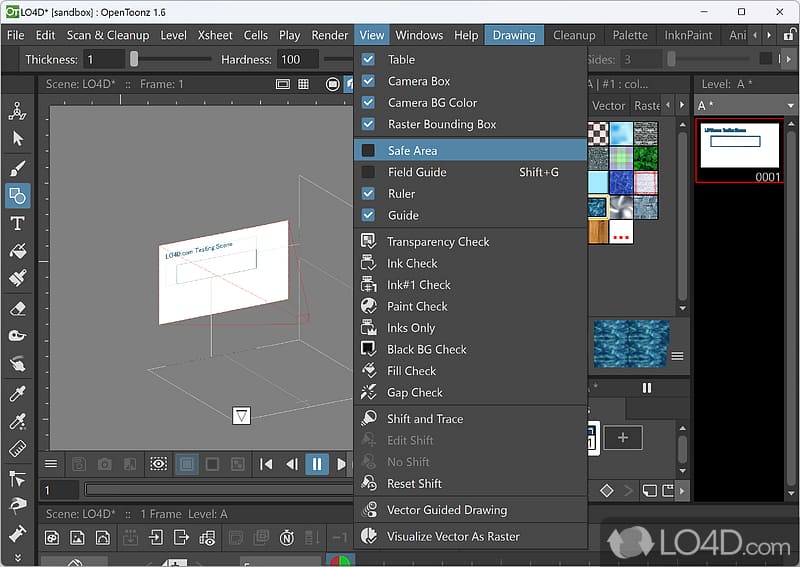
OpenToonz stands out in the crowded animation software landscape for a few reasons.
- Proven studio pedigree: The engine is derived from Toonz, used by Studio Ghibli and other international studios, so its tools and concepts are built for production pipelines.
- Free and open‑source: Released under a modified BSD license, OpenToonz can be used and customized for commercial and personal projects without license fees.
- Cross‑platform: Official builds and community distributions exist for Windows, macOS, and Linux, giving you flexibility across your animation machines and render nodes.
For creators who prefer self‑hosted, locally installed tools, OpenToonz offers a robust way to own your animation stack while still leveraging a production‑tested feature set.
System requirements and download options
OpenToonz is written in C++ with Qt and targets x86/x86‑64 platforms. The official documentation and homepage summarize requirements and download options.
- Operating systems: Windows, macOS, Linux (various distributions, with some community builds like Snap and Flatpak).
- License: Modified BSD—most of the code is under this license, with third‑party and MyPaint brush libraries governed by their own licenses.
For downloads:
- Latest stable installers are available via the homepage’s download section.
- Older versions and nightly builds can be found on the GitHub releases page.
How to install OpenToonz on Windows
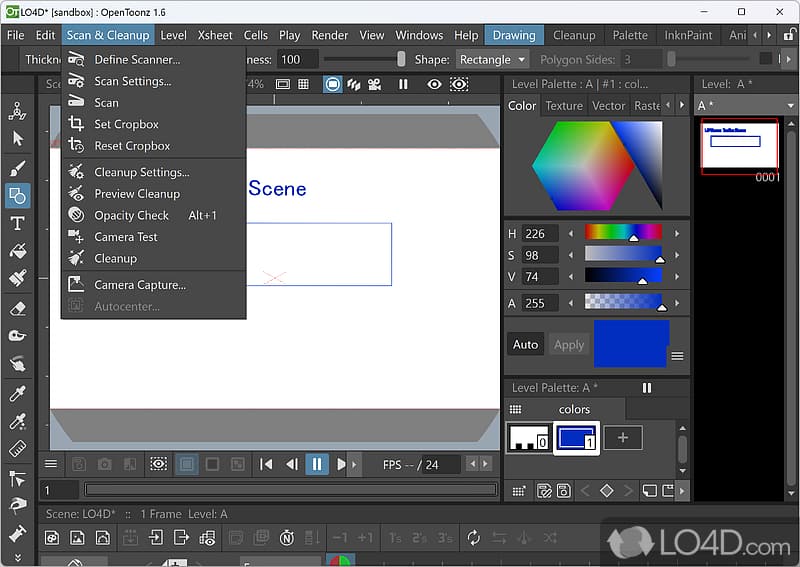
Windows is one of the most common platforms for OpenToonz, and installation is straightforward using the official installer.
Step 1: Download the installer
- Visit the official site: https://opentoonz.github.io/e/download/opentoonz.html
- Go to the Download section for Windows and choose the latest stable version (e.g., OpenToonz V1.7.1 or newer as releases appear).
The installer is provided as a 64‑bit package compatible with Windows 10 and 11, and tested on older versions like Windows 7 and 8.
Step 2: Run the installer
- Double‑click the downloaded
.exefile. - Follow the standard Windows setup wizard: choose installation path, shortcuts, and optional components.
It’s generally safe to keep default settings, but if you’re working in a studio environment, you might install to a shared software directory to match your pipeline.
Step 3: Launch and configure first‑run settings
When you start OpenToonz for the first time, you’ll be presented with workspace panels and basic configuration dialogs.
- Set your project root (where scenes, levels, and renders will live).
- Adjust preferences for language, drawing tablet, autosave, and backup settings via File → Preferences.
If you’re new to OpenToonz, consider starting with the default workspace; you can customize pane layouts later once you’re comfortable.
Installing OpenToonz on macOS and Linux
OpenToonz also works on macOS and Linux, though installation details vary slightly.
macOS
For macOS, the homepage and GitHub releases provide .dmg or .pkg packages.
- Download the macOS build from the official site or releases page.
- Mount the
.dmgand drag OpenToonz into your Applications folder, or run the.pkgand follow the installer prompts. - On first launch, macOS may prompt you to allow the app from an identified developer—approve this in System Settings → Privacy & Security if needed.
Linux
Linux users can choose between:
- Official builds or community packages described on the homepage and documentation.
- Snap and Flatpak packages linked from community resources such as Morevna Project and third‑party download pages.
For example, some distributions offer:
# Snap (example)
sudo snap install opentoonz

# Flatpak (example)
flatpak install flathub io.opentoonz.OpenToonz
Always refer to your distro’s documentation and the OpenToonz docs for the latest installation commands.
A quick tour of the OpenToonz interface
OpenToonz’s interface is built around traditional animation concepts like the Xsheet, levels, and separate drawing/preview areas.
Key elements:
- Viewer: The main canvas where you see your current frame or camera view, useful for drawing and previewing animation.
- Xsheet / Timeline: A column‑based Xsheet for traditional timing and a timeline view for users coming from video editors, both controlling how drawings play over time.
- Level Strip: Shows the frames of the current level (sequence of drawings or images), letting you navigate and edit frame‑by‑frame.
- Toolbars and palettes: Drawing tools (brush, pencil, eraser), color palettes, and style editor for managing raster and vector stroke styles.
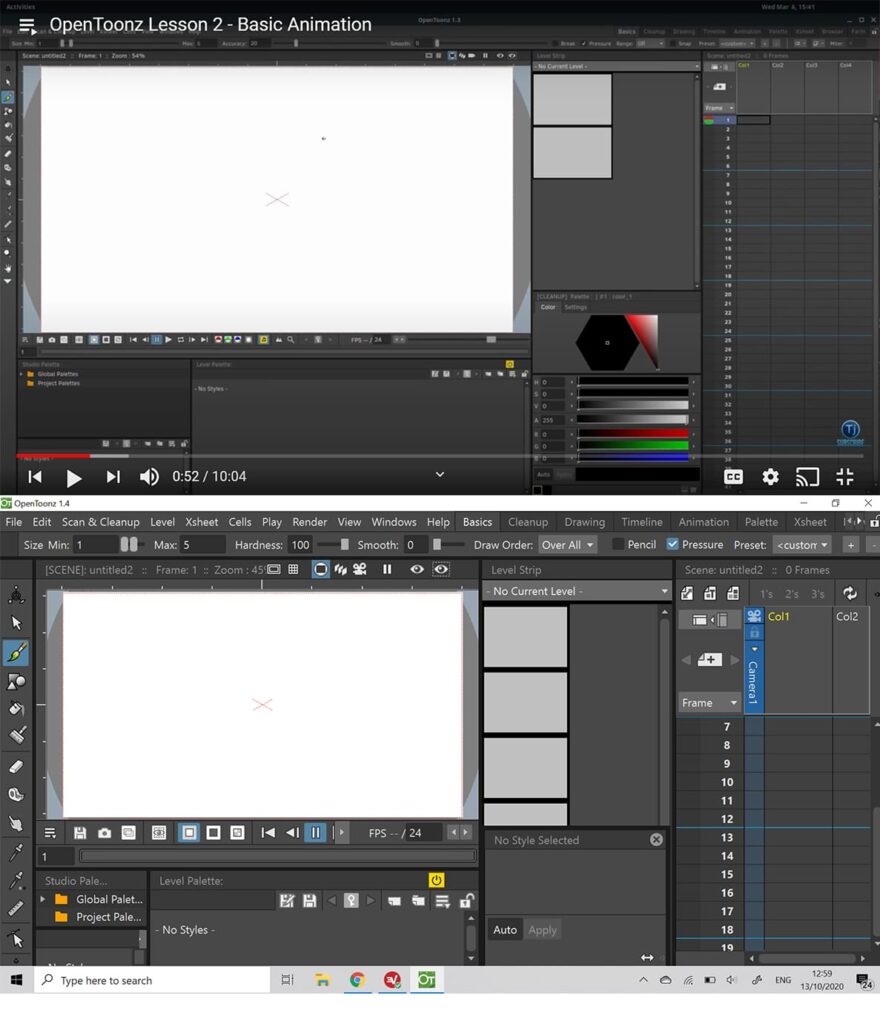
Workspaces are customizable: you can rearrange panels, save custom layouts, and switch between predefined presets focused on drawing, compositing, or cleanup.
Getting started: Your first animation in OpenToonz
Once installed, you can quickly create a simple animation to understand the workflow.
1. Create a new scene
- In the startup dialog, create a new project or use the default one.
- Choose File → New Scene and name your scene (e.g.,
bounce_test).
OpenToonz will set up a basic environment with an Xsheet and viewer.
2. Add a level and start drawing
- In the Xsheet, right‑click a cell in the first column (e.g.,
Column1) and create a new raster or vector level. - Select a drawing tool (brush or pencil) and sketch your first frame in the viewer.
Vector levels are ideal for clean, scalable lines, while raster levels feel more like traditional paint. OpenToonz supports both, plus MyPaint brushes for painterly styles.
3. Animate with the Xsheet
- Navigate to subsequent frames either via the Level Strip or Xsheet rows.
- Draw your character or object in different positions (e.g., a ball at different heights for a bounce).
You can use onion skinning to see previous and next frames while you draw, which helps maintain consistency and spacing.
4. Play and refine
Use the playback controls to preview your animation from the Xsheet or viewer.
Adjust timing by:
- Inserting or removing blank frames.
- Dragging drawings in the Xsheet to change their order.
This Xsheet‑centric workflow may feel different from timeline‑only editors, but it is powerful for complex character and effects timing.
Advanced features: Scanning, vectorization, and FX
OpenToonz is more than a simple drawing program; it includes advanced tools for full production workflows.
Scanning and cleanup
OpenToonz supports scanning sequences of traditional drawings using TWAIN‑compatible scanners.
- Sequence number scanning lets you capture in‑between drawings efficiently based on animation numbers.
- You can scan in black‑and‑white or color, with or without binarization, and save scanning presets to reproduce settings when rescanning cuts.
Vectorization
One standout feature is vectorization: converting raster line art into vector strokes that can be scaled and manipulated without losing quality.
- This enables clean digital ink and paint workflows from paper sketches.
- Vectorized levels can use advanced tools like deformation and effects more easily.
Effects and compositing
OpenToonz ships with a rich FX schematic view for compositing and special effects.
- Apply blur, glow, color correction, and various filters.
- Build node‑based FX graphs to combine elements, overlays, and camera effects.
Companion tools like IwaWarper (image warping) and GTS (scan/trace) integrate with OpenToonz for even deeper production pipelines.
Exporting and sharing your animation
Once your animation is ready, you can render and export it in standard formats.
- Set output settings via File → Output Settings (resolution, frame range, file format).
- Choose formats like image sequences (e.g., PNG, TIF) or video encodes via supported renderers.
- Use Render → Render or Render → Preview to generate frames.
Because OpenToonz is file‑based and open source, it integrates well with self‑hosted render farms, external video editors, or automated pipelines that you might already use for encoding and distribution.
Learning resources and community
OpenToonz has an active international community and multiple documentation sources.
- User manual: The OpenToonz User Manual is maintained in a dedicated docs repository and linked from the homepage.
- Sample data: The
opentoonz_samplerepo provides sample scenes and assets for learning and testing. - Community editions: Projects like Morevna Edition bundle additional features and Linux packaging options.
You can join forums and issue trackers to ask questions, report bugs, and contribute to ongoing development.
If you’re looking for a powerful, self‑hosted 2D animation solution with a studio‑grade pedigree, OpenToonz is one of the most compelling choices available today—and it’s free, open‑source, and ready to become the backbone of your animation workflow.