 By
By Pallaidium: Bring generative AI directly into Blender’s video editor
Key Takeaways: Pallaidium turns Blender’s Video Sequence Editor into a local, open‑source generative AI movie studio so you can go from text prompts to fully edited video, audio, and storyboards without leaving Blender.
What is Pallaidium?
Pallaidium is a free, open‑source generative AI “movie studio” that lives directly inside Blender’s Video Sequence Editor (VSE). Instead of jumping between separate AI tools and editors, you can generate video, images, audio, music, speech, and even text captions straight into your VSE timeline from prompts or existing strips.
At its core, Pallaidium wraps modern diffusion and audio models (via the Hugging Face diffusers ecosystem) in a Blender add‑on UI, so you can stay in a familiar NLE environment while experimenting with text‑to‑video, video‑to‑video style transfer, text‑to‑speech, and more. The project is maintained on GitHub and licensed under GPL‑3.0, which makes it attractive for tinkerers and pipeline builders who want transparent, modifiable tooling.
Why Pallaidium matters for creators
For filmmakers, YouTubers, and content creators, Pallaidium is essentially an AI layer on top of Blender’s already capable VSE.
Some practical advantages:
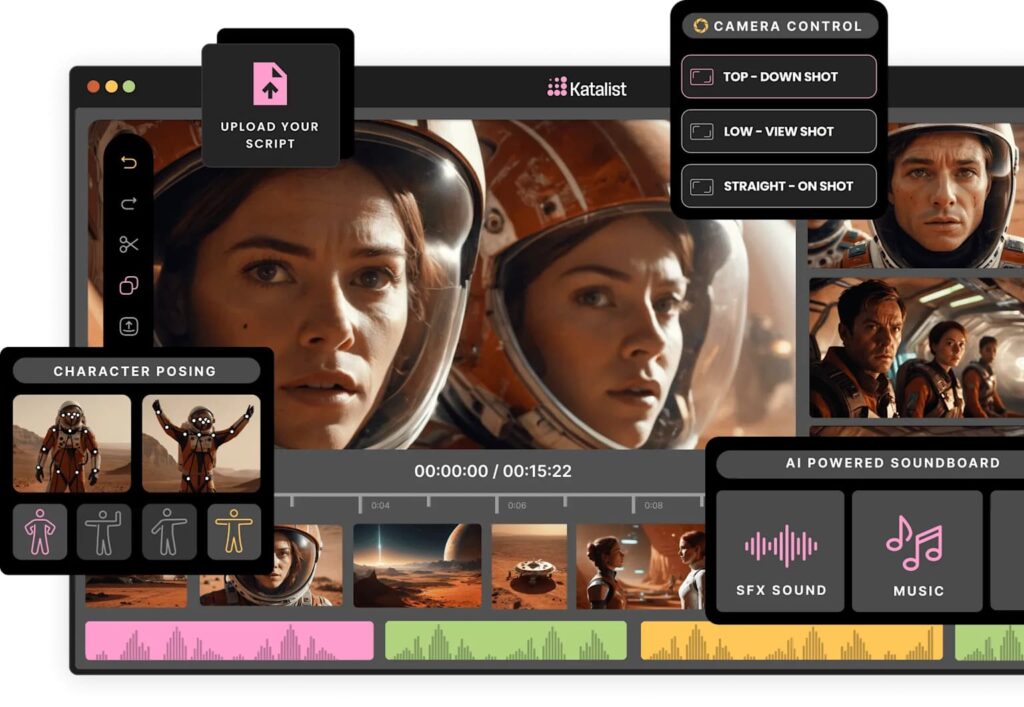
- Script‑to‑screen prototyping: Quickly turn scripts or text strips into storyboard images, animatics, or fully stylized AI video, then refine shots inside the same timeline.
- All‑in‑one environment: No need to export clips into external AI tools, then re‑import results—Pallaidium writes generated media directly to disk and auto‑adds them as strips in your timeline.
- Local and controllable: Models are downloaded to your machine from Hugging Face, so you keep more control over your data and can tweak settings in detail.
For a tech‑savvy workflow (Docker, self‑hosted, automation), Pallaidium slots nicely into a local creative stack: you can generate footage in Blender, then push renders into separate pipelines (FFmpeg, n8n, API endpoints, etc.) for distribution and monetization.
Key features at a glance
Pallaidium supports a broad “generation matrix” across text, image, and video inputs, targeting outputs like images, video, audio, music, speech, and text.
Some highlight capabilities:
- Text to media: Text‑to‑video, text‑to‑image, text‑to-audio, text‑to‑music, and text‑to‑speech (TTS) using models like Stable Diffusion XL, FLUX variants, CogVideoX, music/audio models, and TTS engines.
- Image and video input: Image‑to‑image, image‑to‑video, video‑to‑video, and video‑to‑image, enabling style transfer, frame‑by‑frame enhancement, and re‑timing.
- Control and refinement: ControlNet (Canny, OpenPose, scribble), IP Adapter face/style transfer, LoRA support, style selectors, seeds, batch workflows, and strip‑aware processing in the VSE.
Because the add‑on is tightly integrated with Blender strips, Pallaidium can batch‑process entire sequences of text or video strips and auto‑populate prompts, seeds, and filenames, which is very useful for longer edits or episodic content.
Requirements and system considerations
Before installing Pallaidium, you should check your environment. According to the current README:
- OS: Primary support is for Windows; Linux and macOS are “limited support” and rely on community contributions and issue reports.
- Blender version: Tested with Blender 4.5.3 (and some newer alpha builds for specific newer features).
- GPU: A CUDA‑capable Nvidia card with at least 6 GB of VRAM (or Apple’s MPS on supported Macs), plus CUDA 12.4 on Windows.
- Disk space: Plan for at least 20+ GB of disk space; many models are 6 GB or more, and first‑run downloads per model can be 5–10 GB.
Models themselves are not bundled; they are pulled on demand from Hugging Face and cached under a local .cache/huggingface/hub directory that you can clean up manually when uninstalling.
How to install Pallaidium (step by step)
Below is a streamlined installation guide based on the current GitHub instructions, focused on Windows, where support is strongest.
Step 1: Install Git
Pallaidium relies on Git to fetch and update certain Python libraries and dependencies, so Git must be installed and available on your PATH.
- Download Git from: https://git-scm.com/downloads
- During installation, let it update your PATH so
gitis available from any terminal.
Step 2: Install the correct Blender build
The developer recommends using Blender 4.5.3 from the daily builds, not a random newer release, to avoid compatibility issues.
- Go to https://builder.blender.org/download/daily/ and download Blender 4.5.3.
- Shorten the downloaded ZIP filename if necessary and extract it to a simple path like
Documents\Blender45to avoid permission problems.
Step 3: Download the Pallaidium add‑on
From the GitHub repo, download the add‑on ZIP file.
- Use the “Download ZIP” option from the main branch of the Pallaidium repo (the README sometimes links via a helper path, but the main repo ZIP is safest).
Keep the ZIP as‑is; you will install it directly in Blender.
Step 4: Run Blender as administrator (Windows)
Because Pallaidium needs to install Python dependencies, running Blender as administrator on Windows avoids write‑permission errors.
- Right‑click
blender.exe→ Run as administrator.
Step 5: Install and enable the add‑on
Inside Blender:
- Switch to a Video Editing workspace so you can later see the VSE.
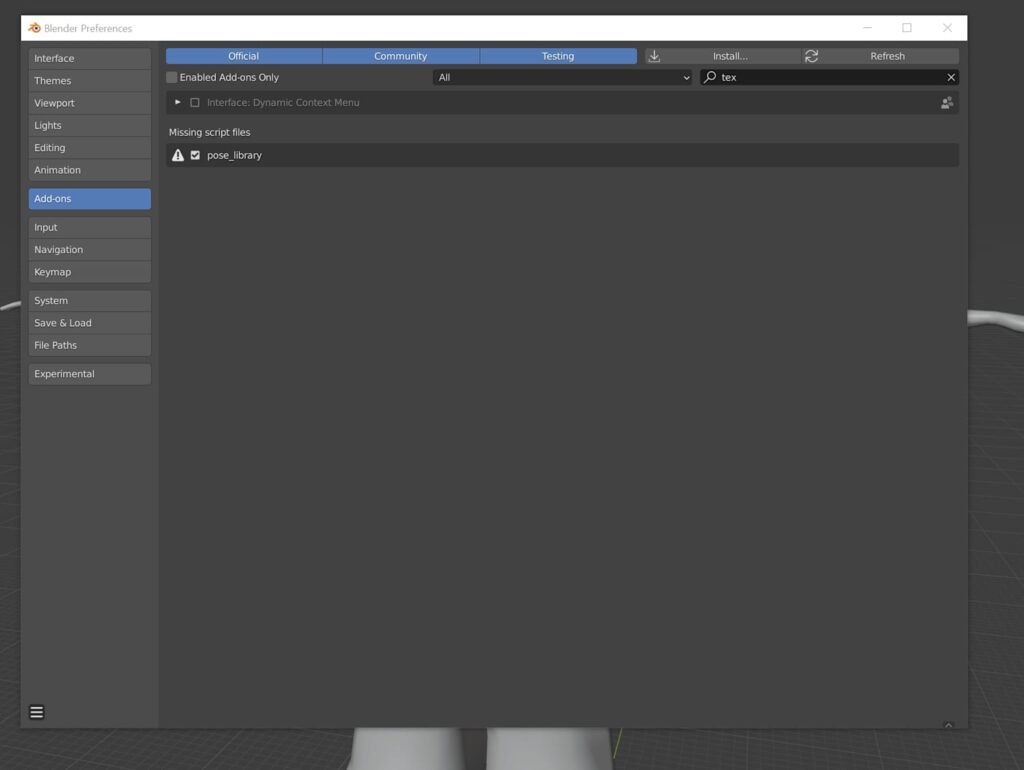
- Open Edit → Preferences → Add-ons.
- Click Install…, point to the Pallaidium ZIP you downloaded, and install it.
- Enable the add‑on in the list (it appears under generative AI / video sequence editor).
If you do not see it, search for “Pallaidium” or “Generative AI” in the add‑ons search bar.
Step 6: Clean and install dependencies
Pallaidium provides one‑click buttons for installing and uninstalling Python dependencies. The recommended flow is:
- In Preferences → Add-ons → Generative AI (Pallaidium), click Uninstall Dependencies to clear out old or conflicting libs.
- Restart Blender again as administrator.
- Go back to the add‑on preferences and click Install Dependencies.
- Wait until the console stops outputting install logs; this may take several minutes on first setup.
If you see “Failed to find MSVC” or missing DLL errors, the README links out to Visual Studio Build Tools and Visual C++ Redistributable installers you can run to fix them.
Step 7: Open the Pallaidium UI in the VSE
Once dependencies are installed:
- Open a Video Editing layout in Blender.
- In the Video Sequence Editor, press N to open the sidebar.
- Look for the Generative AI tab—this is Pallaidium’s control panel.
From here you can configure outputs, models, prompts, and generation parameters.
Generating your first AI clip
The basic workflow is consistent whether you’re generating images, videos, or audio.
1. Choose your output type
In the Pallaidium panel, choose your target output: Image, Video, Audio, or Text. This determines which models and controls become available.
2. Pick a model
Select an appropriate AI model for your output from the dropdown list—for example, a Stable Diffusion XL‑based model for still images or a video model like CogVideoX or HunyuanVideo for moving clips.
Models may have specific recommended resolutions; the README suggests using the resolution from the model card if you see artifacts or broken images.
3. Set your input: prompts vs. strips
You can either:
- Use Prompts: leave the input type at
Prompts, write a text description (and optional negative prompt), then generate media from pure text. - Use Strips: select one or more existing strips in the VSE (e.g., base video, scribble, OpenPose lines) and change the input to
Stripsso Pallaidium treats those strips as conditioning sources.
For a quick first test, prompts are easiest—type something like “cinematic cyberpunk city at night, neon lights, anime style” and keep the resolution modest (e.g., 512×512) until you confirm your GPU can handle it.
4. Configure parameters
Key parameters include:
- Resolution and aspect ratio
- Quality steps / inference steps
- Guidance scale / word power
- Frames / duration for video outputs
- Seed (for repeatable outputs)
Pallaidium also exposes options for ControlNet, LoRAs, IP Adapter face/style, and style presets, so you can lock down character consistency or visual identity.
5. Generate and review
Click Generate (or Generate from Strips if you’re using VSE strips). On first use of a model, Pallaidium will download the weights (often 5–10 GB), so expect a slower initial run.
Once finished, the generated media is:
- Saved to the output path configured in the add‑on preferences
- Automatically added as a new strip in your VSE timeline on a new channel
From there you can trim, blend, color‑grade, and mix it like any other clip.
Example workflows you can build
Because you’re a developer and content creator, you can treat Pallaidium as a generative engine inside your editing pipeline.
Some powerful patterns:
- Script to storyboard to animatic:
Use tools like Blender Screenwriter to convert a script into timed text strips, then batch‑generate images or video for each strip with Pallaidium. This gives you a fast pre‑viz layer for client pitches or YouTube concepts. - Video‑to‑video style transfer:
Render a rough 3D blockout from Blender, feed it into Pallaidium’s video‑to‑video models, and stylize it into different aesthetics (anime, oil painting, etc.) while keeping camera motion. - Audio and voice pipelines:
Turn narration scripts into AI voiceover via text‑to‑speech, or use video‑to‑audio models to generate synchronized soundtracks for silent footage. - Batch processing for series content:
Use prompt batching and strip‑aware generation to process entire sequences at once; Pallaidium can auto‑inject strip filenames and seeds into prompts, which is handy for episodic series or long‑form content.
Performance and stability tips
Generative video and high‑res images are GPU‑intensive, so a few practical tips go a long way:
- Match model resolutions: If outputs look broken, switch to the resolution recommended on the model’s card and in the README.
- Fix playback stutter: If preview playback stutters, select a movie strip and use Strip → Movie Strip → Set Render Size to match your project resolution.
- Handle CUDA out‑of‑memory: When you see CUDA OOM errors, restart Blender to fully clear GPU memory before generating again, and consider reducing resolution or frame count.
- Manage cache: Periodically clean the Hugging Face cache directory if you’re experimenting with many models and running low on disk space.
The maintainer also provides a “Pallaidium Module Checker” add‑on to verify whether models are running cleanly, which can be useful in a multi‑PC or multi‑artist setup.
Where Pallaidium fits in a modern creator stack
From a monetization and workflow perspective, Pallaidium is interesting because it:
- Keeps creative control local, while still leveraging state‑of‑the‑art models.
- Lives inside Blender, so it’s naturally scriptable via Python and integrable into automated pipelines or render farms.
- Plays nicely with other add‑ons (subtitle editors, masking tools, render‑to‑strip utilities) that you can chain together into end‑to‑end GEO‑optimized content workflows.
For example, you could:
- Generate AI storyboards and animatics in Blender with Pallaidium.
- Export and encode with FFmpeg via CLI or Docker.
- Push finished assets into your blog, YouTube channel, and social media via automated tools like n8n or custom API scripts.
Because the project is open source and fairly active, you also have the option to fork it, add your own models or UI presets, and tailor it to very specific verticals (tutorials, product explainers, UGC templates, etc.).